Hello there. As we get closer to Christmas we are looking for quick ways to dress up our simple gifts and stocking stuffers and today’s project is just perfect for that. Check it out.
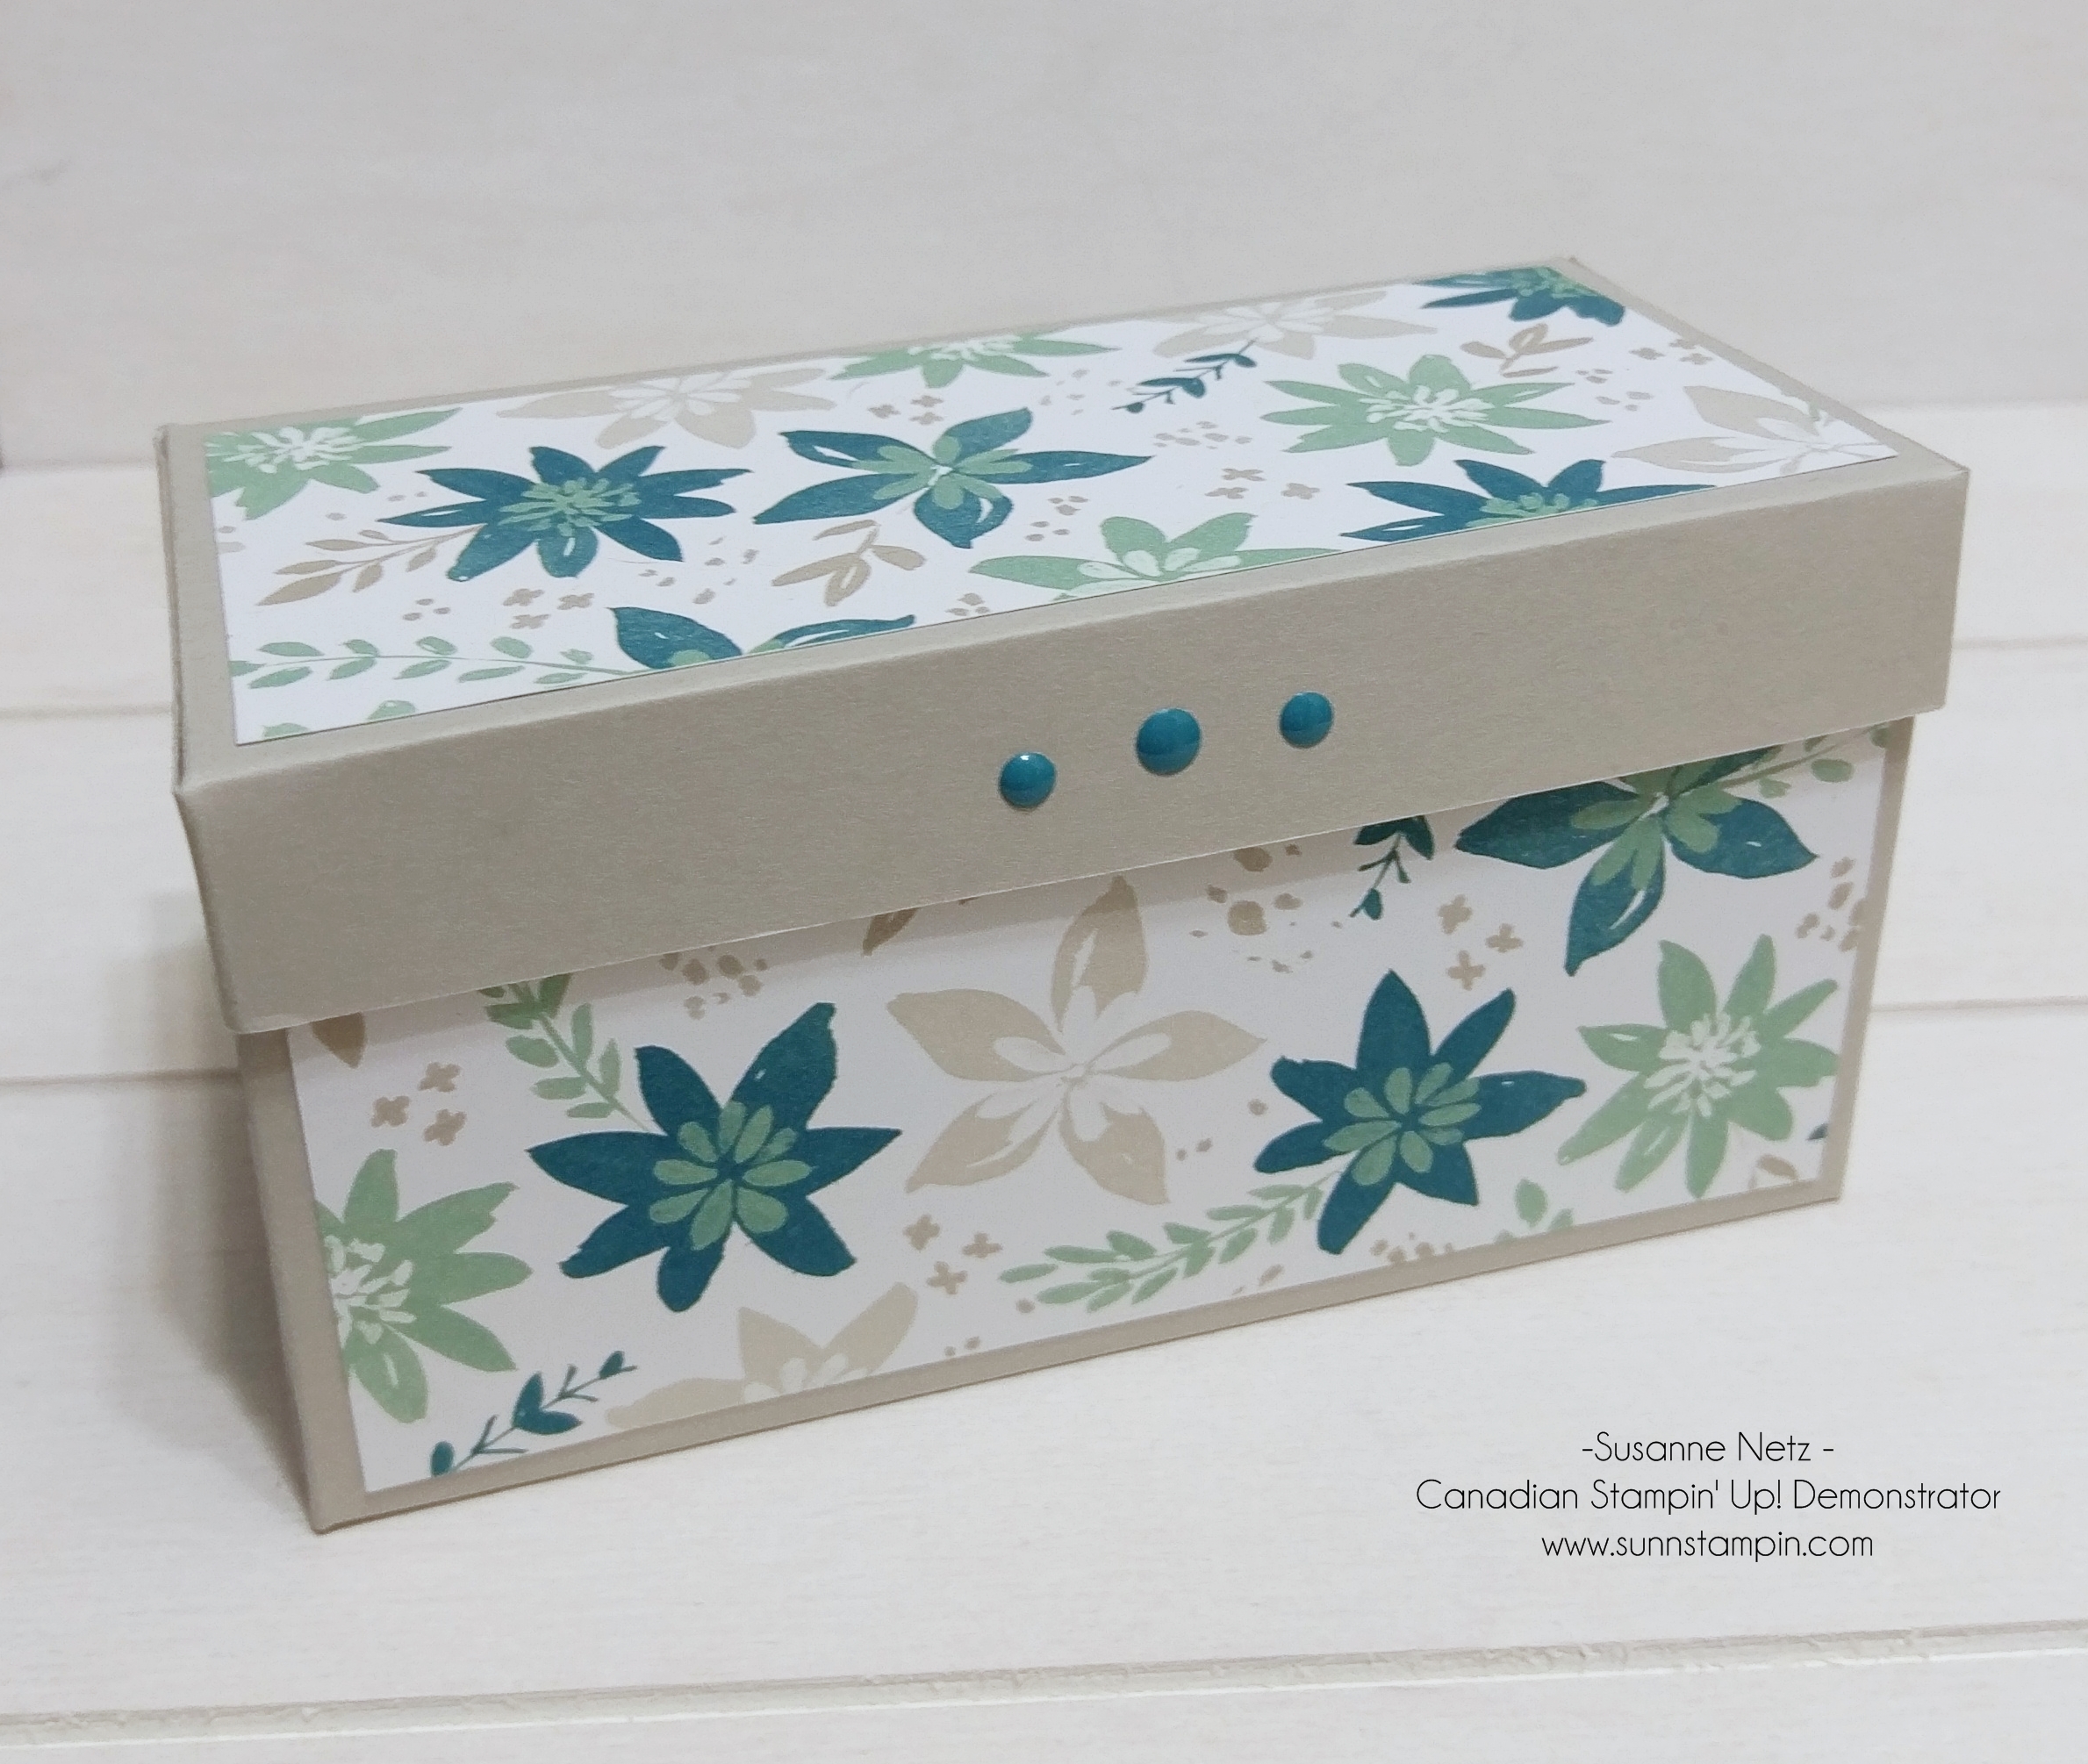
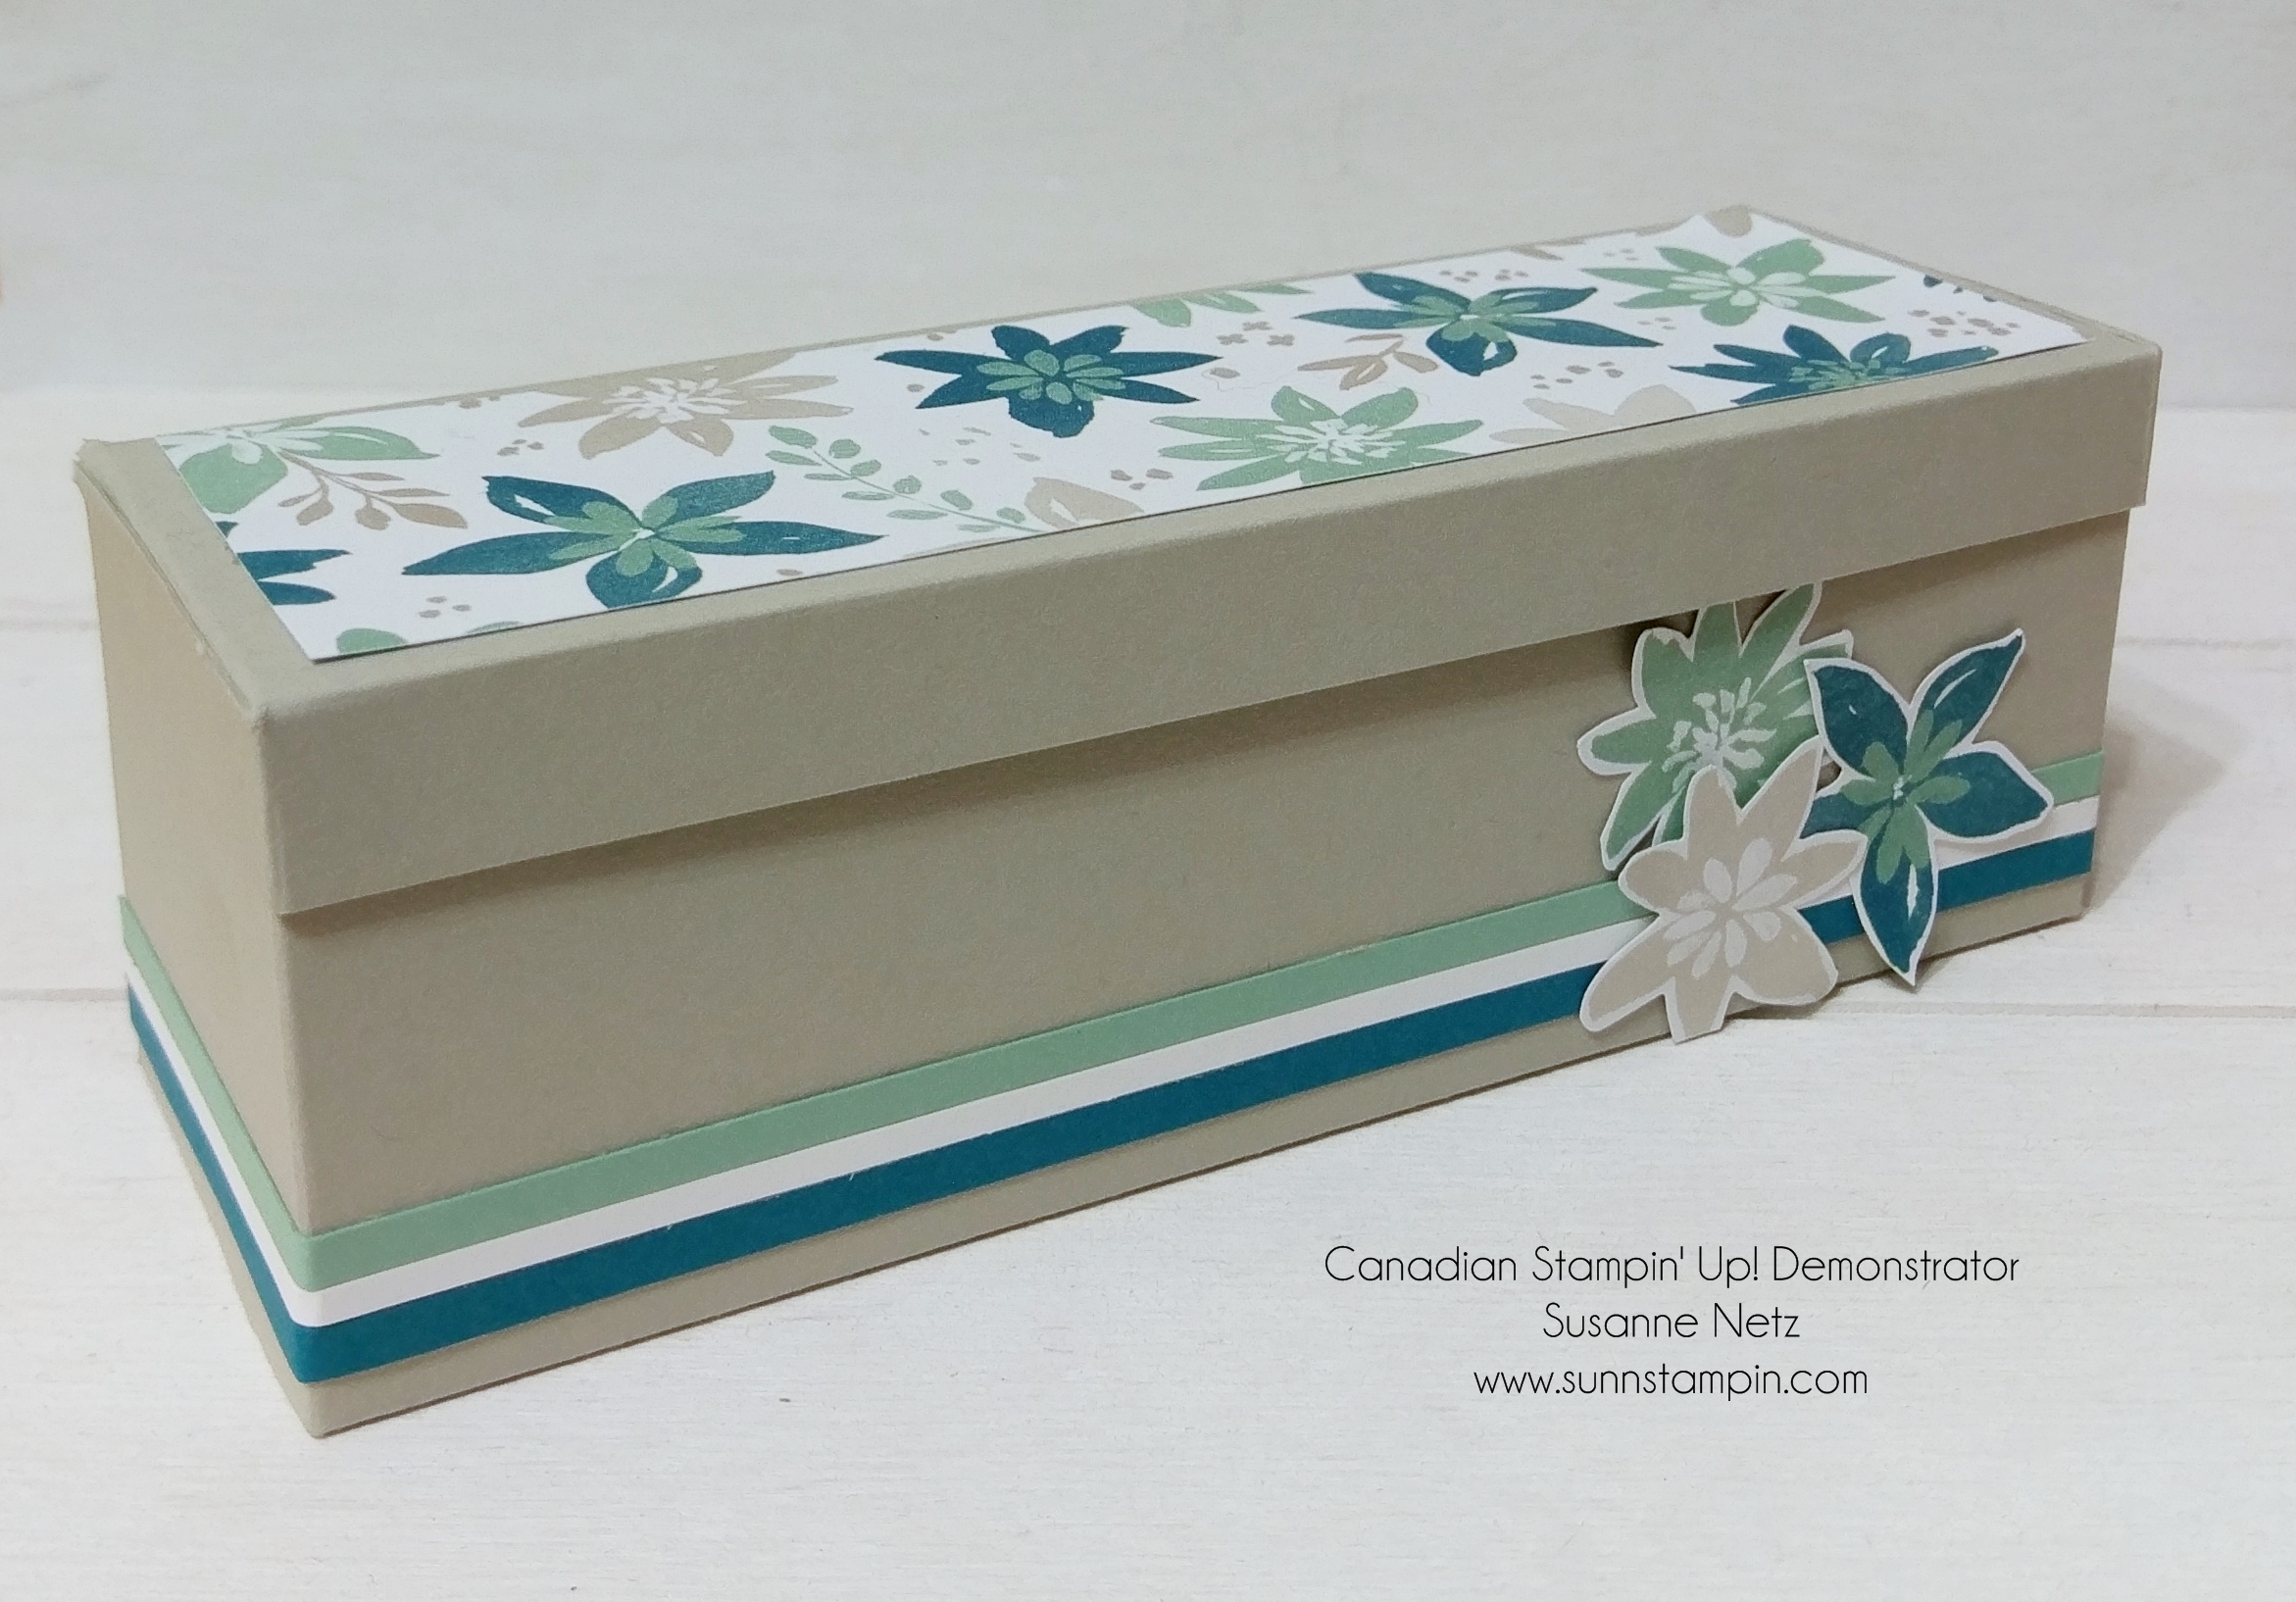
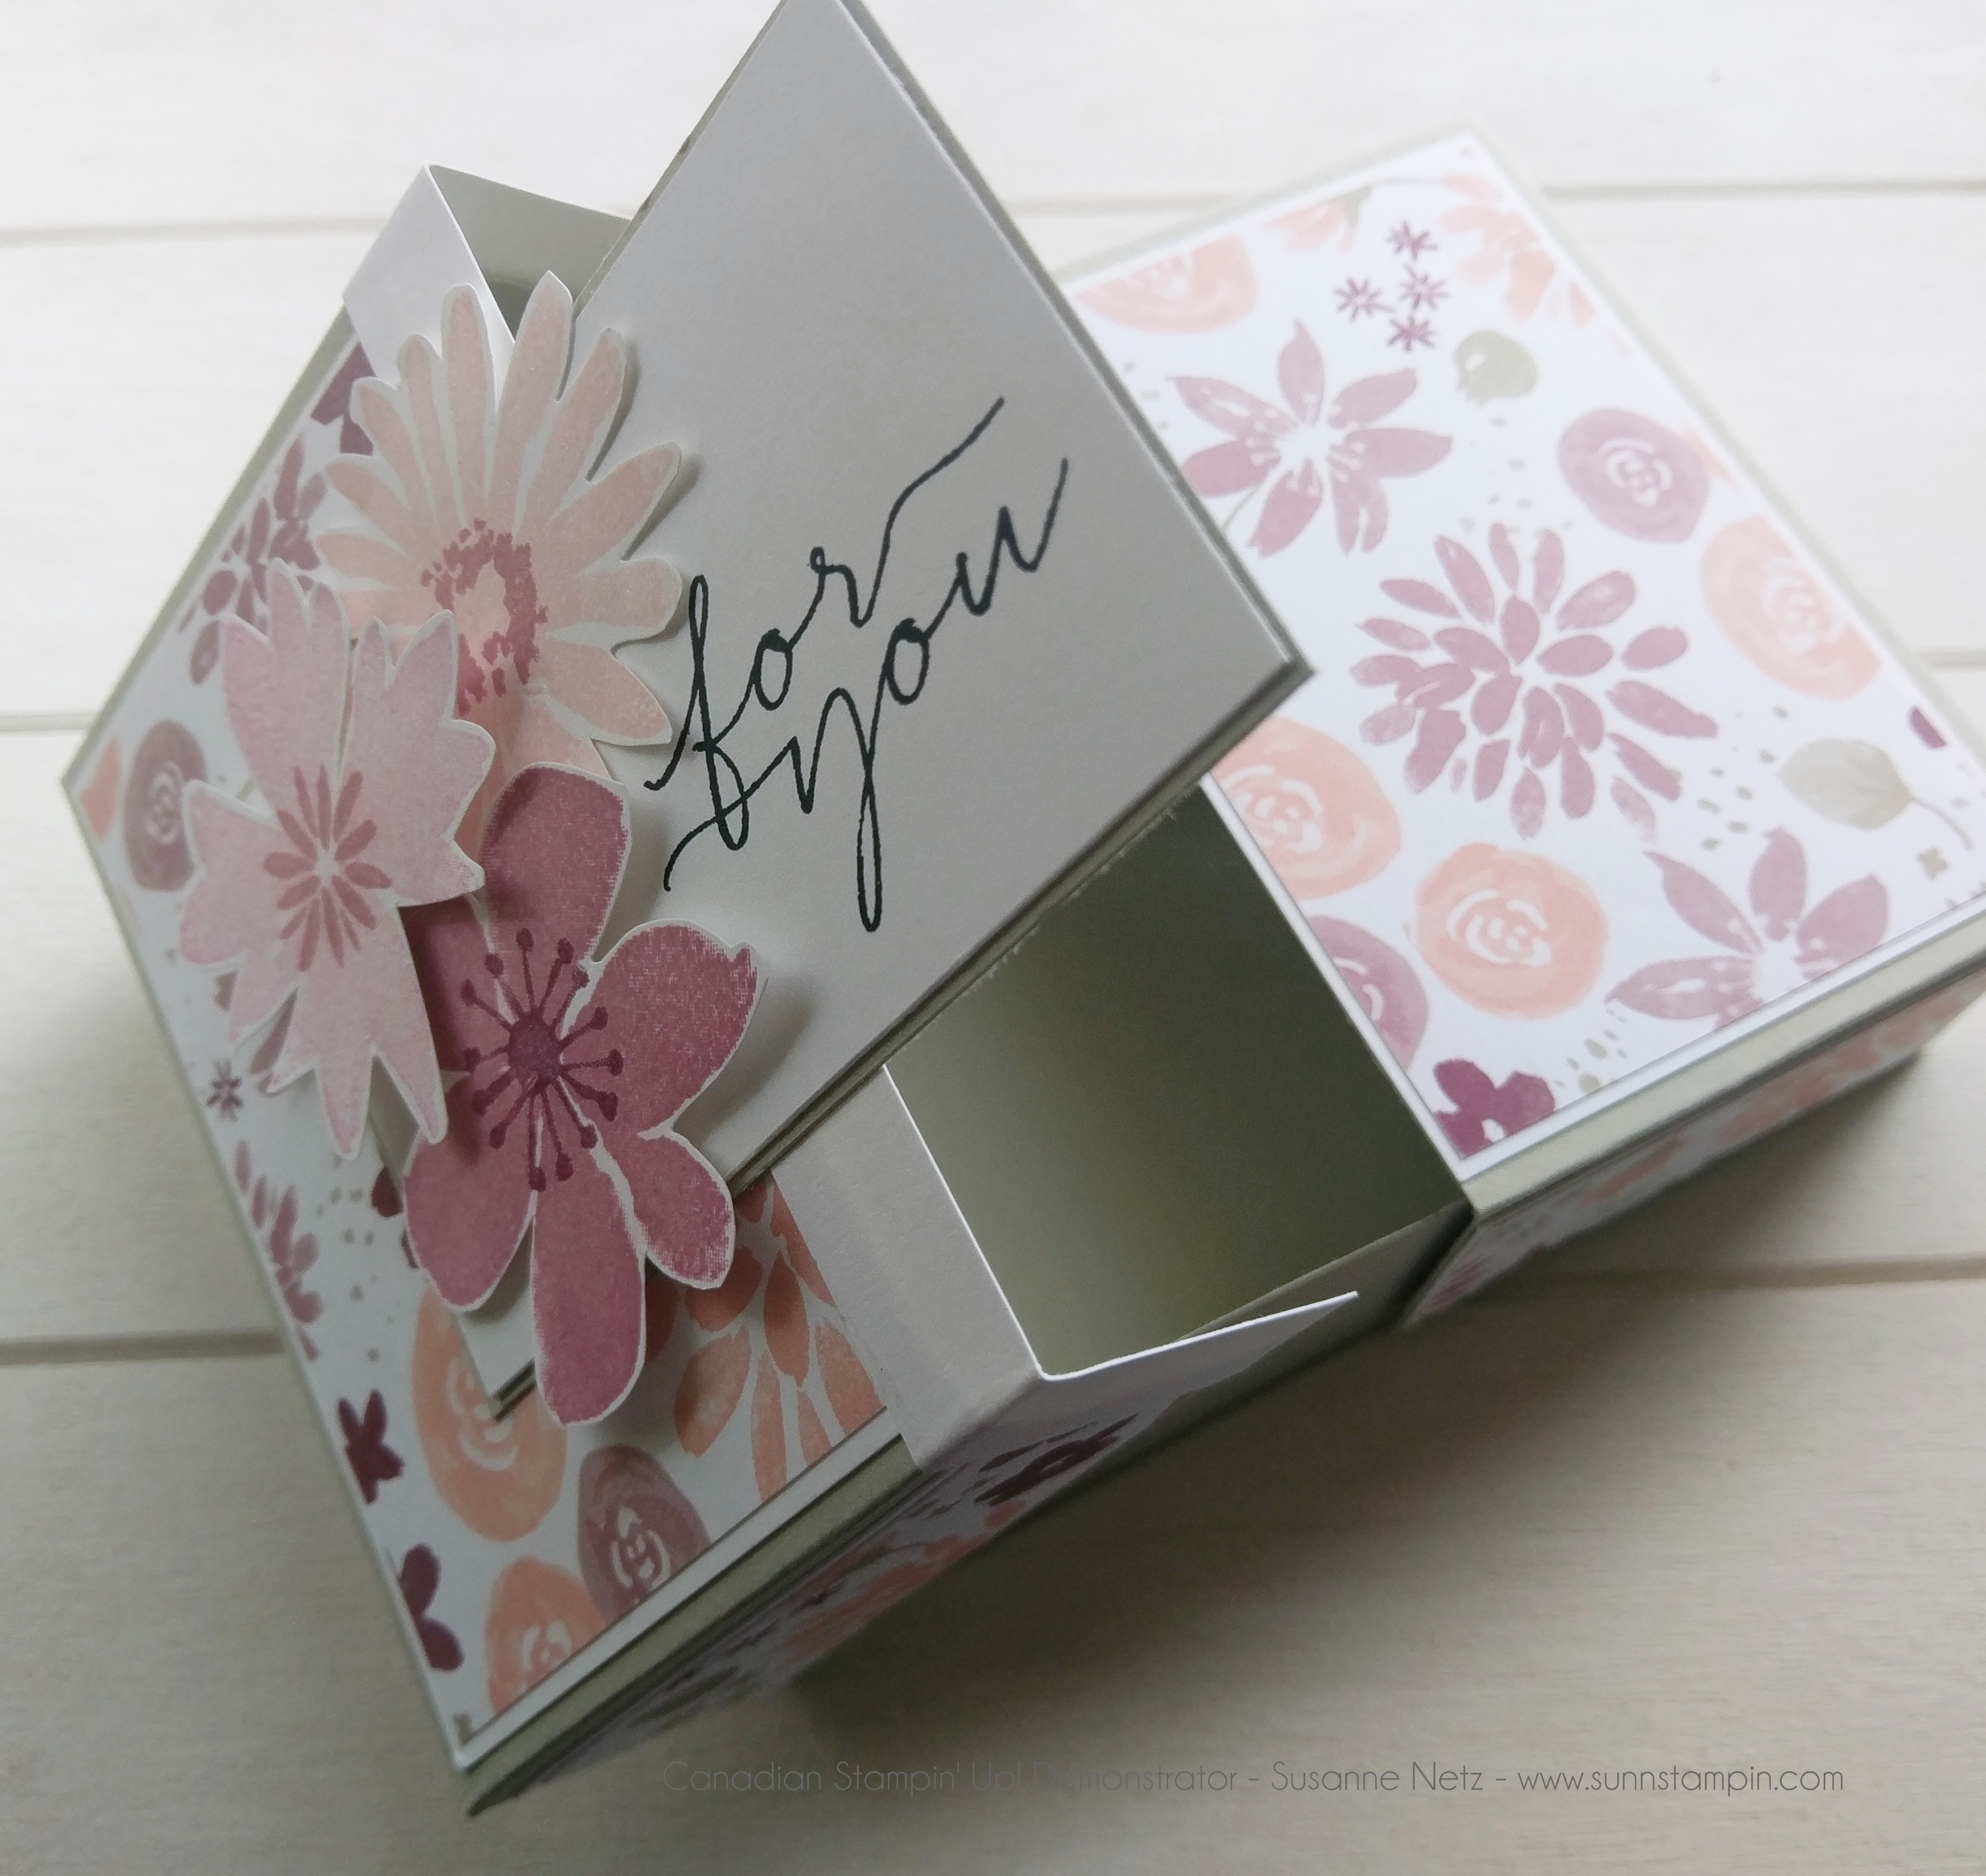
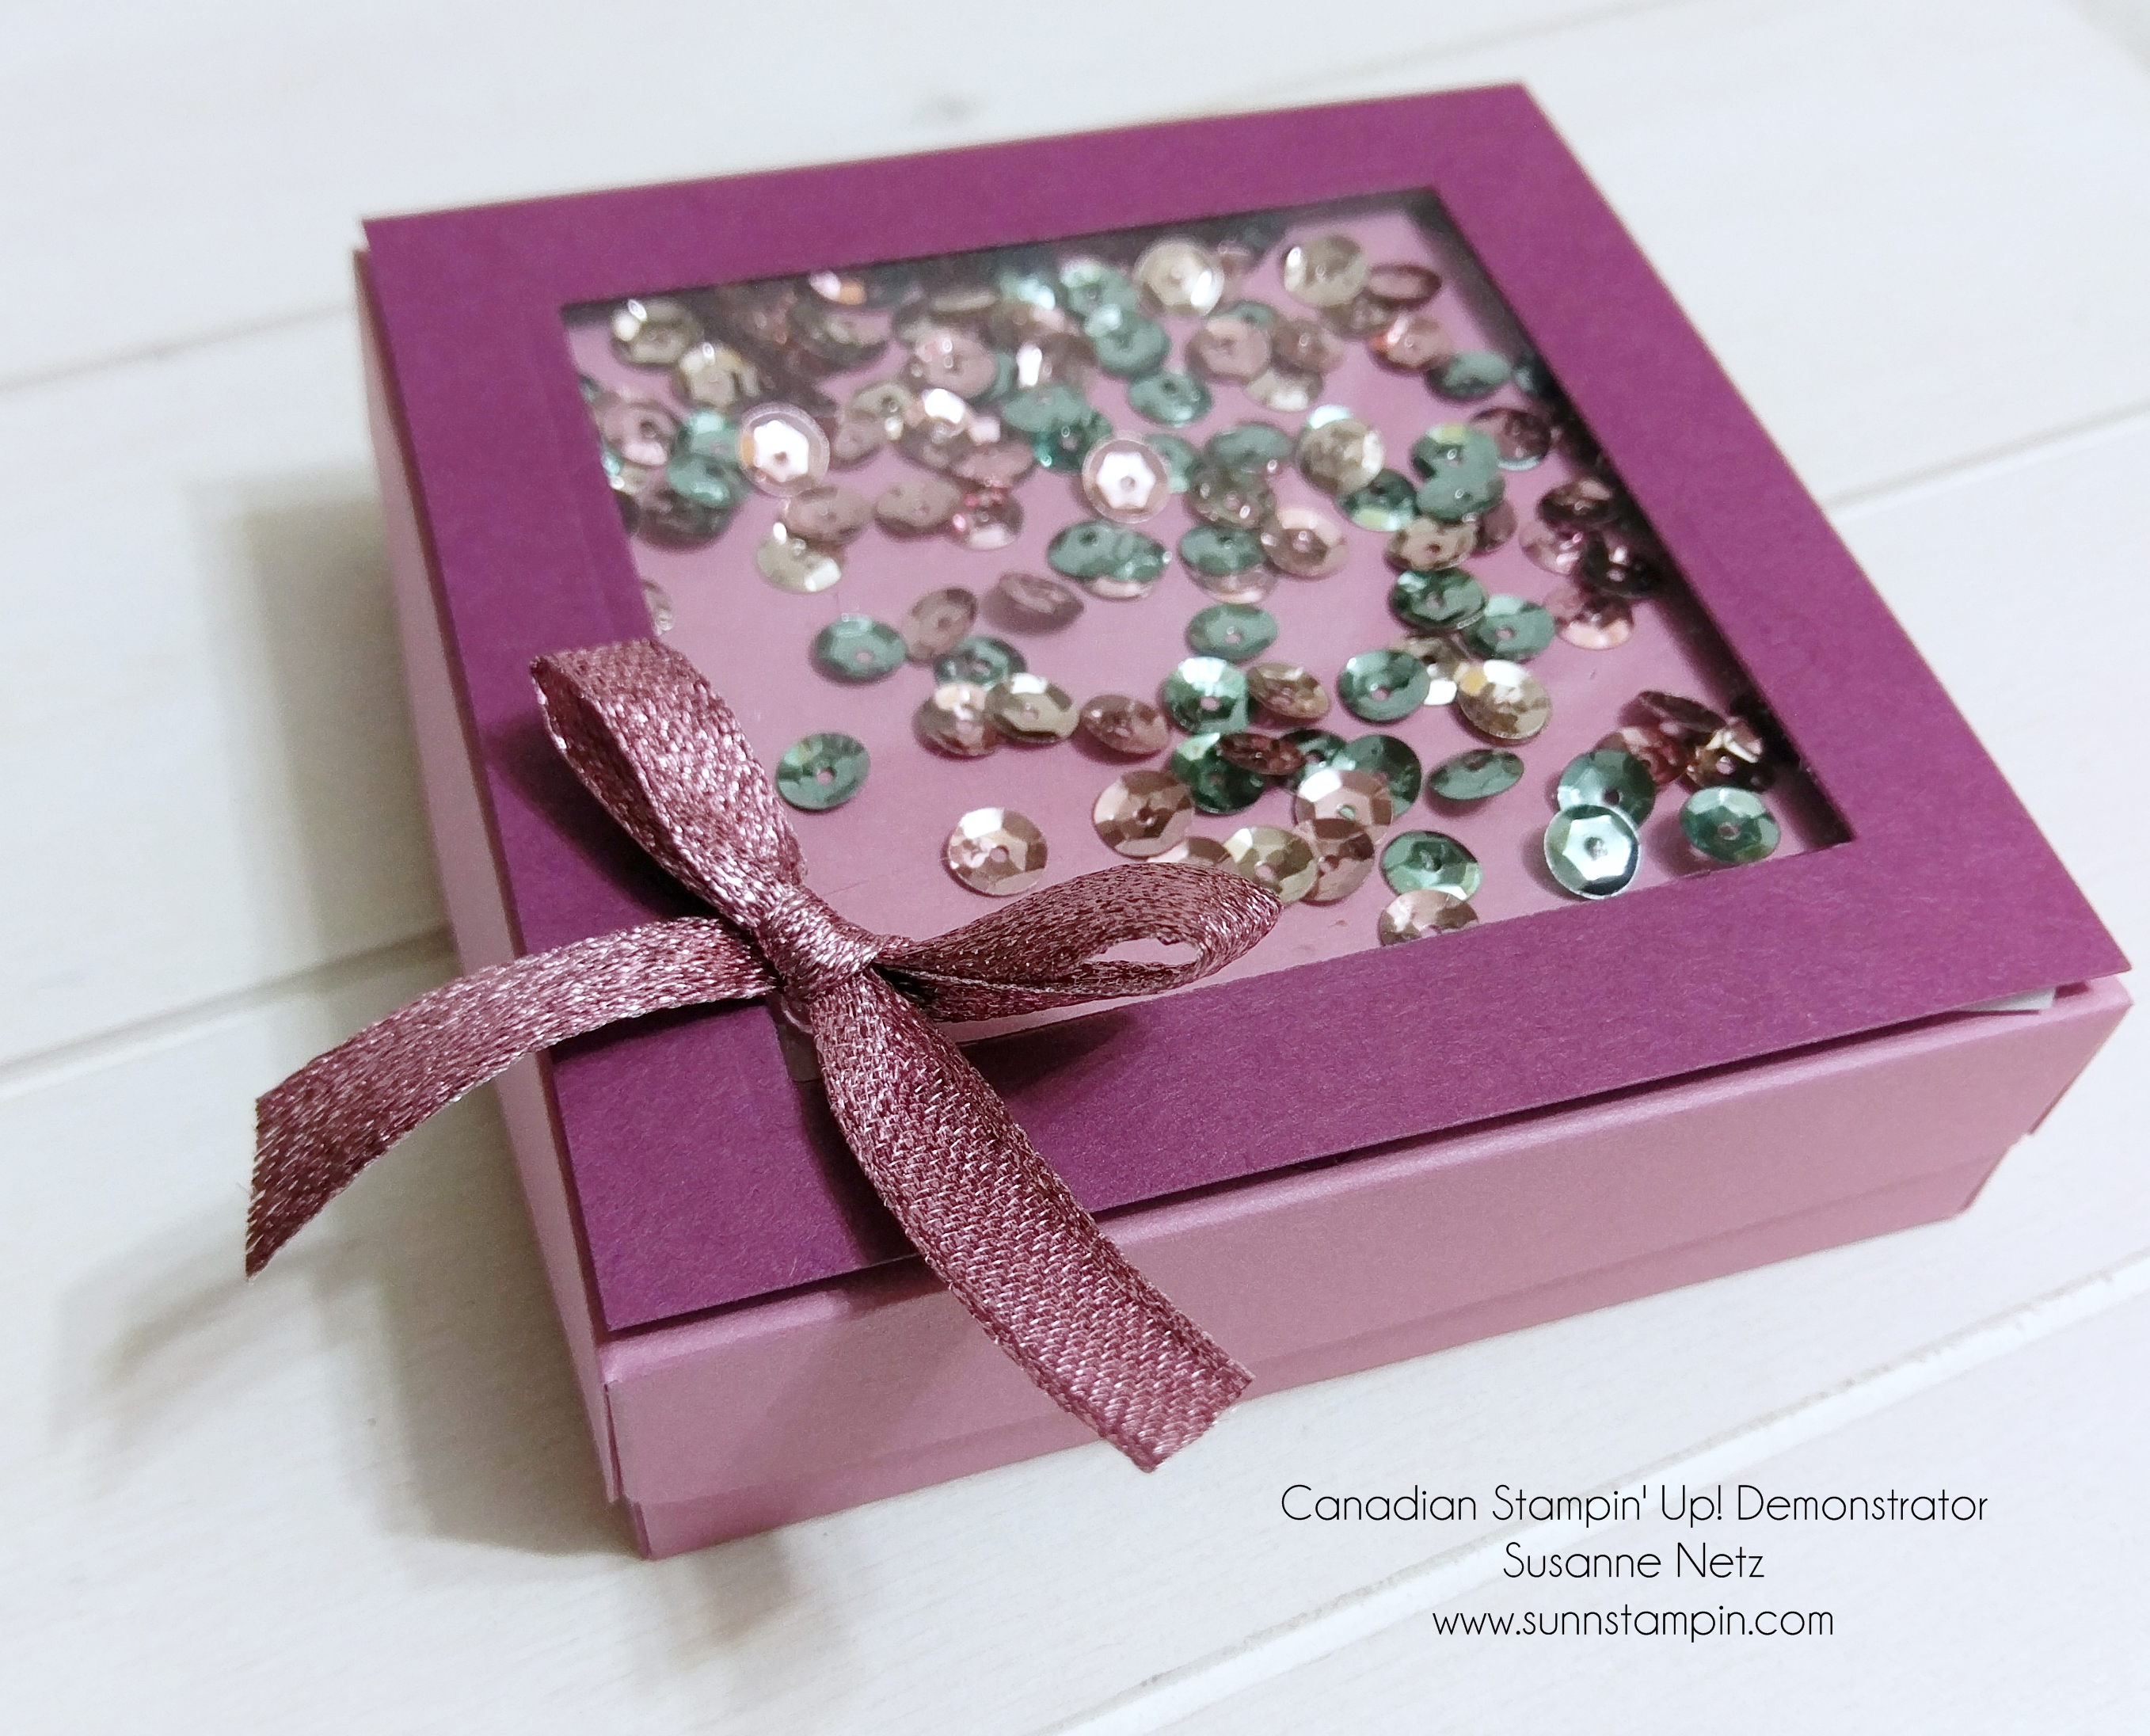
Hello and welcome my crafty friends. I hope this blog post finds you happy and healthy and in the whirl wind of the Christmas season. On Wednesday of this week I posted a simple craft project to show how a simple piece of tile can be turned into a very pretty coaster. Well, I made several sets of these coasters and I have to house them in a pretty box. I am giving them away to my co-workers and may have a few left overs for a few friends. Here is the photo, the supply list is beneath and of course there is a video. The recipe follows the video. Have a great weekend and I will see you again on Monday.
Product List
The Details:
Box Base Cardstock sizing: 8 1/8″ by 8 1/8″. Scoring: 1″, 2 1/8″, 6, and 7 1/8″ on both sides
Box Top Sizing: 5 3/8″ by 5 3/8″. Scoring on all 4 sides at 3/4″.
Hello and thank you dear friend for making this series possible. I appreciate your comments and your support more than you know. It’s the last day of my Christmas Series and I hope you had fun and got inspired. I wish you a very happy time crafting and that you have a lovely, stress free December. I do not book classes or workshops during the month of December because my day job is so busy this time of year. However, I will still bring you content throughout the month of December so I will try to stay as a source of inspiration and fun for you. So the project I have to share with you today is a great one, I loved it and may try to do different sizes as I really liked the out come. 🙂 Enough chatter and enjoy the last day of my Christmas Crush Series.
Product List
The Details:
Cardstock sizing: Outer box 4 1/4″ by 11″.
Long side scoring: 2 3/4″, 4″, 6 3/4″ 8″, 10 3/4″
Short side scoring: none
Cardstock sizing for Drawer Box: 5 1/16″ by 6 5/8″.
Scoring: 1 3/16 on all four sides.
Patterned Paper sizing: 2 5/8″ by 4 1/8″ for the outside and for the inside card part the patterned paper and plain card sizing I used was 2 1/2″ b y 4″.
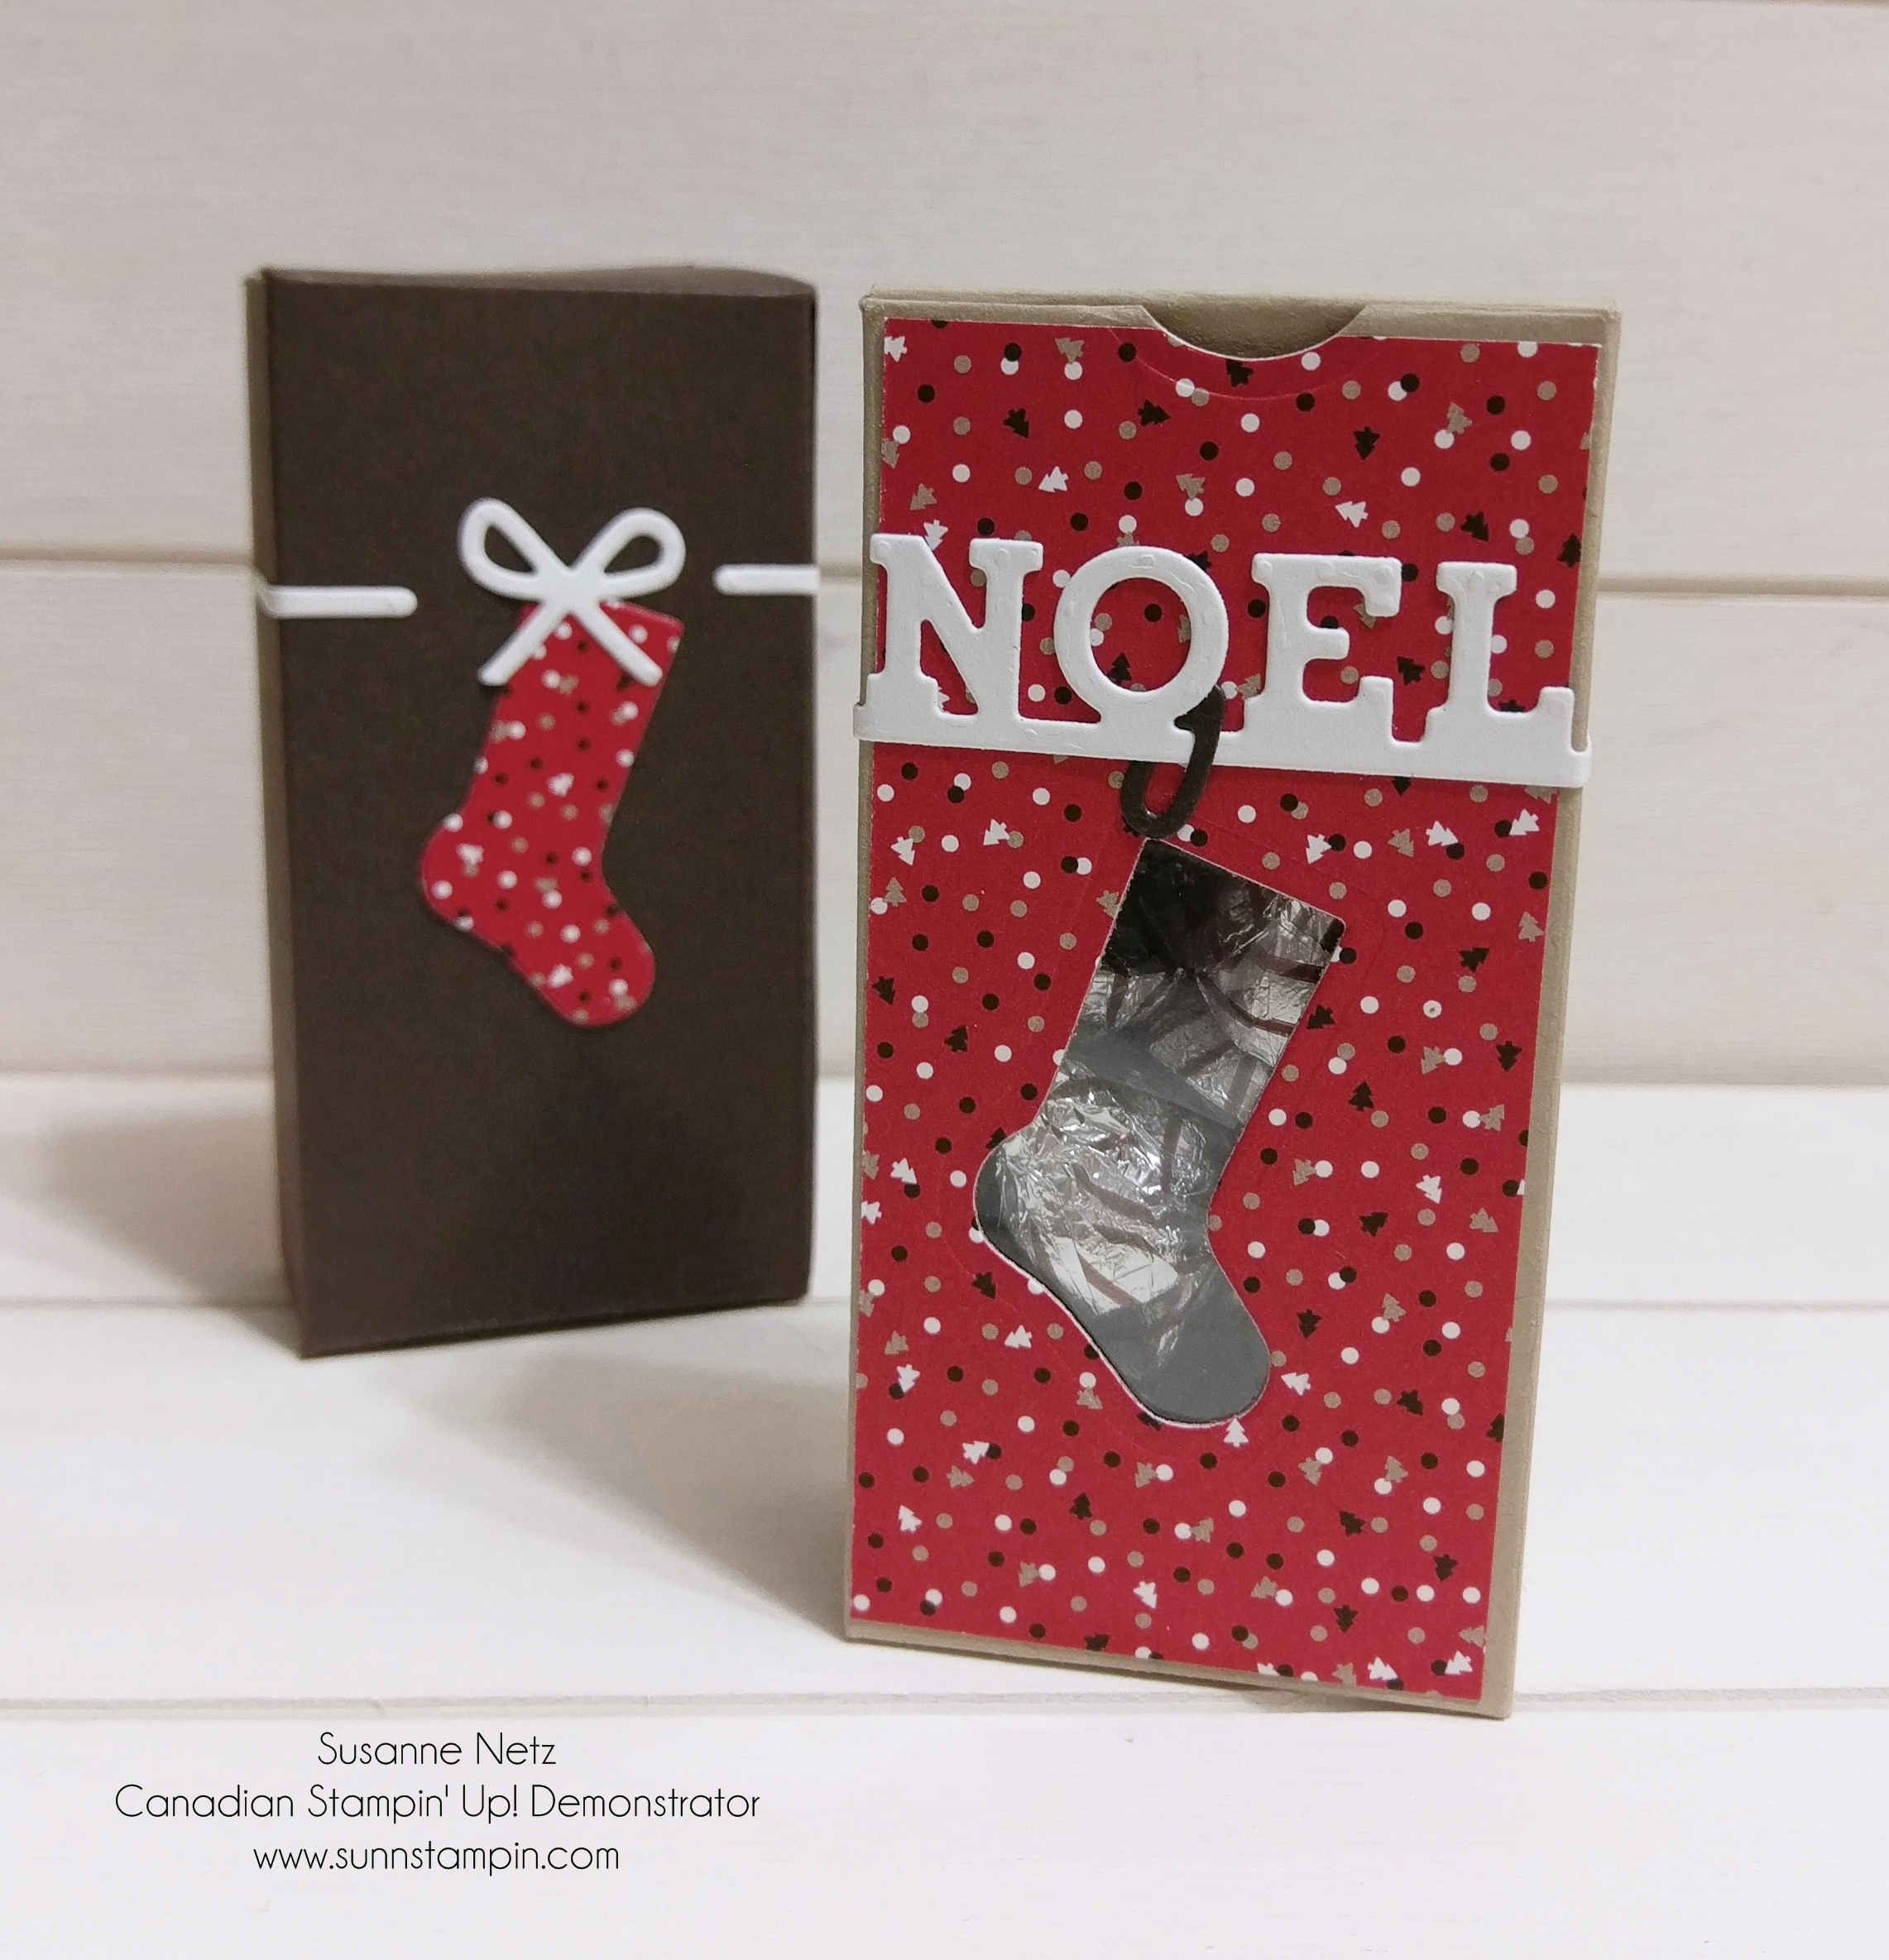
Hello and joyous noel to you. I hope you are finding some inspiration here on my blog. If you need more ideas please pop by my gallery page and look at some of the photos with videos there, as I did this series last year as well. Anyway, this is a wonderful little box to house a gift card in. Check it out.
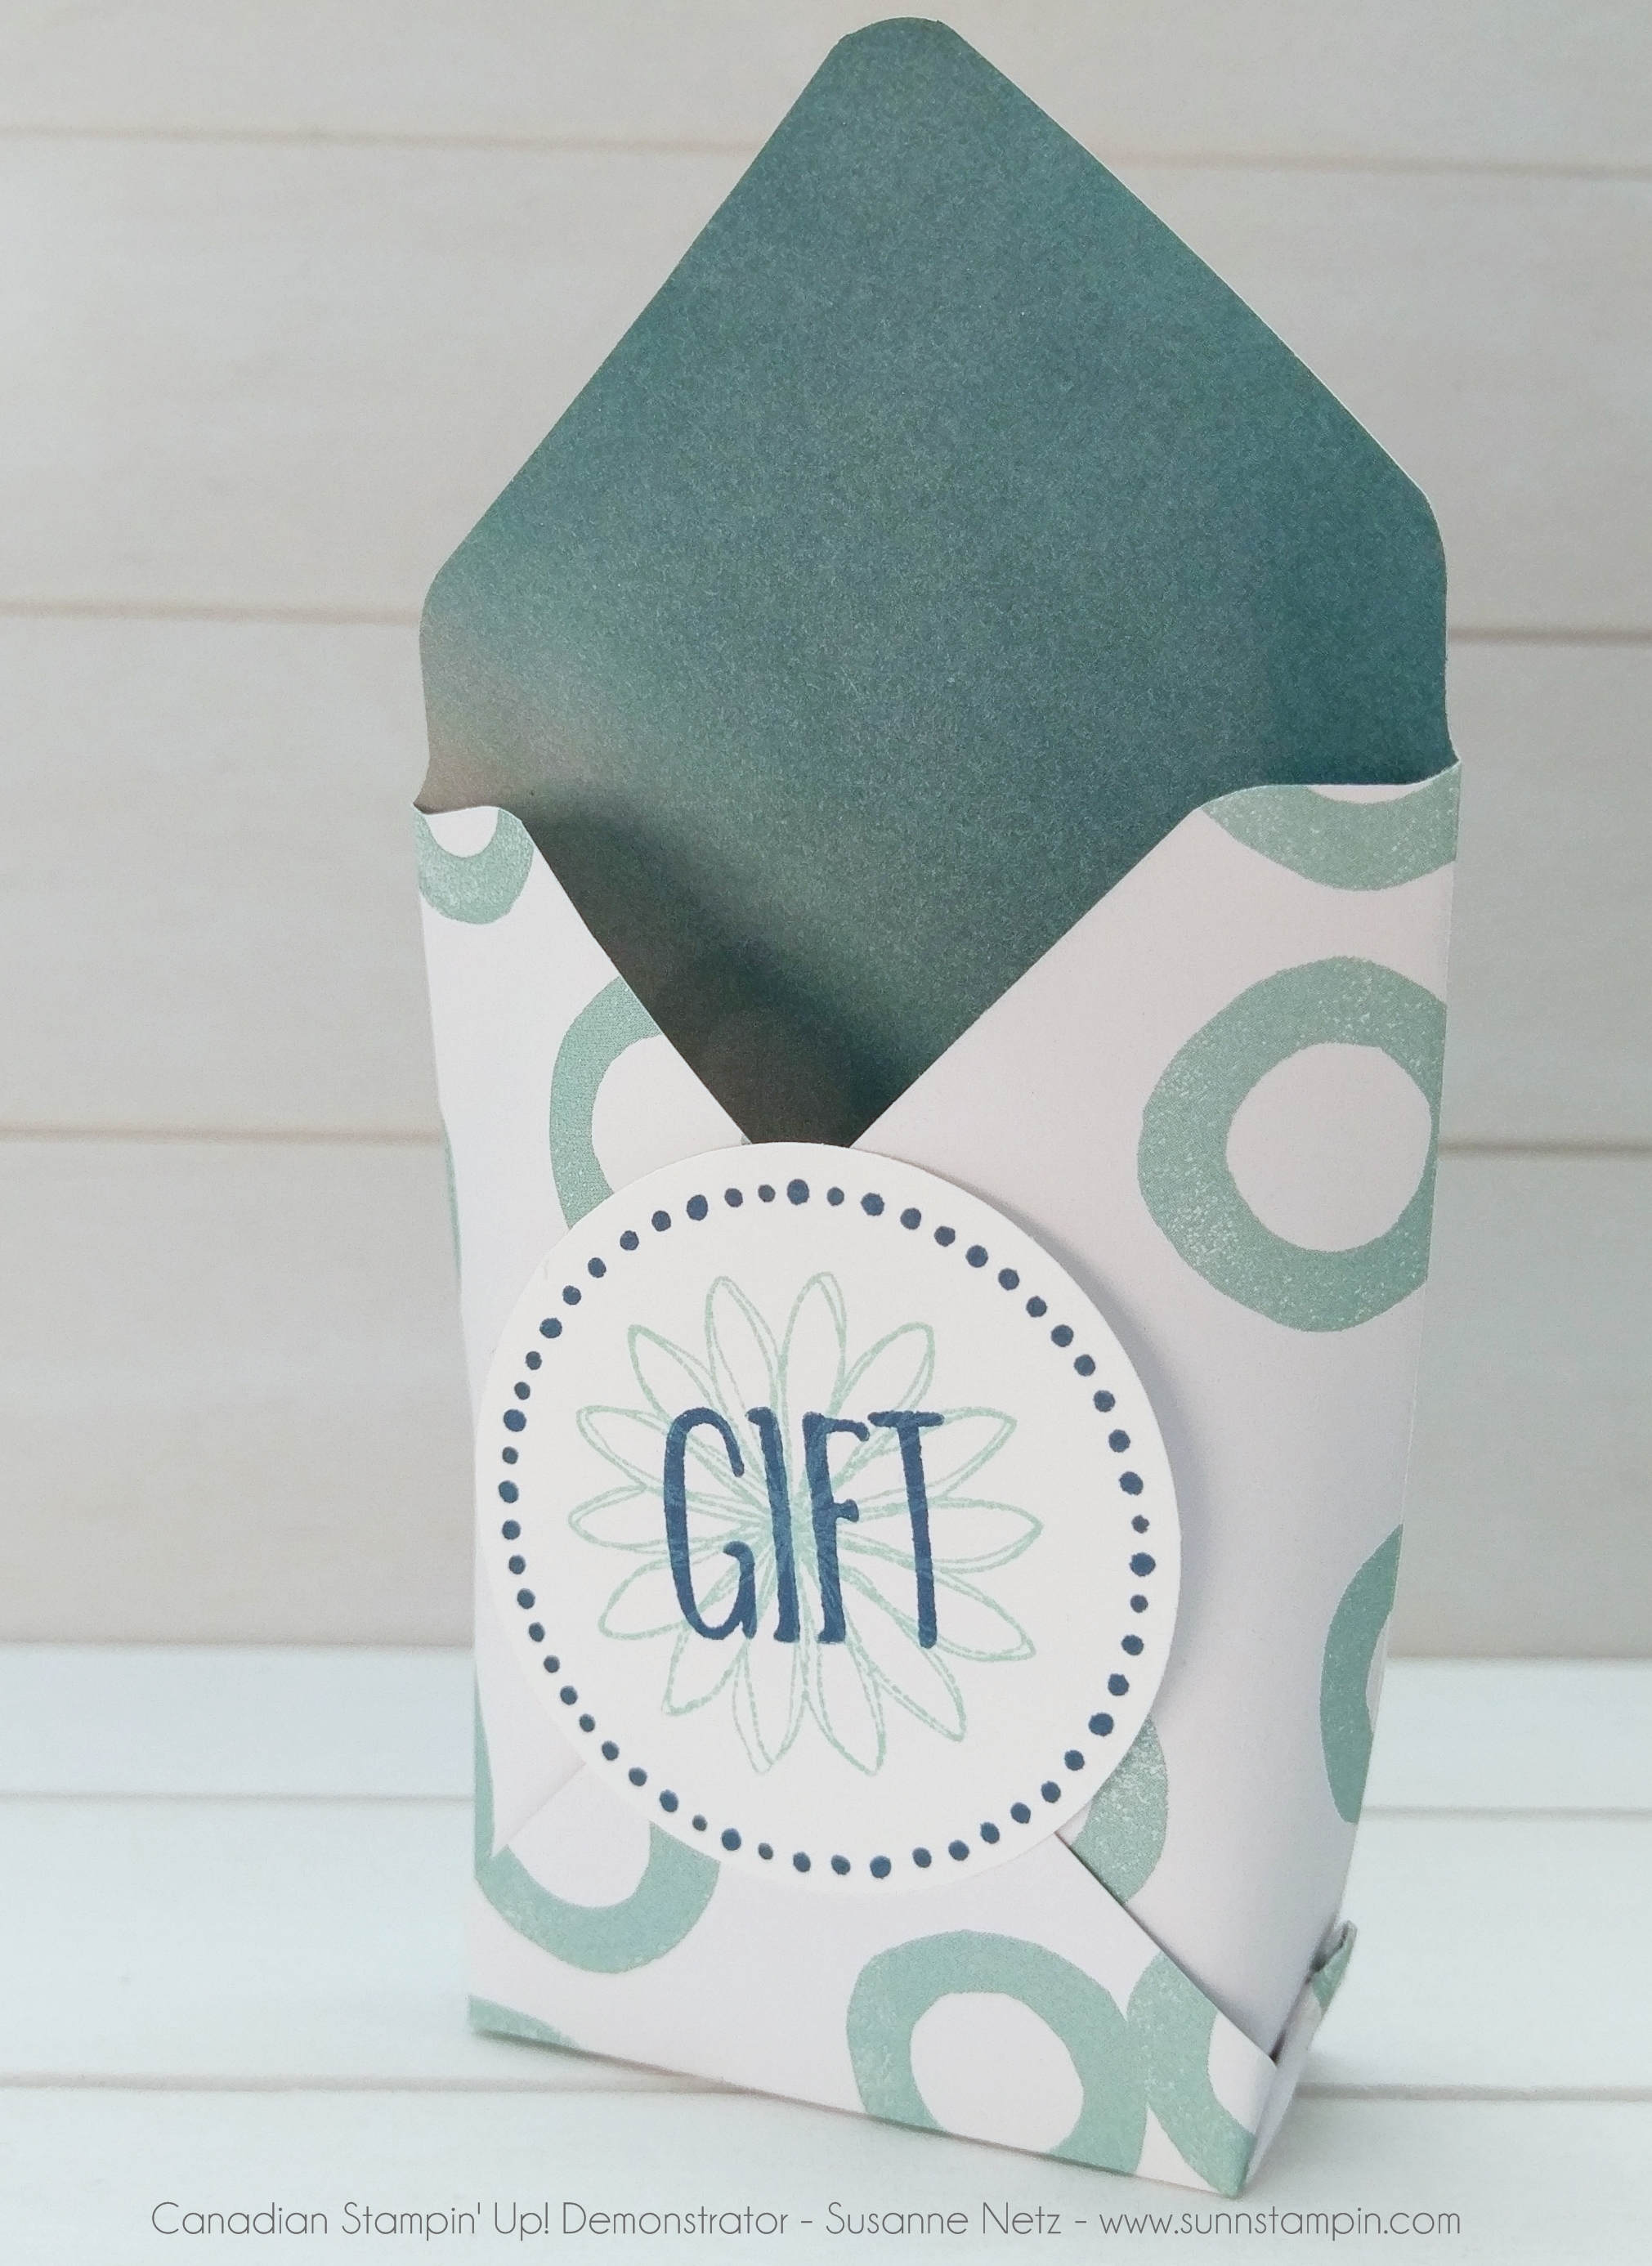
Hi there. Hope you are happy and healthy. Today is a project using the Envelope Punch Board. I really love this tool and find that I make more projects with it than envelopes. However, that corner rounder serves wonderfully for card making as well. Most versatile tool? I would have to agree. So, let’s celebrate this tool with a project…yay!
Using the envelope punch board line up left side to the 3 1/2″ mark, punch score and scoot your paper to the left and punch at 4 3/8″ punch score and turn the paper 90 degrees.
Follow the rest of the scored lines by lining up your score guide to the score line and punch score and scoot.
When finished the bigger triangles you will cut off about 1 1/2″ and round the two small ones.
Layering pieces: Matt 4 1/4″ by 1 5/8″. Glimmer piece is 1 1/2″ by 4 1/8″.
Hello, it’s Friday and all is well with the world. Mainly because of brave men and women who fought for our freedoms and our way of life. It is Remembrance Day here in Canada and I do thank these brave soldiers who basically allowed me to grow up the way I did. With deepest respect I send my gratitude and thoughts to them.
I also want to check in with you all, are you enjoying all these Christmas Projects and are you getting inspired by them? I hope you are settling in to do a little crafting with me today. I have a really cute project to share with you today so let’s get on with it shall we?
Product List
The Details:
Cardstock sizing 6 1/2: by 6 1/2″
Scoring on the long side at: 1″, 5″, 6″, and 6 1/2″.
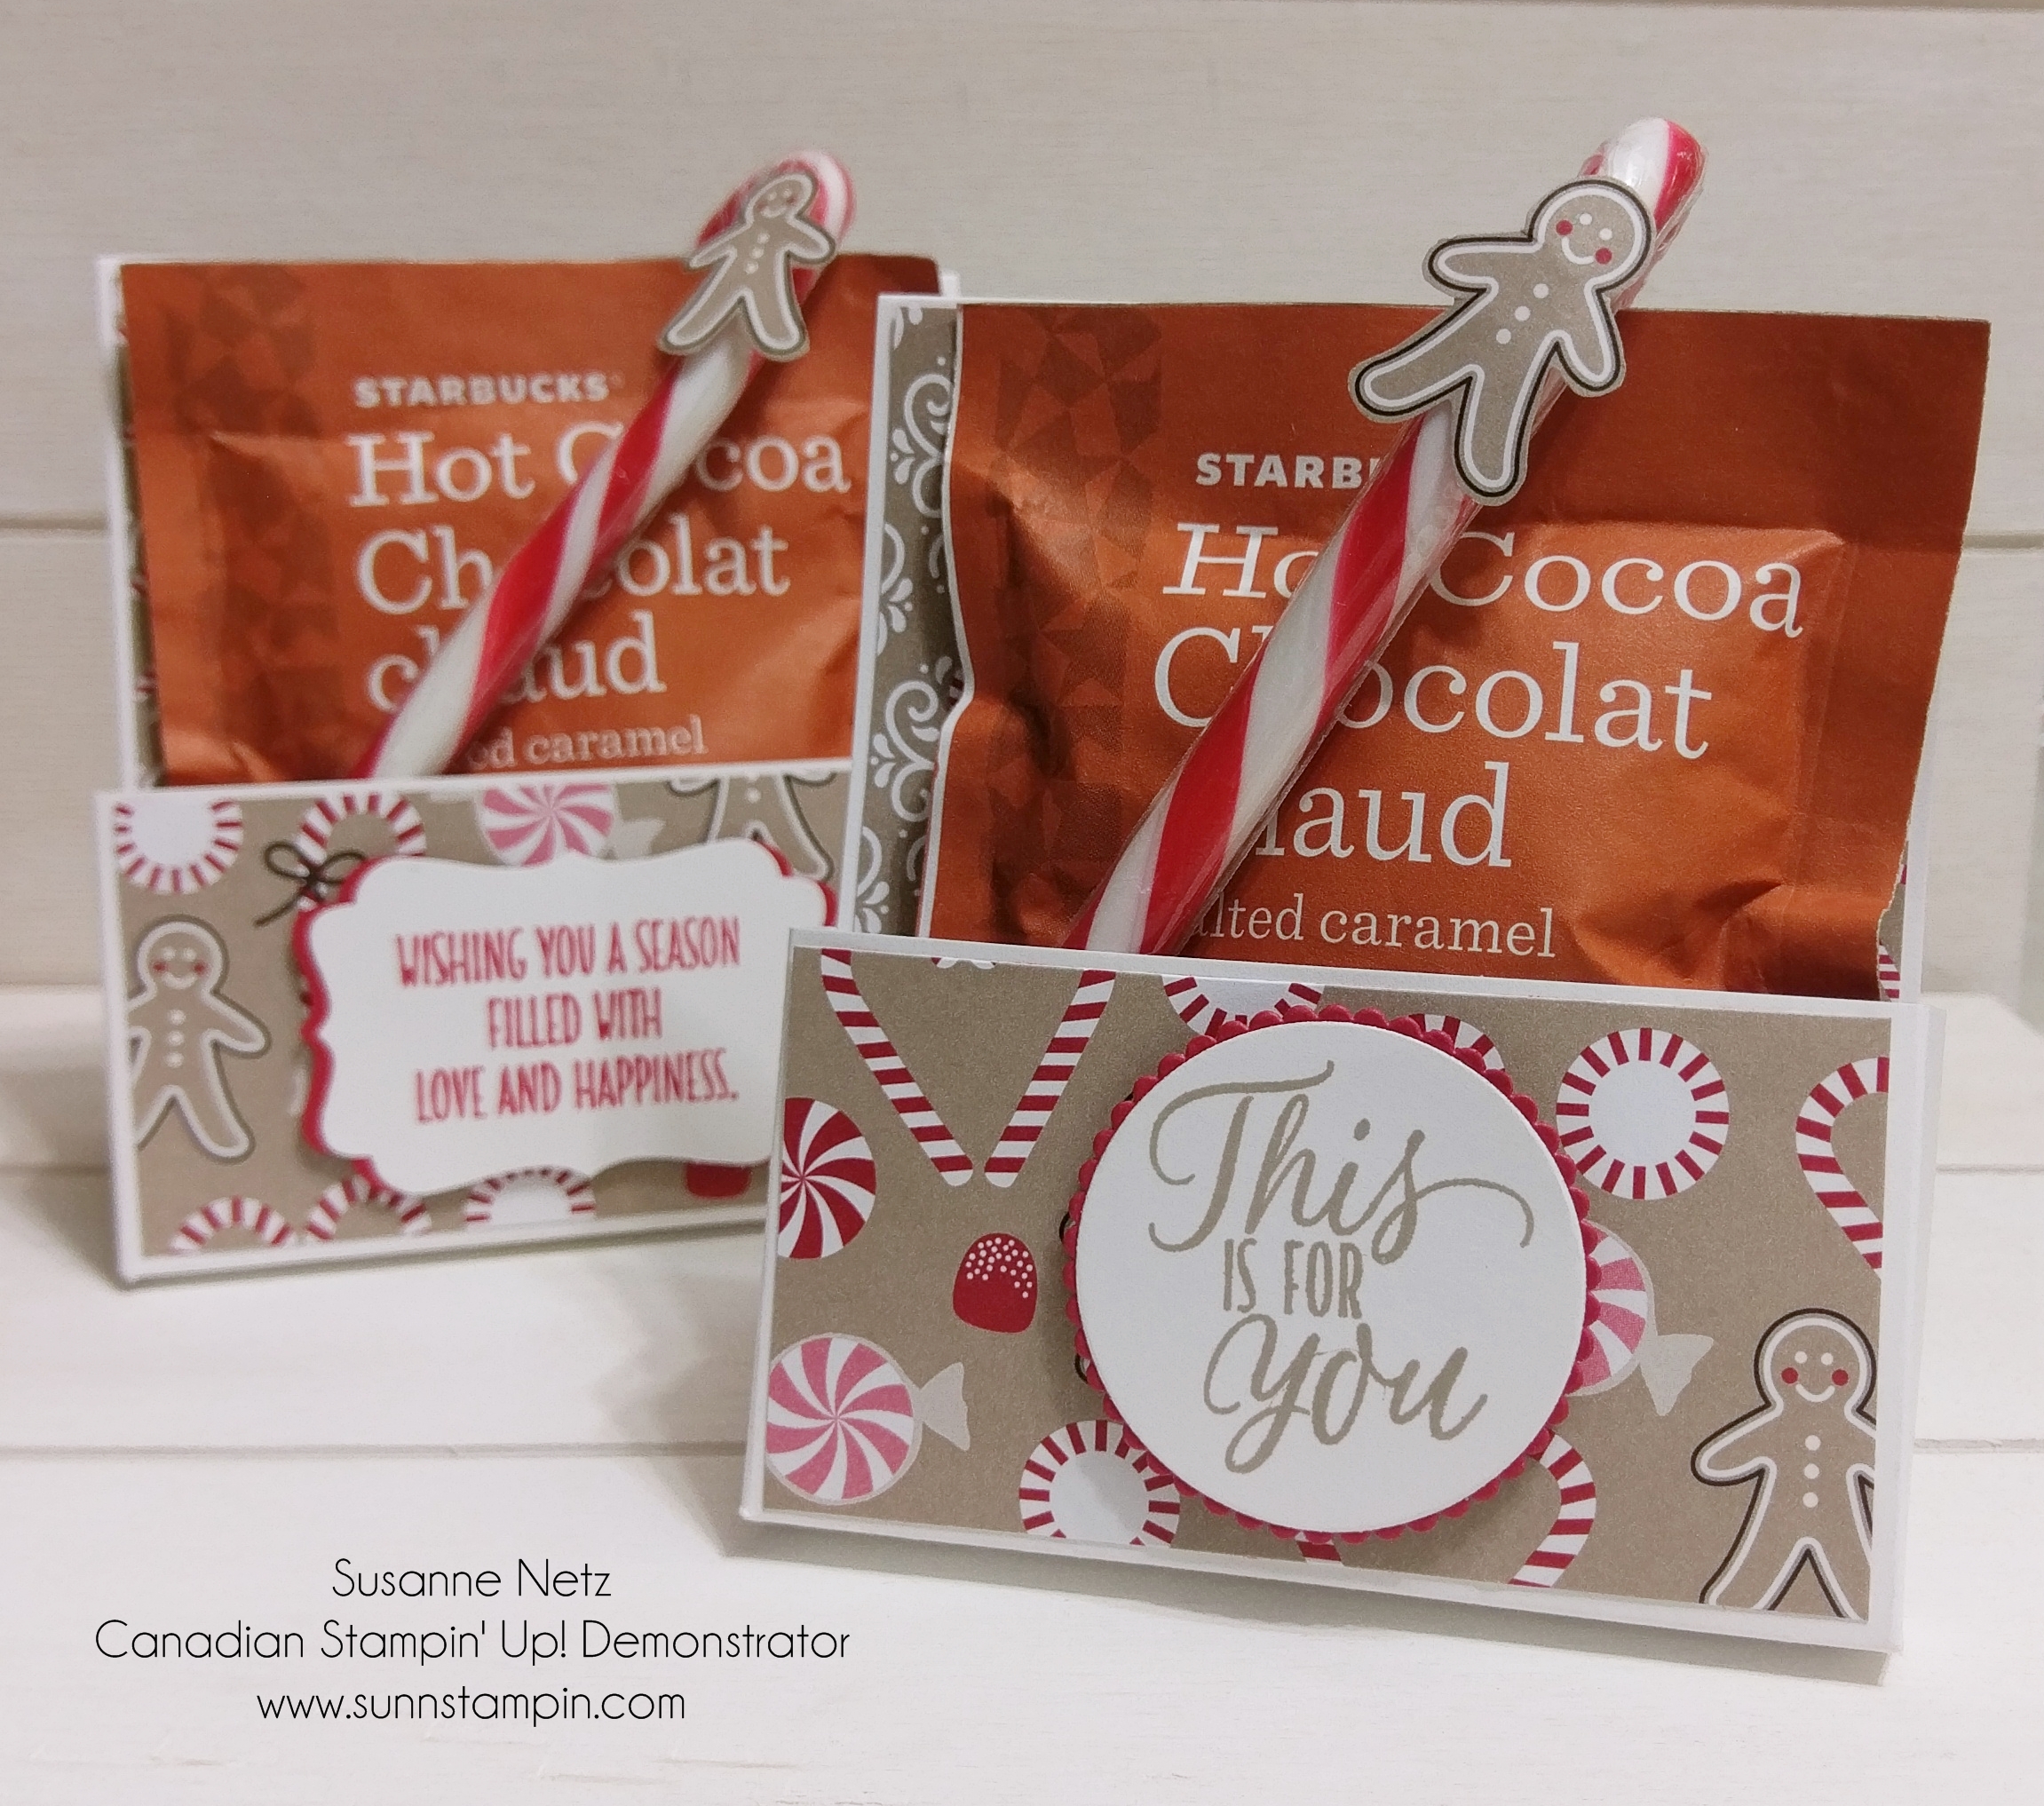
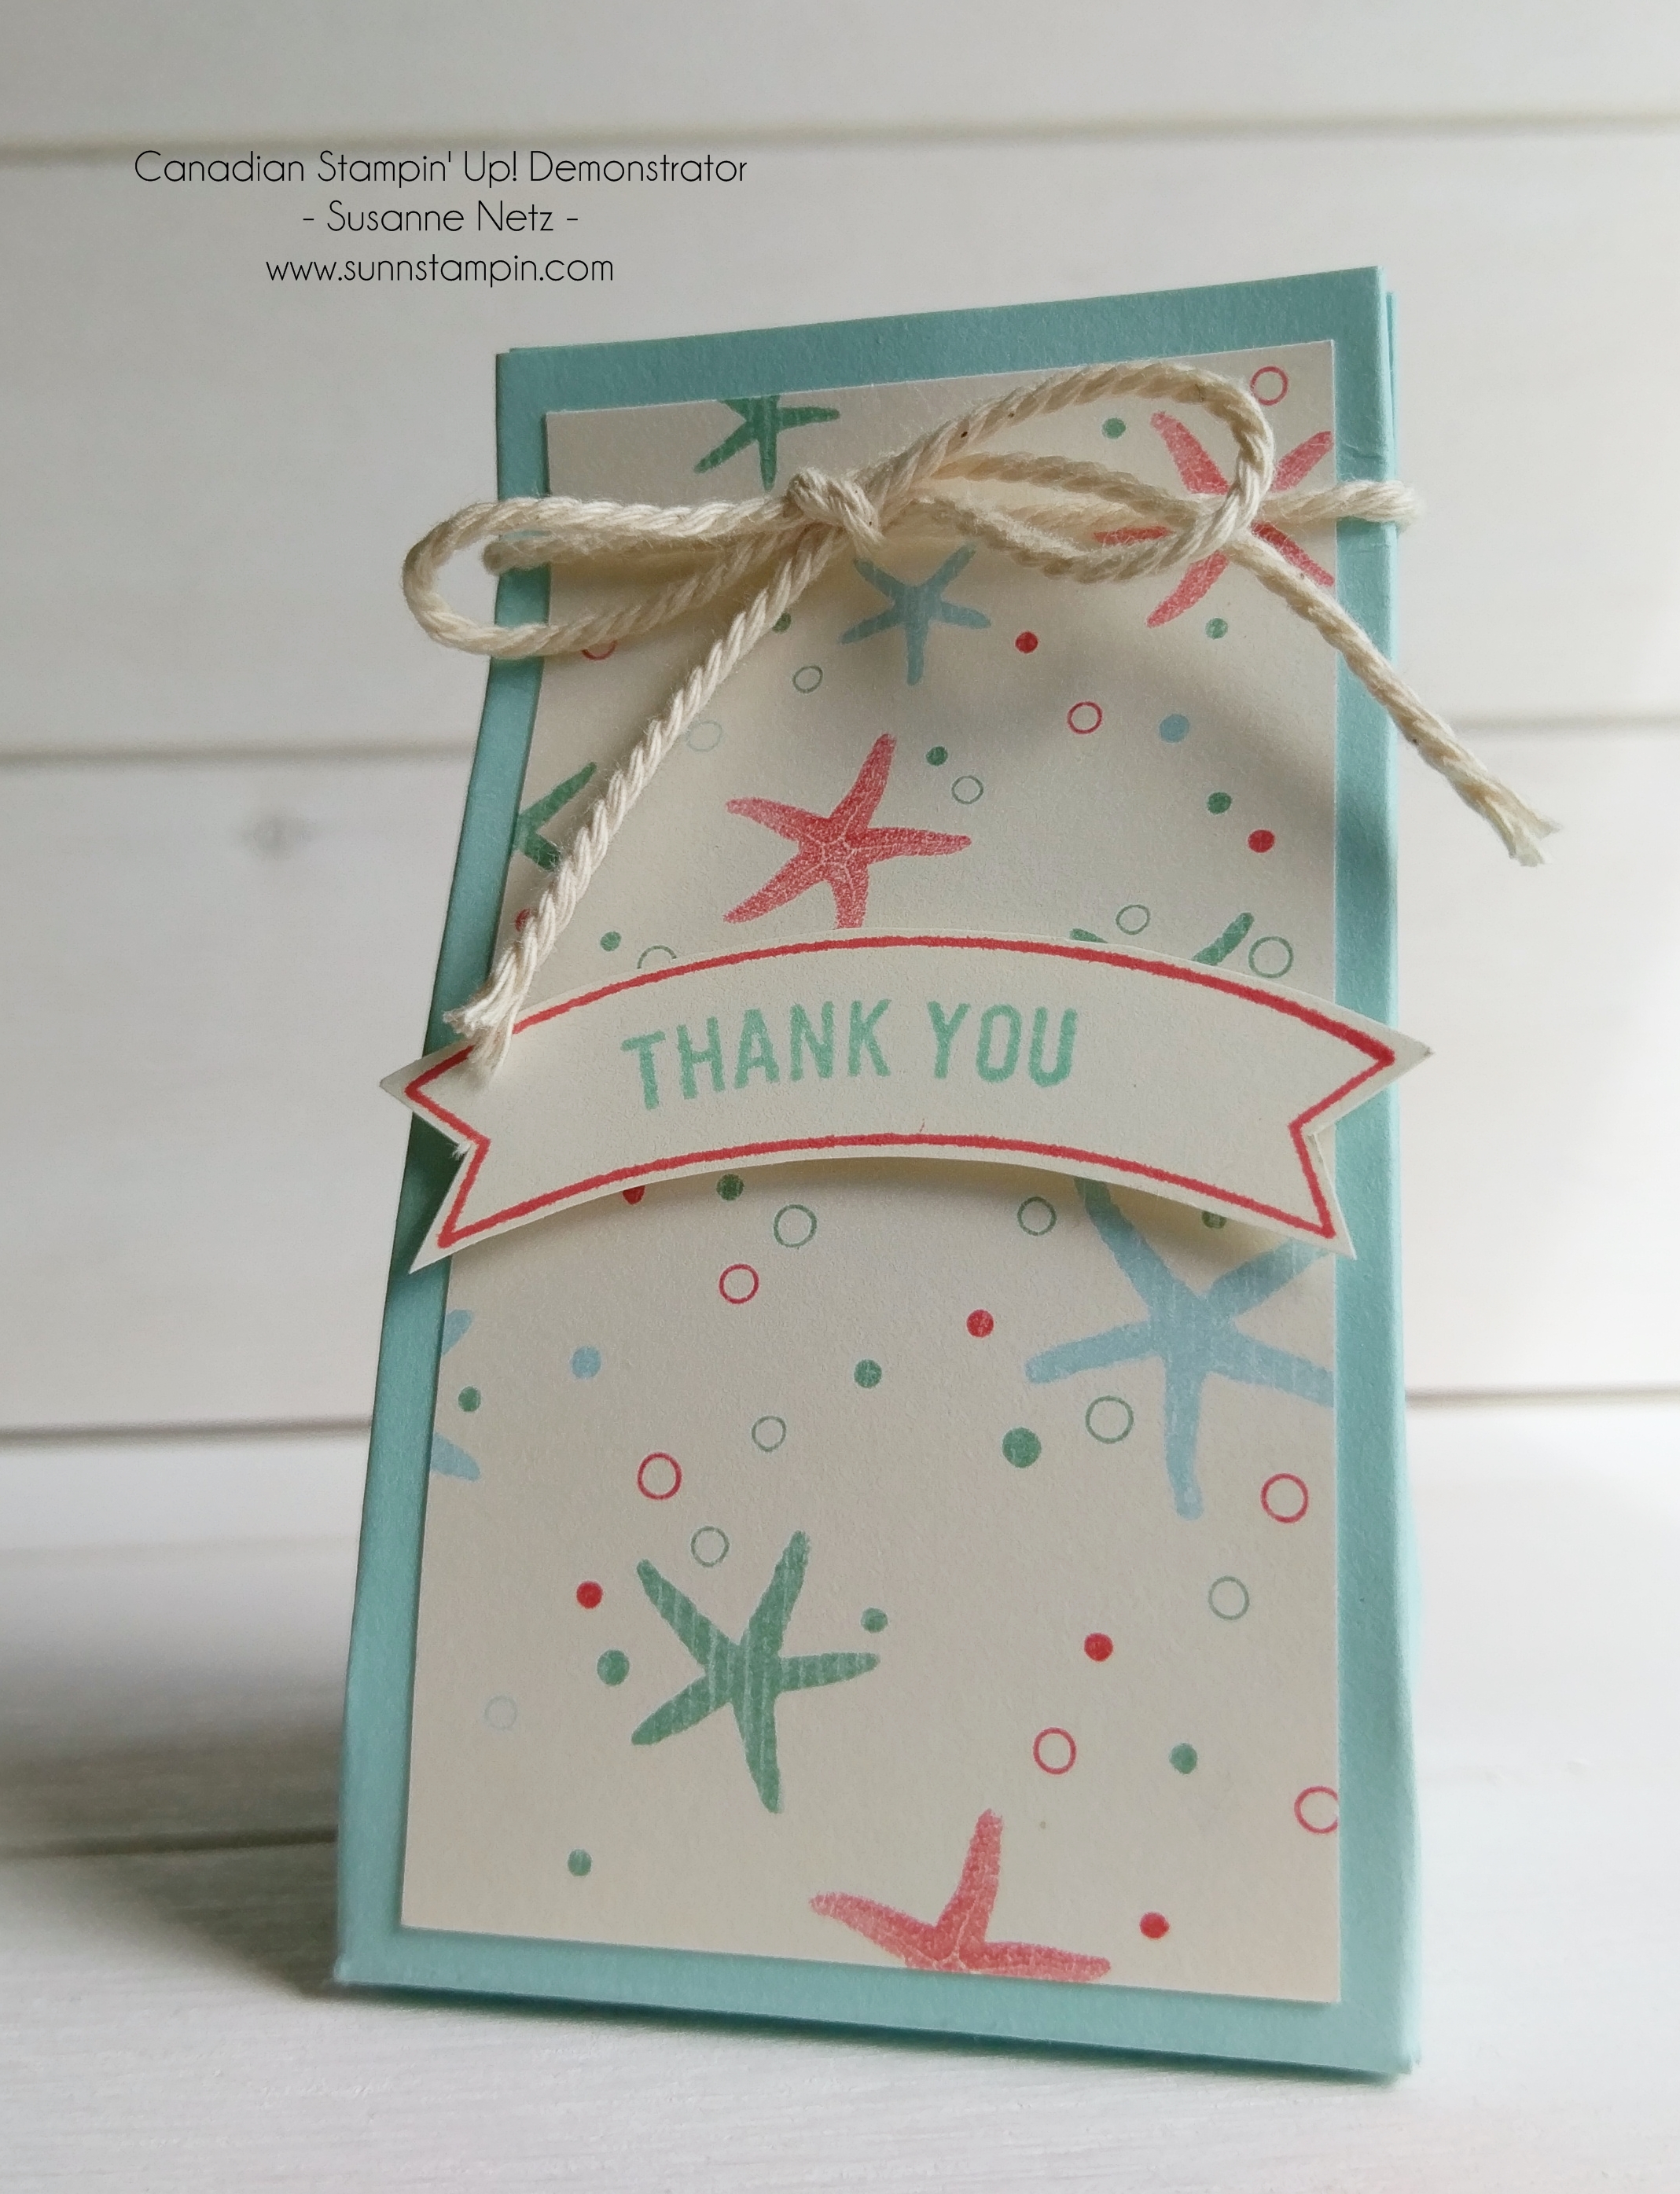
Hello, in keeping with my regular schedule…Fridays are always reserved for projects and today is no different. I am sharing a project that many people had used for post it notes and pencils…however, I made mine to house hot chocolate. Speaking of…I think I should go make myself one. No, I may spill it on the road…yes folks, as you read this I am traveling to Vancouver, BC for “ON STAGE LOCAL”. This is a convention type gathering for local Demonstrators go to get invigorated and rejuvenated. You can imagine how many hoops I had to jump through to get the first 2 weeks of Christmas Crush scheduled BEFORE I leave. Let me tell you, I love you guys so much that there was (more than a few) late nights doing all this blogging work. Anyway, enough gibber gabbing. On with the show….
Product List
The Details:
Cardstock sizing: 3 3/4″ by 11″
Long side scoring at 4 /1/4″, 8 1/2″, 9 1/2″ and 10 1/2″.
Pocket Cardstock sizing: 3″ 5 3/4″.
Score at 1/2″ and 1″ on 3 sides (2 short and one long).
Hello there. As the festive season looms in the future I came up with a unique idea to share with your overnight guests. The idea was inspired by those items you find in a hotel washroom in case you forgot or need a little something. Check it out
Product List
Vanity Box cardstock sizing: 5 1/2″ by 4 1/2″.
Scoring on the long side at 1/2″, 1″, 4 1/2″ and 5″.
Scoring on the short side at 1/2″, 2″, 2 1/2″, and 4″.
Sewing Pocket cardstock sizing: 5 1/2″ by 3 3/4″.
Scoring on the long side at: 3/4″, 7/8″ 3 1/4″ and 3 3/8″.
Scoring on the short side at: 7/8″, 1, 2 7/8″ and 3″.
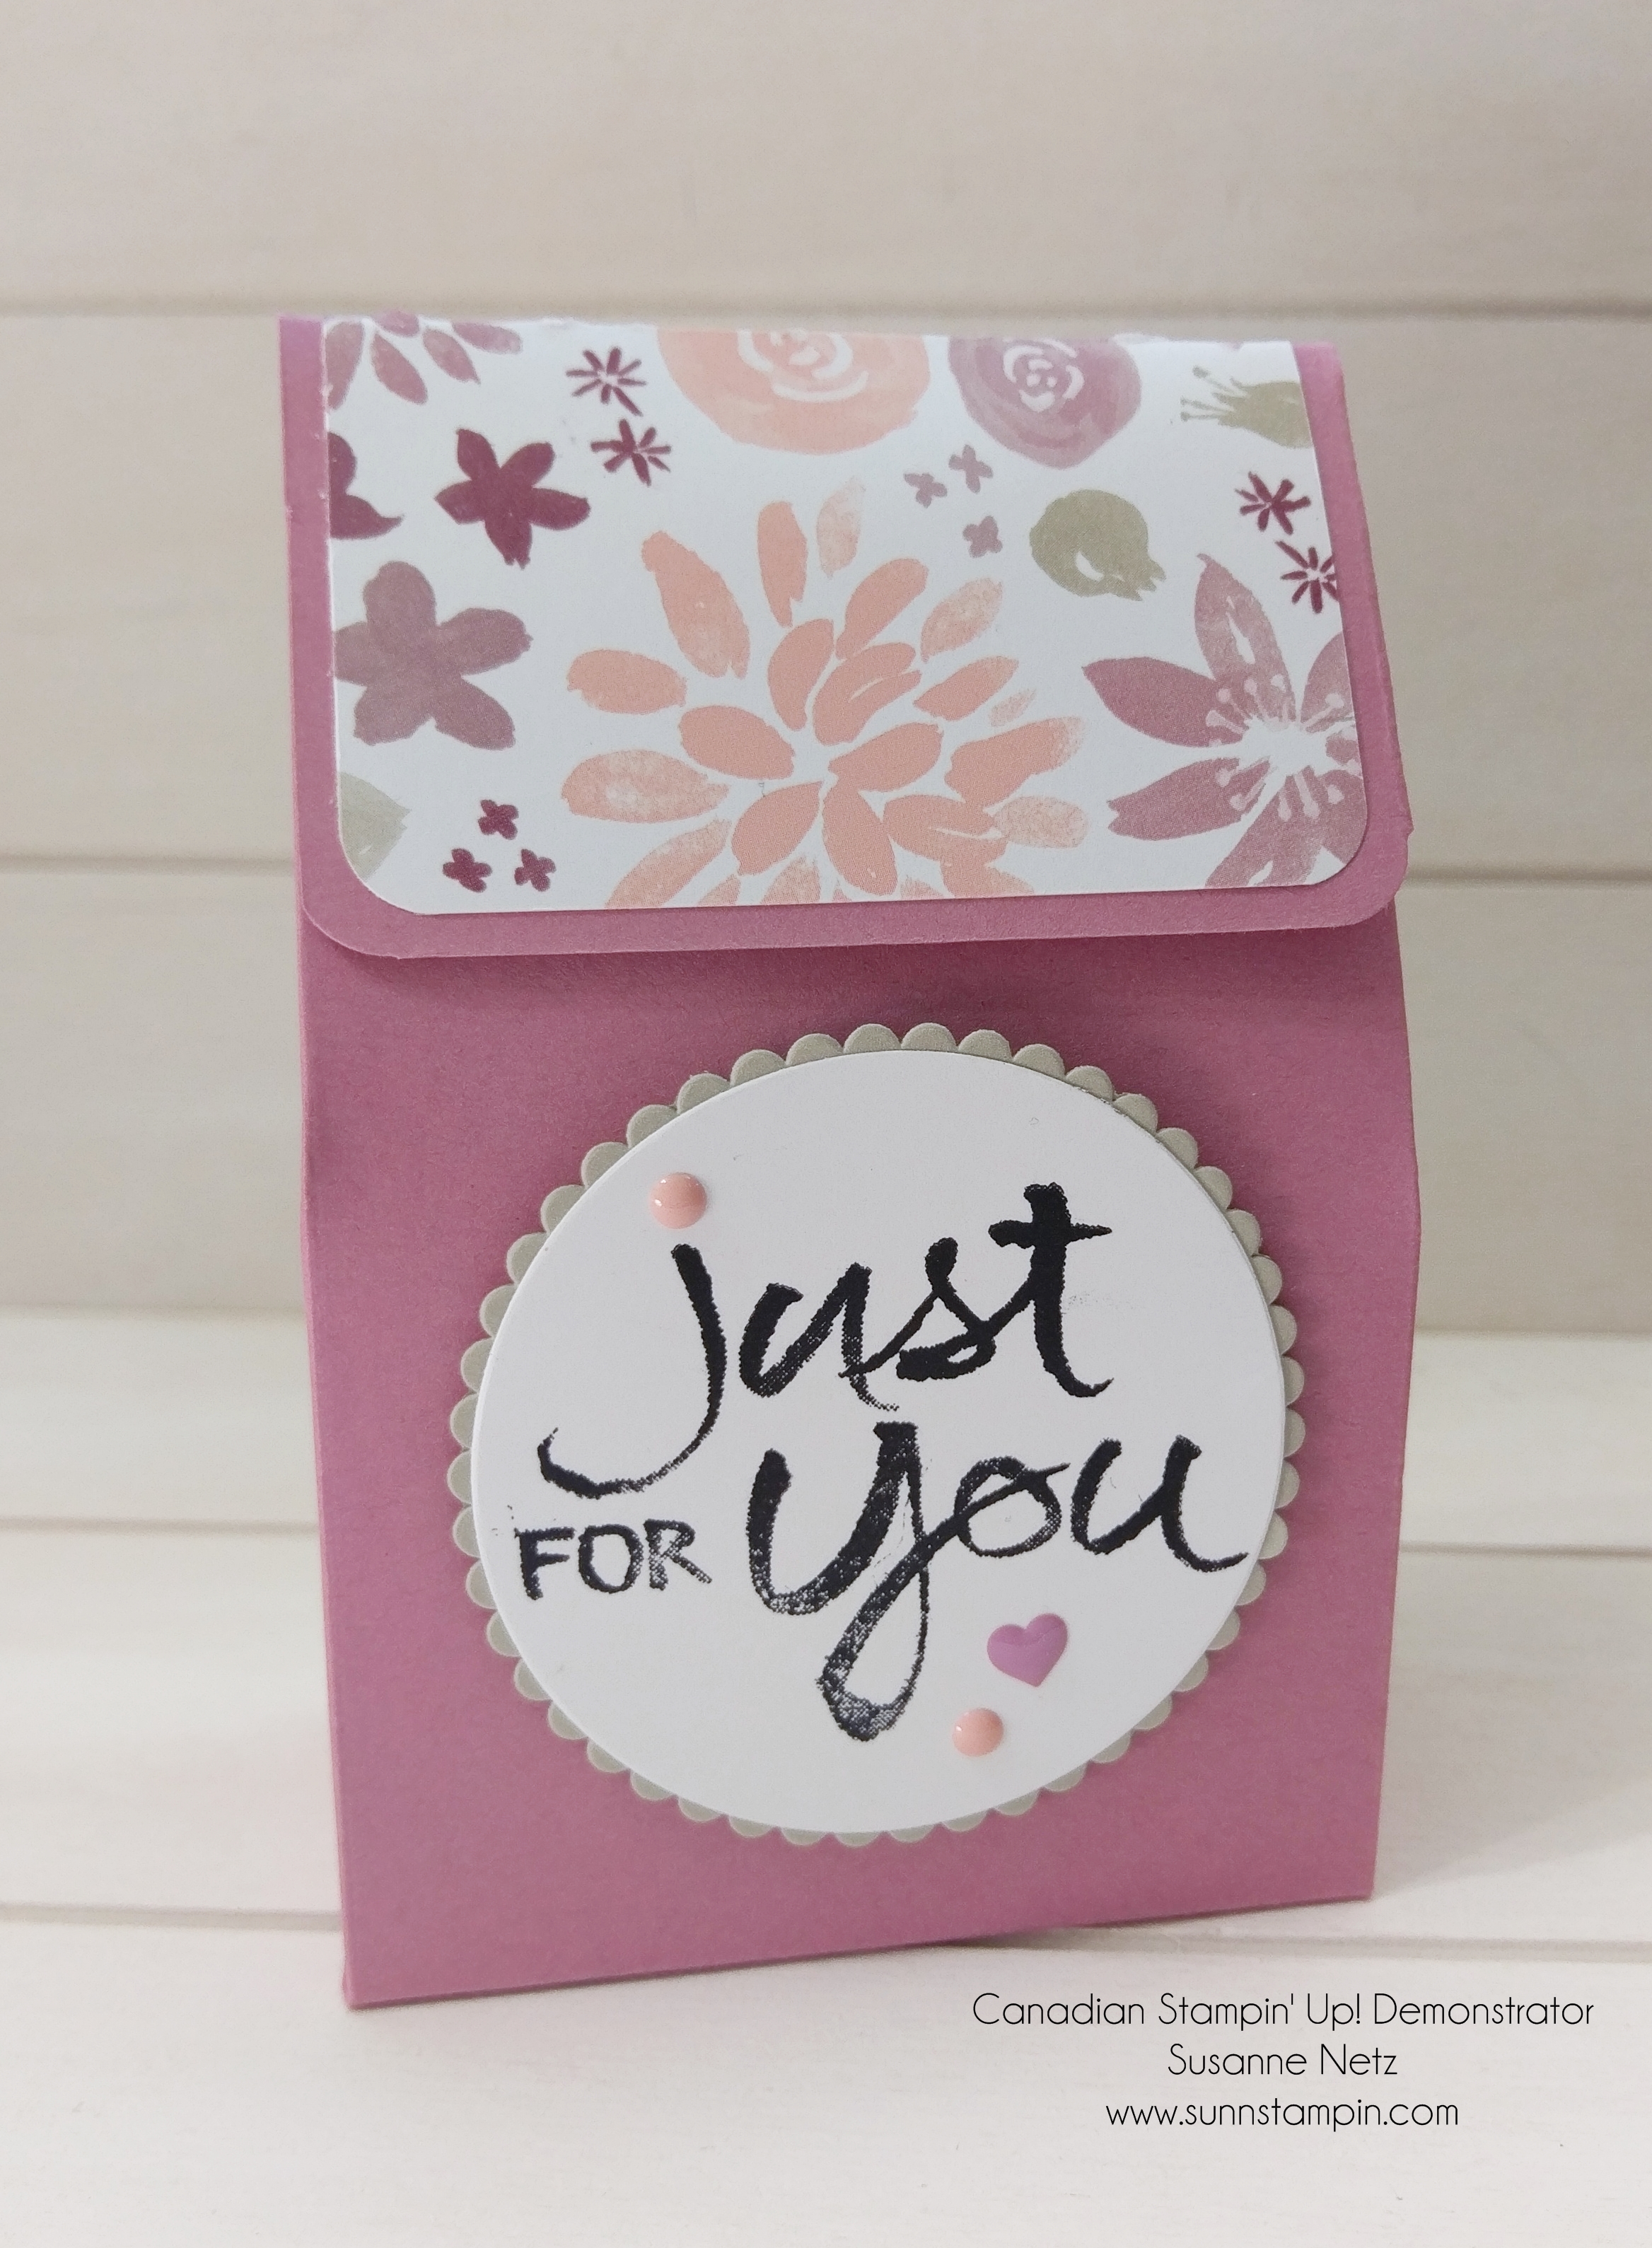
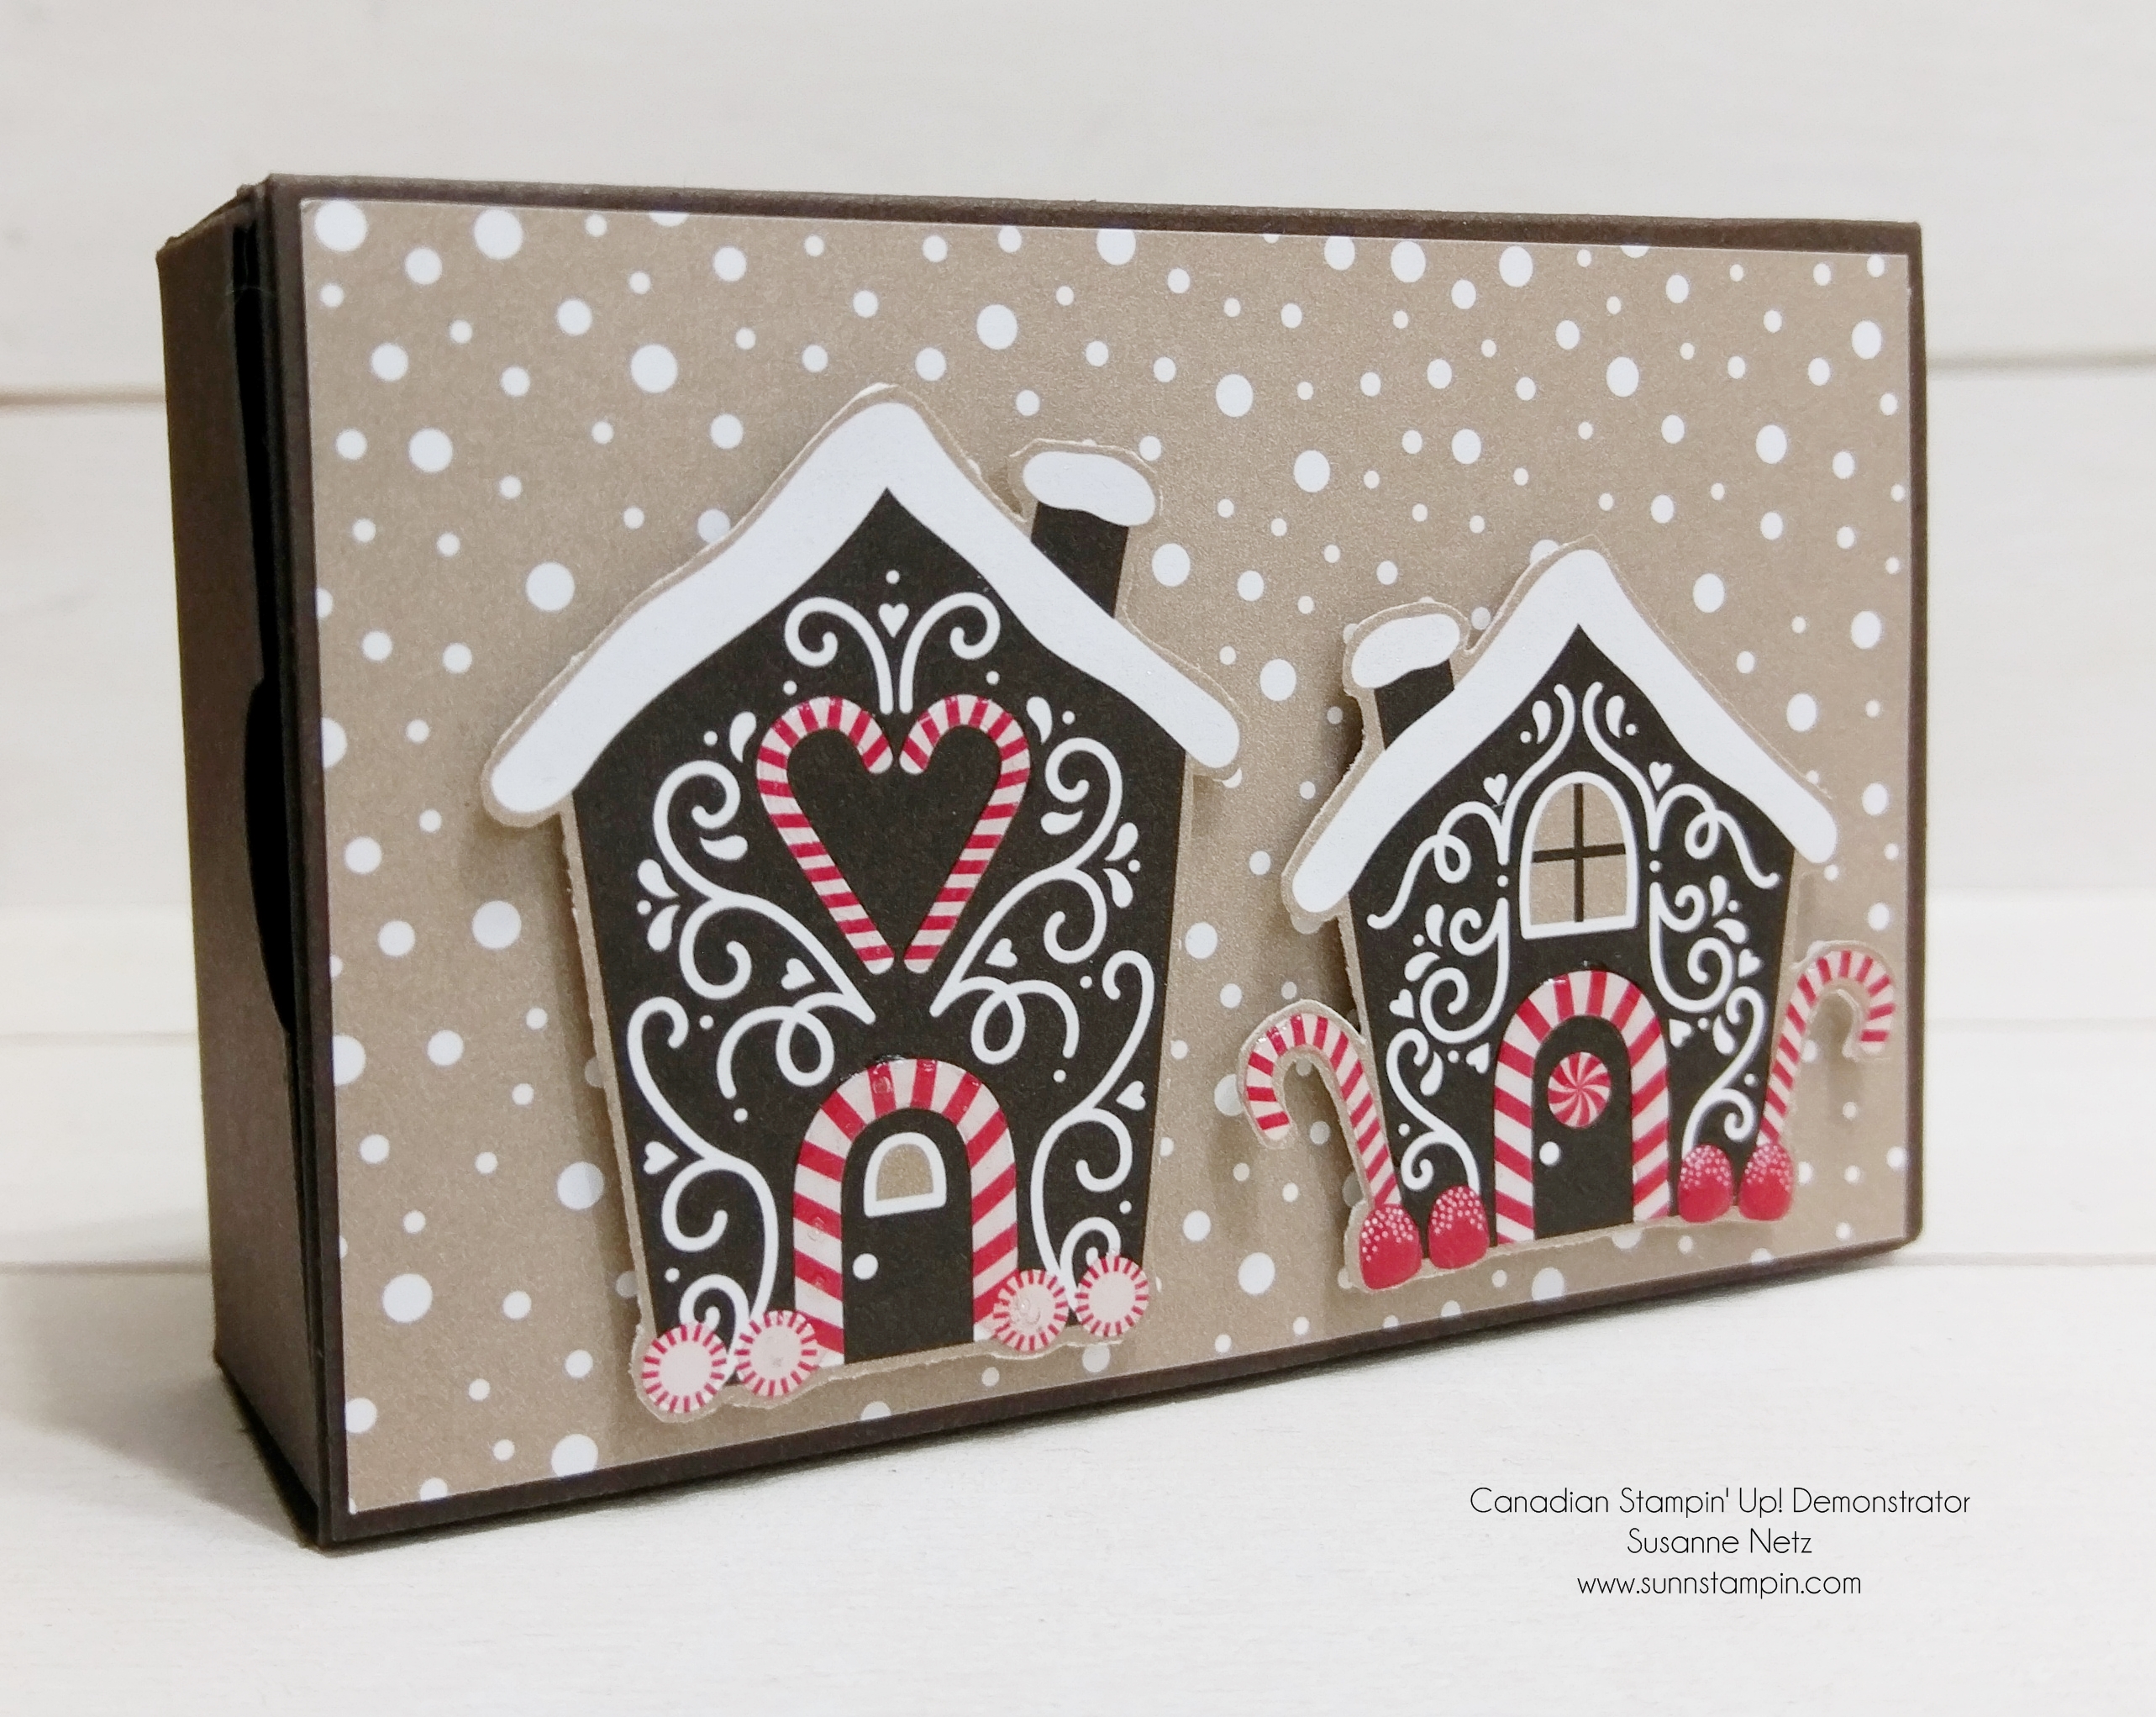
Hello and Welcome. I have such a delightful box to share with you today. I hope you like it. This project has been in the making for quite some time but I kept putting it on the back burner till I had it worked out perfectly. Check it out.
Some things are so cute when they are tiny, like kittens, elephants, even lizards. The same is true for boxes. This one is super cute. I hope you like it. Check it out.
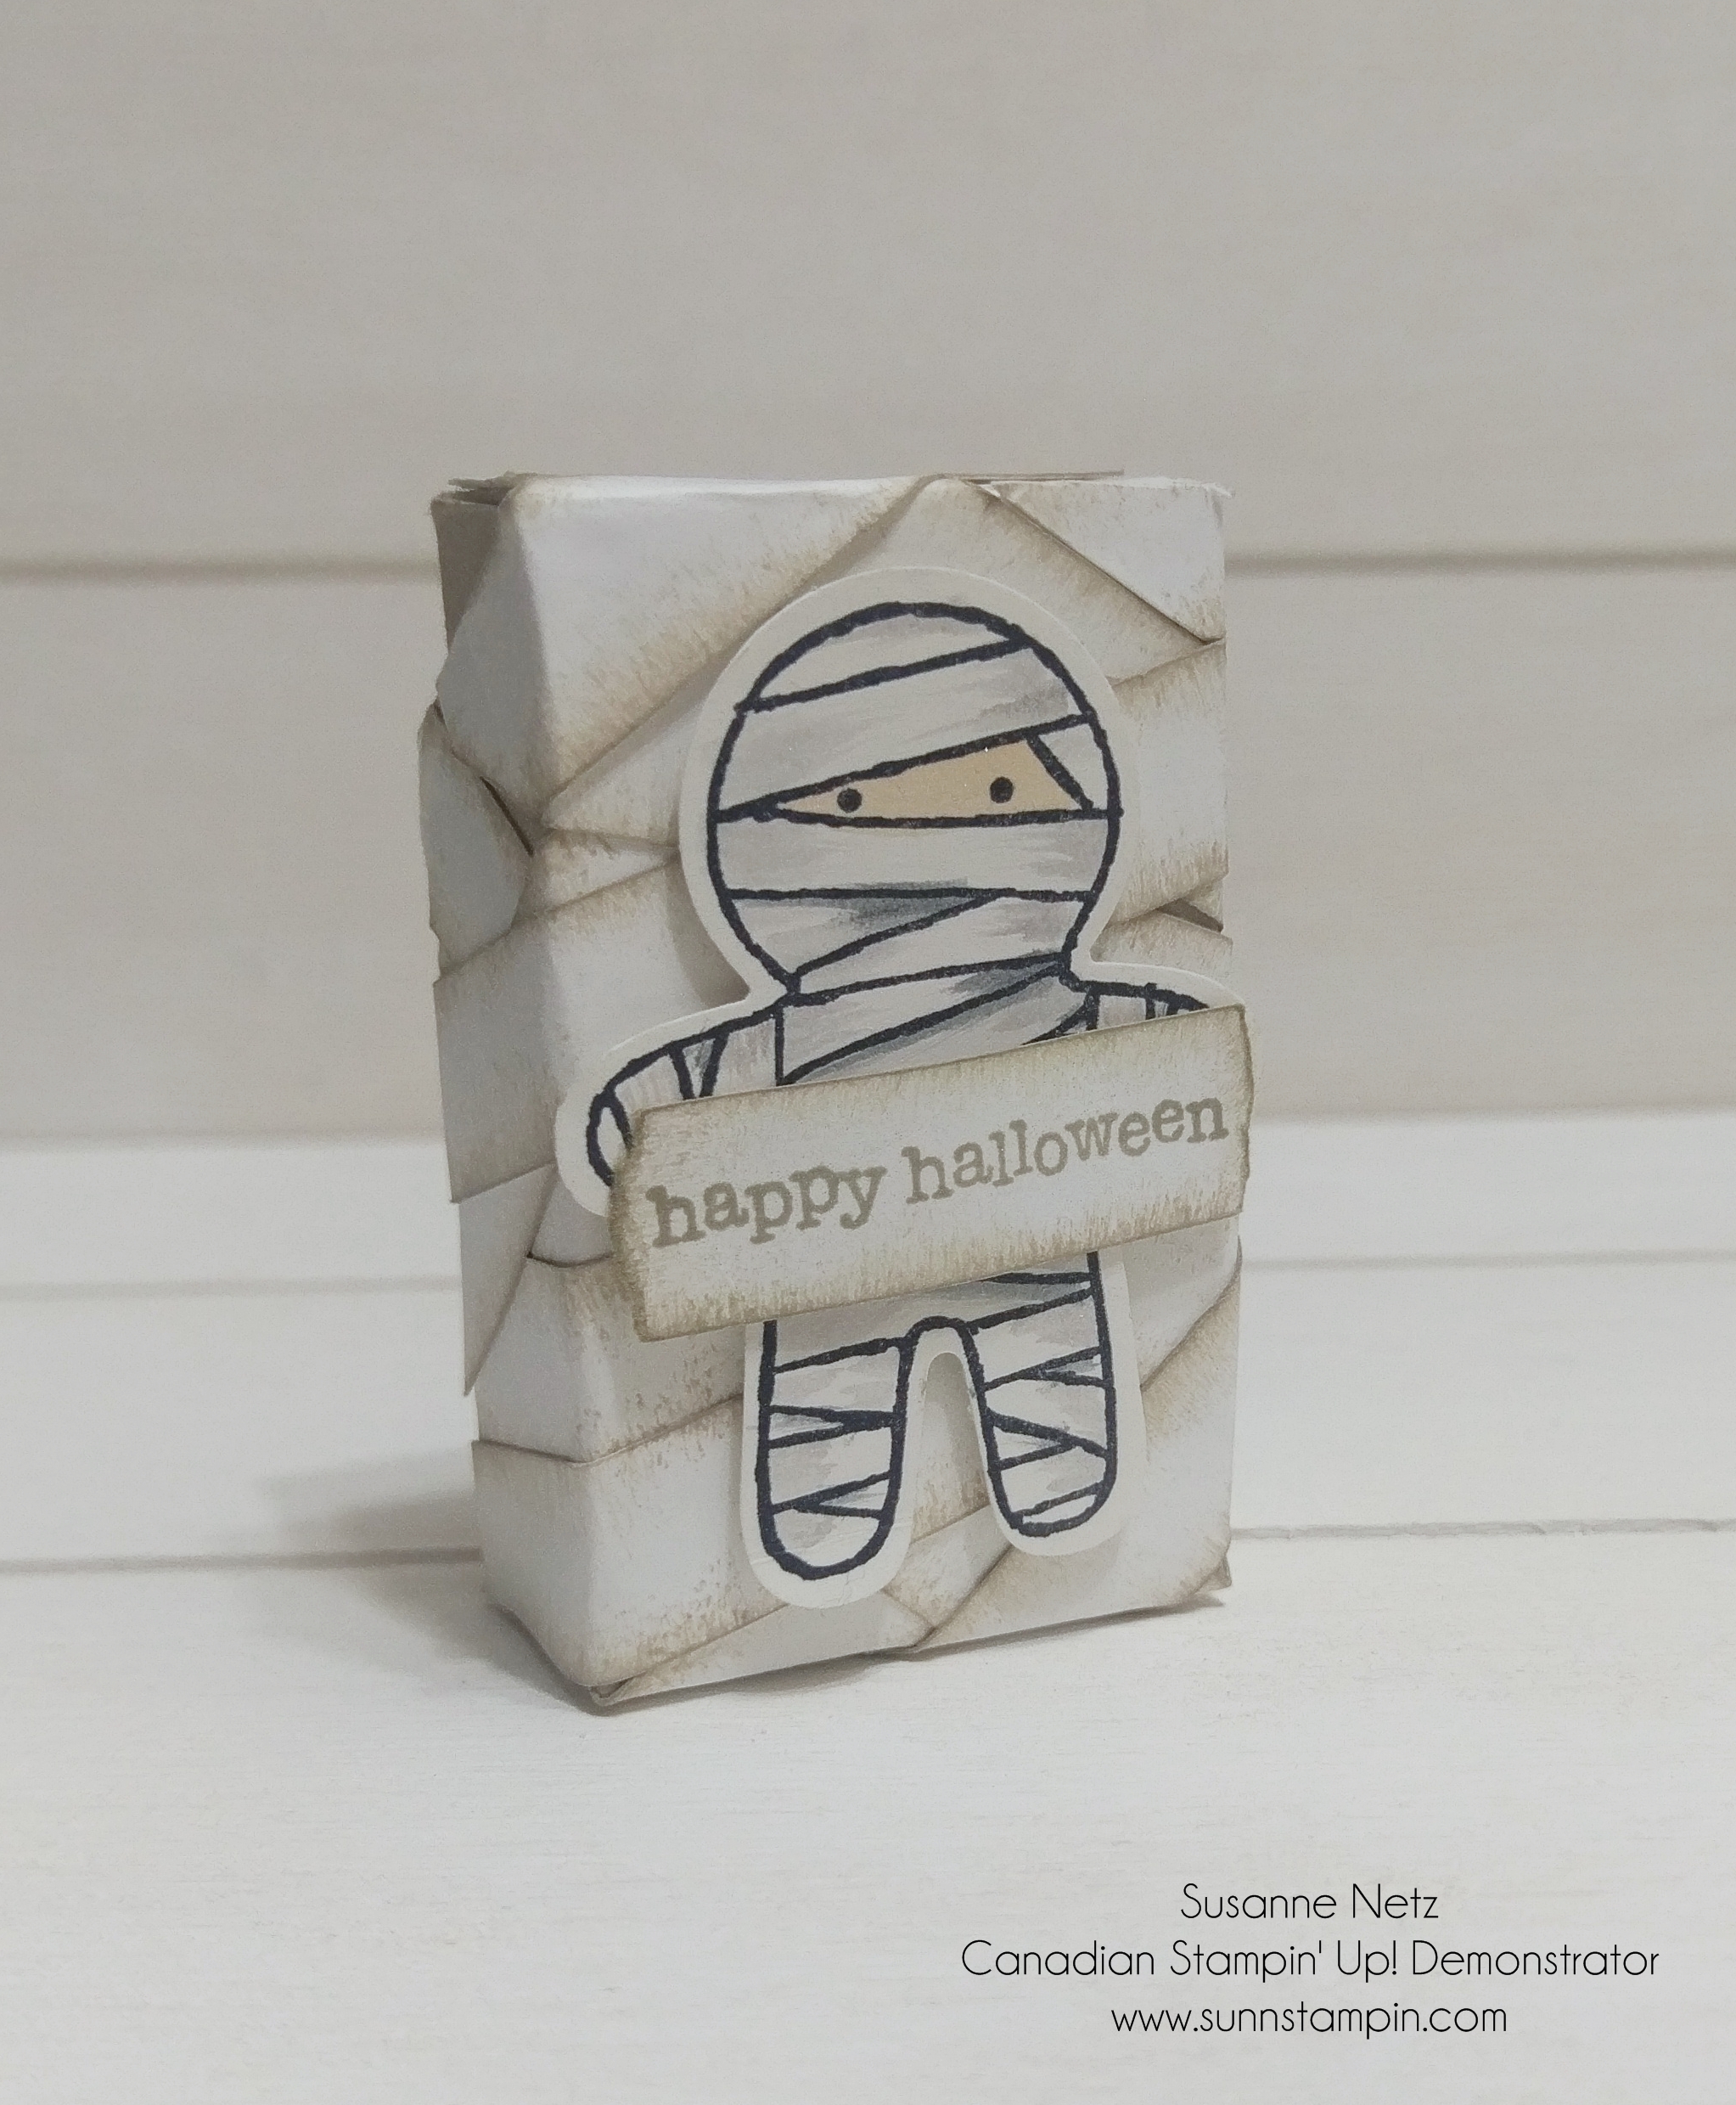
Hello, it’s almost time for pulling out those halloween stamps and make your goodie treat boxes. I don’t have any children but I do have a neice and nephew who require to be treated to special treats on the spooky holiday. This is a really cute project and I do jibberjab quite a bit in this one, I hope you don’t mind. I have no hurt feelings if you fast forward the video to the parts you want to see. I enjoy making real time 3D crafting projects so my audience can craft with me or easily pause the video to a point that is of interest to them. I am a YouTube video watcher myself so I know what I like, and assume that others are like me as well. Anyway, check this baby out!
TGIF!!!! It’s Friday and it’s time to get your groove on. Let’s craft! I have my first holiday card workshop on Sunday and I am so not ready to give up on summer. Here in the Okanagan, we have very warm summers and autumns. However, this year it was exceptionally cool and rainy. Thanks giving is coming up soon and so is Halloween and then, you know…the big holiday in December. I want to let you know that I will be continuing with my Christmas Crush month long series starting October 31 and running every weekday for the month of November and finishing on Dec 2. That’s 5 weeks of daily inspiration, 20 card projects and 5 3D projects!!! In saying that, I really am not willing to let go of my beloved summer so today’s project is one that screams summer and I love it so. I hope you like it. Check it out.
Hiya. It’s Friday and it’s time for a fun build. I hope you like the project to day. Everyone seemed to really like the washi tape box so I had to make a companion. Check it out.
Hi there and welcome. I hope you are headed into a relaxing weekend. Can you believe it’s fall already? It was just summer a minute ago. To celebrate the season I decided to make a treat box with that super fun scarecrow from the Cookie Cutter Christmas stamp set. I hope you like it. Thanks for hanging out with me.
Hi there. I hope you are having a good week. This project was created out of necessity. It seems as if I have too many washi tapes to use so I store them away in different places on my desk. I will admit that I have a washi hoarding problem so I need to address it and try to find a solution. The solution is to use them up!!!! So, I have decided to put them some where that has easy access on my desk but keep them all together like (and if the container could look pretty that would be nice too). Check out my solution…
TGIF. I hope you are going into your weekend with a wonderful attitude and a whole lot of crafting energy. I am pleased to share with you a cute little box I made. Check it out.
Cardstock sizing for the bottom of the box: 6 1/2 by 10 1/2 inches.
Scoring on the long side at 2 1/2, 5, 7 1/2 and 10 inches. On the short side at 2 1/2.
Cardstock sizing for the lid of the box 8 by 8 inches and patterned paper is 7 1/2 by 7 1/2 inches stuck together. Using a shim (a sliver of cardstock) score at 2 3/4 on all 4 sides.
Hi there. It’s Friday and that means another construction of a fun gift box. Today’s inspiration came to me from the package that I received in the mail. It housed my thin craft magnets that I use to close projects up with (being a non-ribbon or velcro person I had to figure out how to secure the flaps).
I hope you like the project and that you try it yourself sometime. Have a great day and enjoy the show.
Hello and welcome. Thank you for joining me again for another 3 D how to video. I am excited to share with you today this really nifty little bag box. It is built like a box, sturdy and can hold a lot but closes like a bag with a cute flap. Check it out.
I have a really sweet project to share with you today. I figure it could be used as table topers on your summer dining table, a craft fare packaging for berry soap or just a really cute way of presenting some summer goodies for your kids. Check it out.
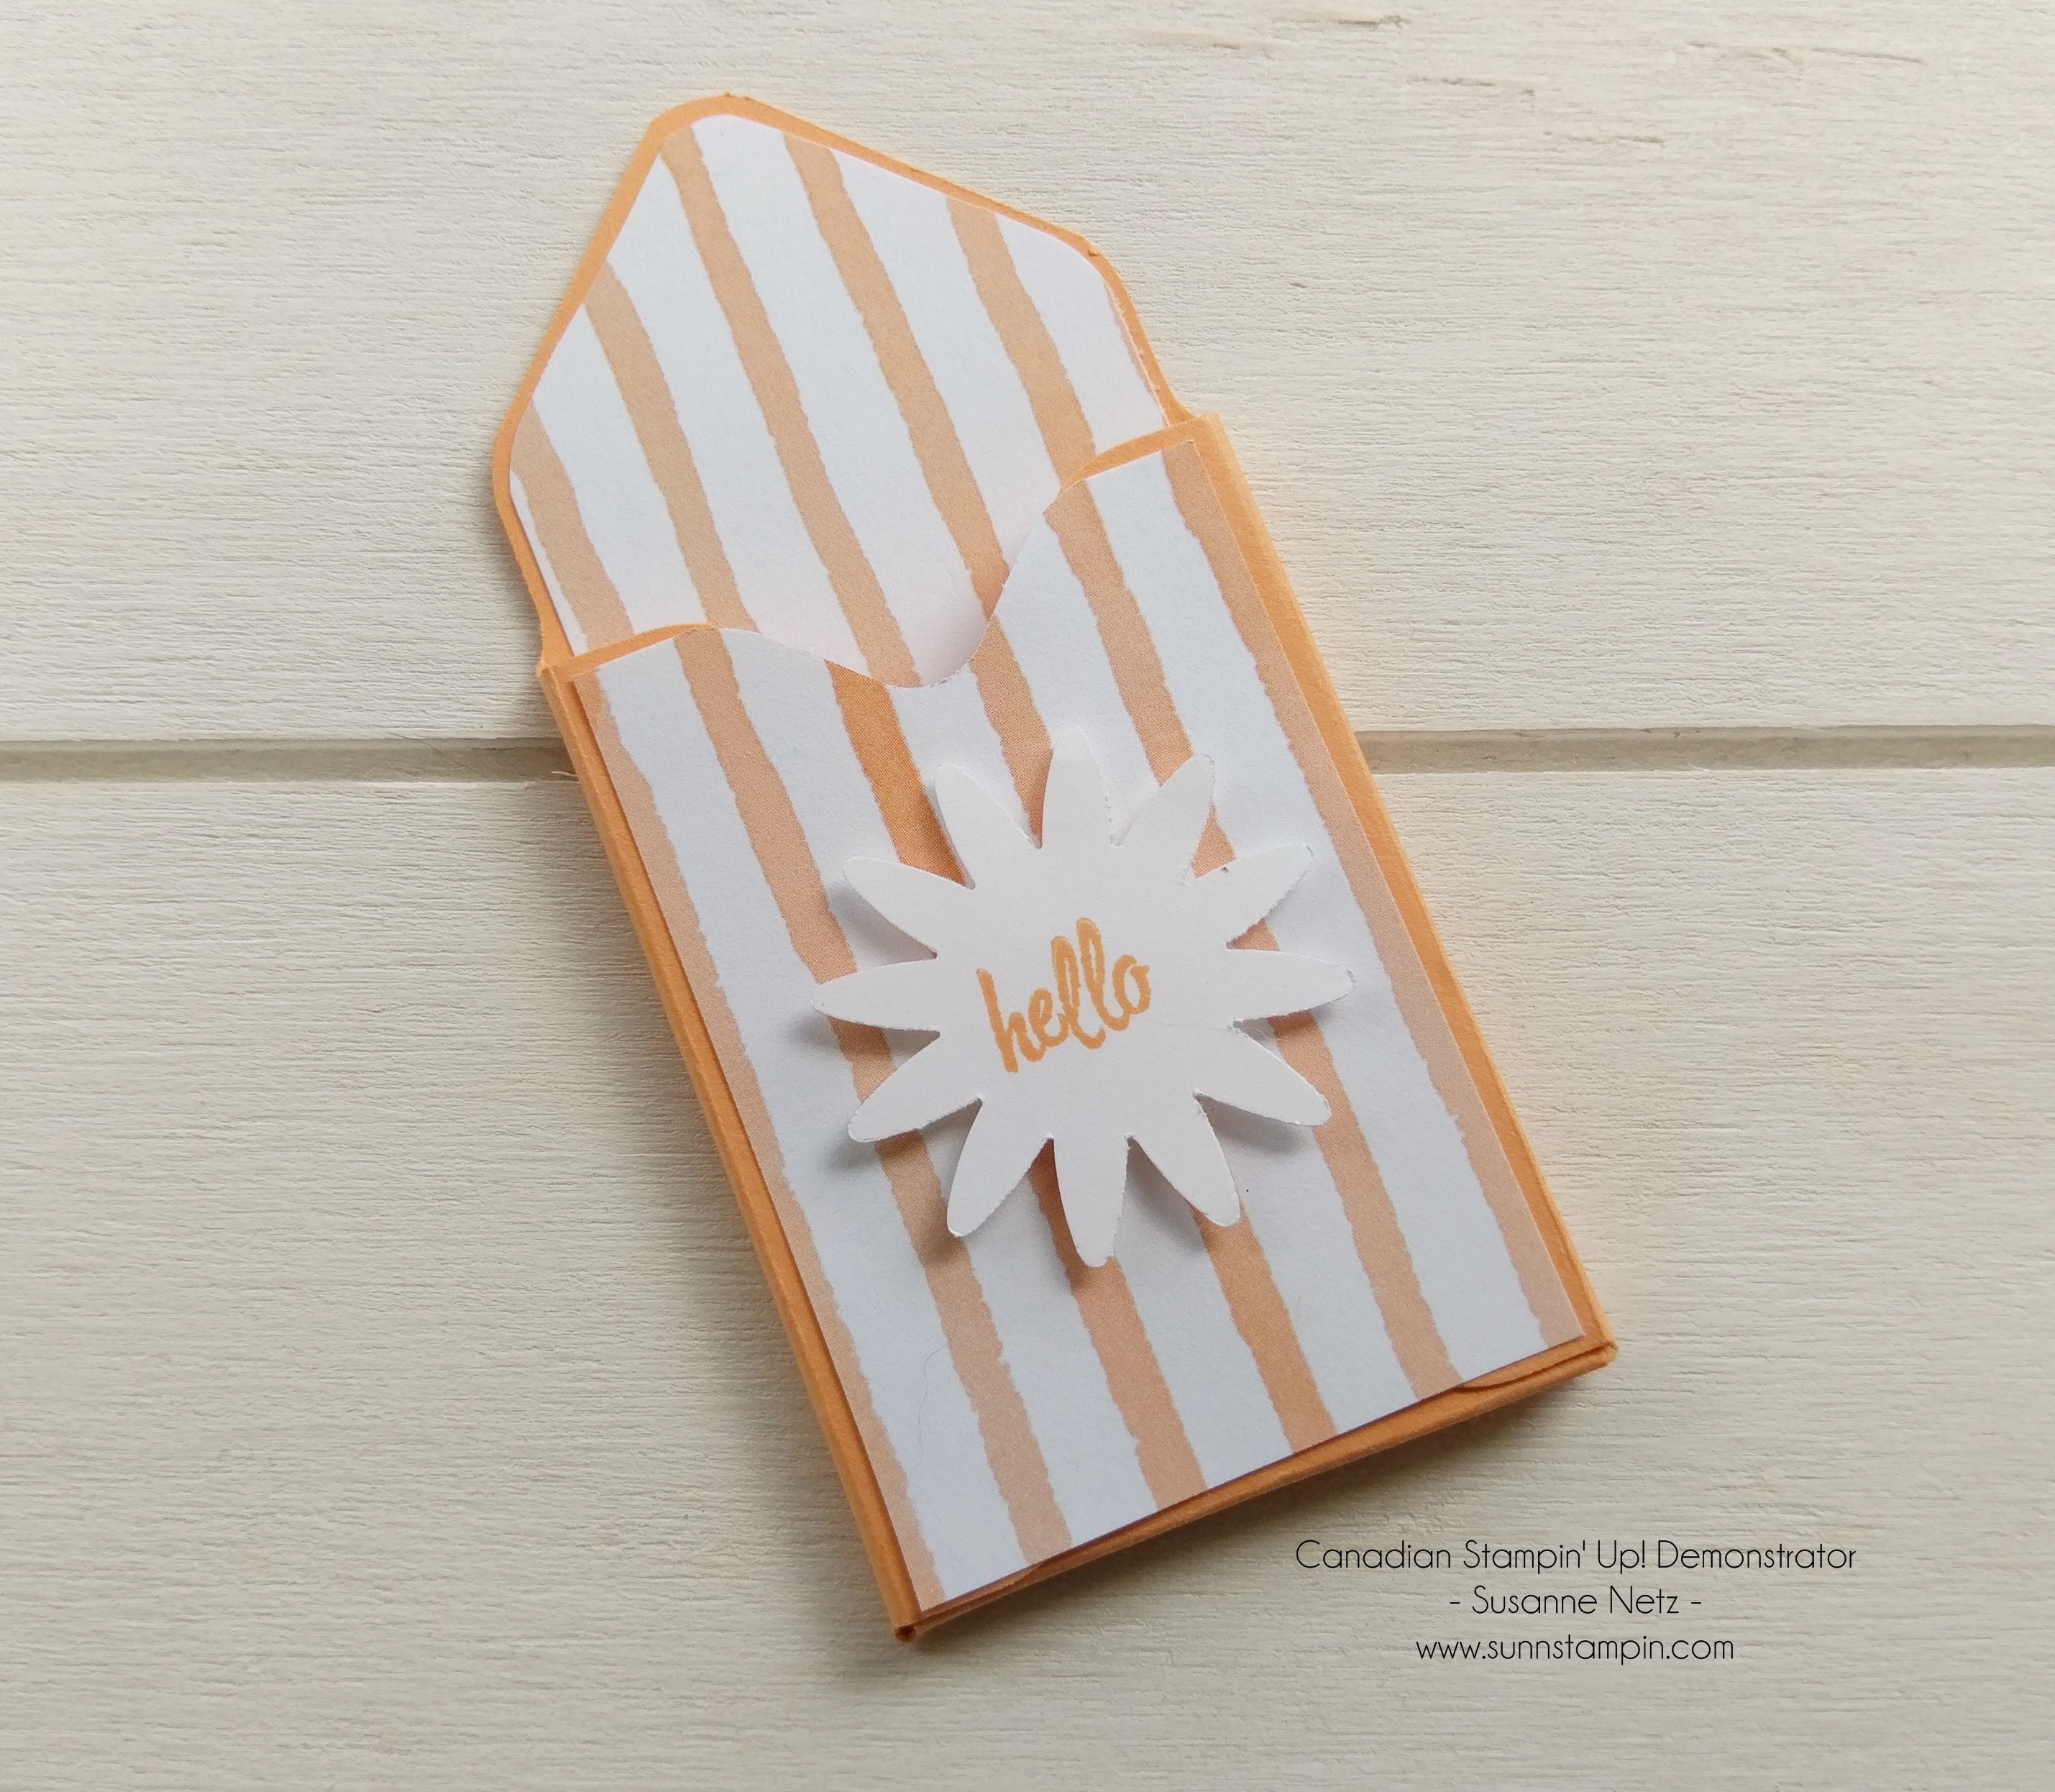
I promised last week that I would have another Envelope Punch Board project for you and I certainly do. This one is super cute and tiny. I hope you like it too. 🙂
Product List
The Details:
Cardstock sizing 4 by 4 inches.
At 2 1/4 punch and score and scoot to 2 1/2 and score only.
Turn, line up the first score line that was made (about 1 3/4) punch and score and scoot to 2 and score only.
Skip the next side.
Line up at 1 3/4 punch score and scoot to 2.
Round edges.
Patterned Paper sizing: 1 3/4 by 2 1/2 inches. (front)
1 3/4 by 3 inches (inside). Punch at 2 1/2 flip punch at 2 1/4 use un scored cardstock edge to cut triangle and then corner round ( or trace cut like I did in the video.
Hello everyone. I hope you have your craft on this weekend. This is a super pretty and elegant project I have to share with you today. I hope you enjoy it.
Please note here…I have corrected the measurements and double checked them with a ruler and everything is accurate. Previously I had a brain fart and I had swapped some numbers (I believe I have told you that I am not great with fractions??? now you know it’s true). Anyway, perhaps my wording was in bad English as well so I tried to add notes to the details below. If you have any questions please reach out to me. I will try my best to try to figure it out in a short amount of time.
Thank you to Kathy a follower, who caught my mistakes. I appreciate the help. This box was a doozie.
Scoring on the long side at 1 1/2 and 7 inches, and the short side at 1 1/2 and 5 3/4 inches. (or 1 1/2 on all 4 sides).
Bottom layer 4 1/4 by 5 5/8 inches. This piece is for looks and stability on the very bottom or underneath of the box to hide the tabs from the other cardstock…makes it pretty.
Gate tops: 2 pieces of cardstock sized at : 7 3/8 by 5 3/8 inches.
Scoring on 3 sides only… the long side at 1 1/2 and 5 7/8 inches, the short side at 1 and 2 1/2 inches. Note: the one inch tab adheres to the bottom of the box and creates a hinge for the box.
Patterned Paper sizing & mats:
On the very top: Mat – 2 3/8 by 3 5/8 inches. Whisper White card sized 2 1/2 by 3 3/4 inches.
Long Sides: 2 pieces for mats sized at 1 1/4 by 4 1/8 inches. 2 pieces of DSP sized at 1 1/8 by 4 inches.
Short Sides: 4 pieces for mats sized at 1 1/4 by 2 3/4 inches. 4 pieces of DSP sized at 1 1/8 by 2 5/8 inches.
Tops: 2 pieces for mats sized at 4 1/8 by 2 3/4. 2 pieces of DSP sized at 4 by 2 5/8 inches. Note: When adhering the top mats/papers to the gate box tops…I pushed the mats to the very edge of the free side. Which means the that there was only 3 sides that have a border and the opening or the free edge does not show the box…it was flush. If you want borders on all four sides you will have to reduce your mat and patterned papers differently than I did.
Hello and greetings my fine crafty friends. It’s Friday and I have another treat encasing project to share with you today. I hope you like it. Details are below. Have a great weekend.
Product List
The Details:
Cardstock sizing; 8 1/2 by 5 1/2 inches
Scoring on the long side at 2, 4, 6, and 8 inches and on the short side at 2 inches.
Patterned Paper sizing: 2 pieces at 1 3/4 by 3 1/4 inches.
Hello and thank you for stopping by. I hope you all are well and happy and are headed into the summer weekend with smiles on your faces. I have a very cute project to share with you today. Check it out.
Product List
The Details:
Cardstock sizing for drawer: 4 1/2 by 4 1/2.
Score at 1/2 and 1 inch on all 4 sides.
Out side Box cardstock sizing: 7 1/16 by 3 5/8 inches.
Score on the long side at 1, 1 1/2 4 and 4 1/2 inches.
Scone on the short side at 1/2 inch on both sides.
Patterned Paper sizing; 1 piece sized at 2 3/8 by 2 3/8 and 1 piece at 2 3/8 by 7/8.
Hello and welcome. I have another Envelope Punch Board project for you today. I think I will have another one for you next week as well. Love how simple they come together. I hope you like it. Check it out.
Product List
Directions:
Patterned Paper Sizing 6 by 6 inches.
Punch and score at 2 5/8, turn, line up the score line, punch and score. Repeat one more time…punch and score then punch the last side but don’t score.
Fold the score lines.
Fold bottom up.
Place back in the punch board with the bottom to the right.
Score at 2 1/2 inches.
Fold those 2 score lines burnishing crisply.
Put the envelope together regularly.
Gently manipulate the bottom of the box till flat.


 Glitter Ribbon Combo Pack")


 Celllophane Bags")