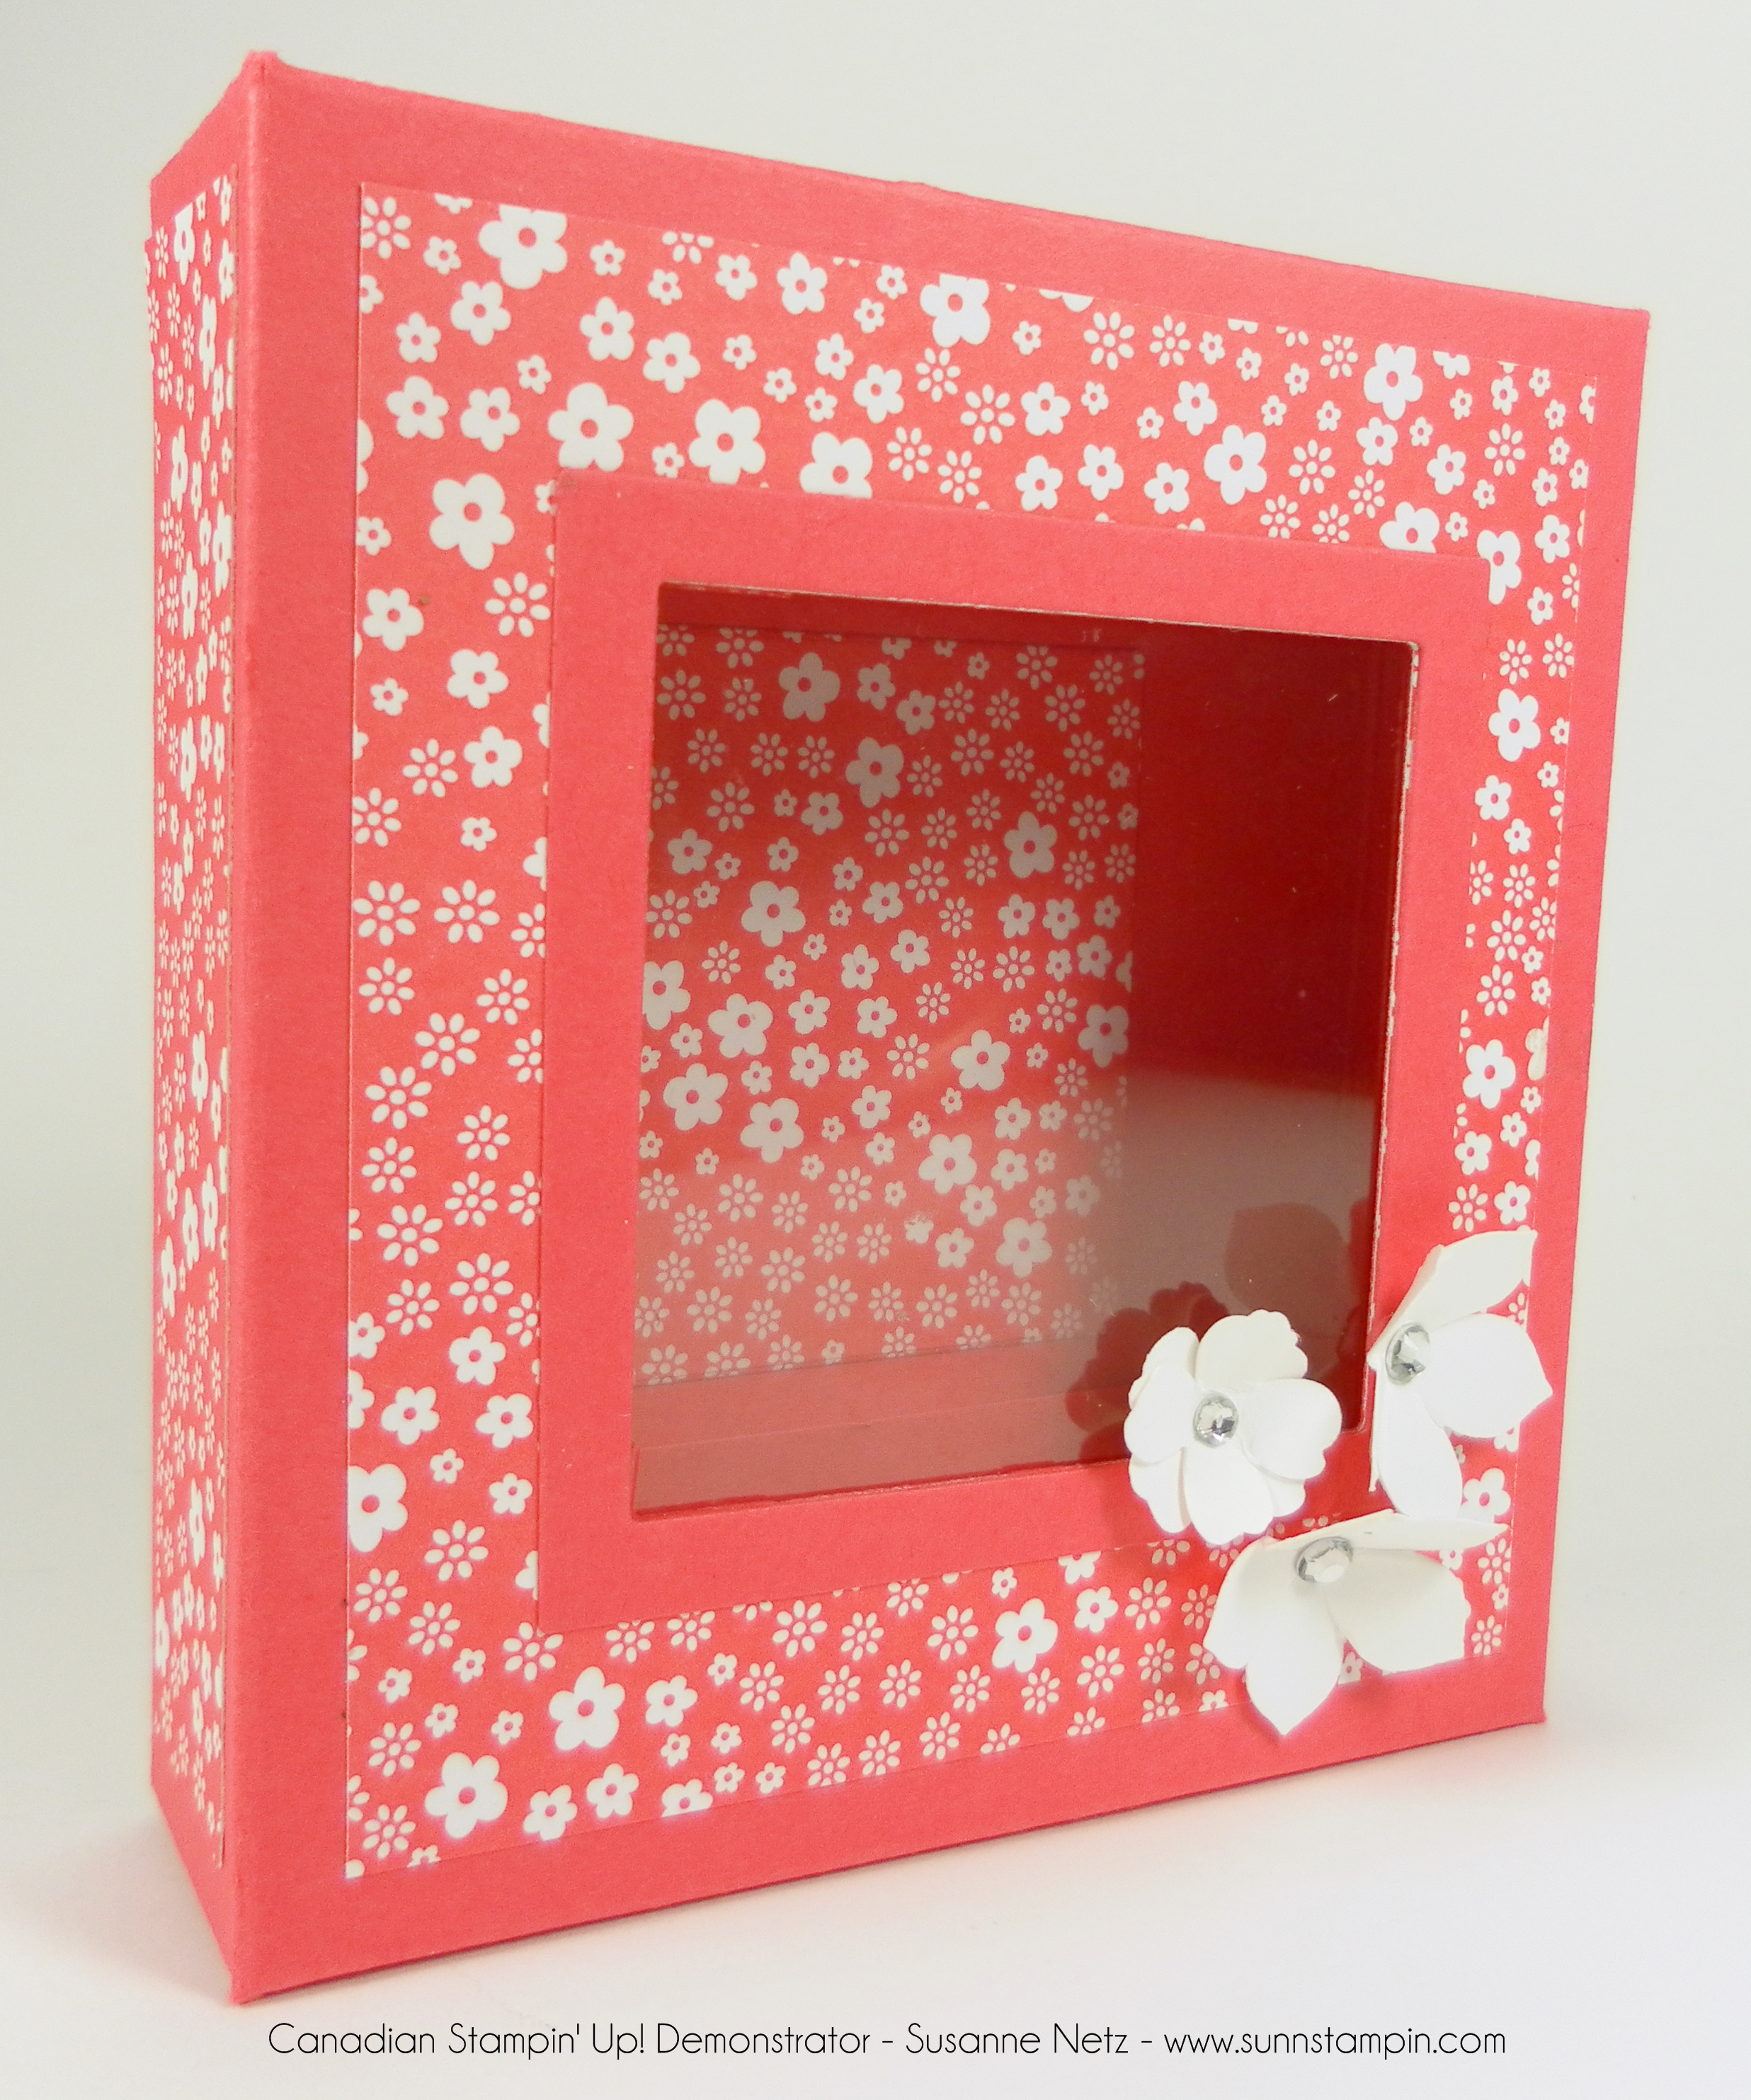
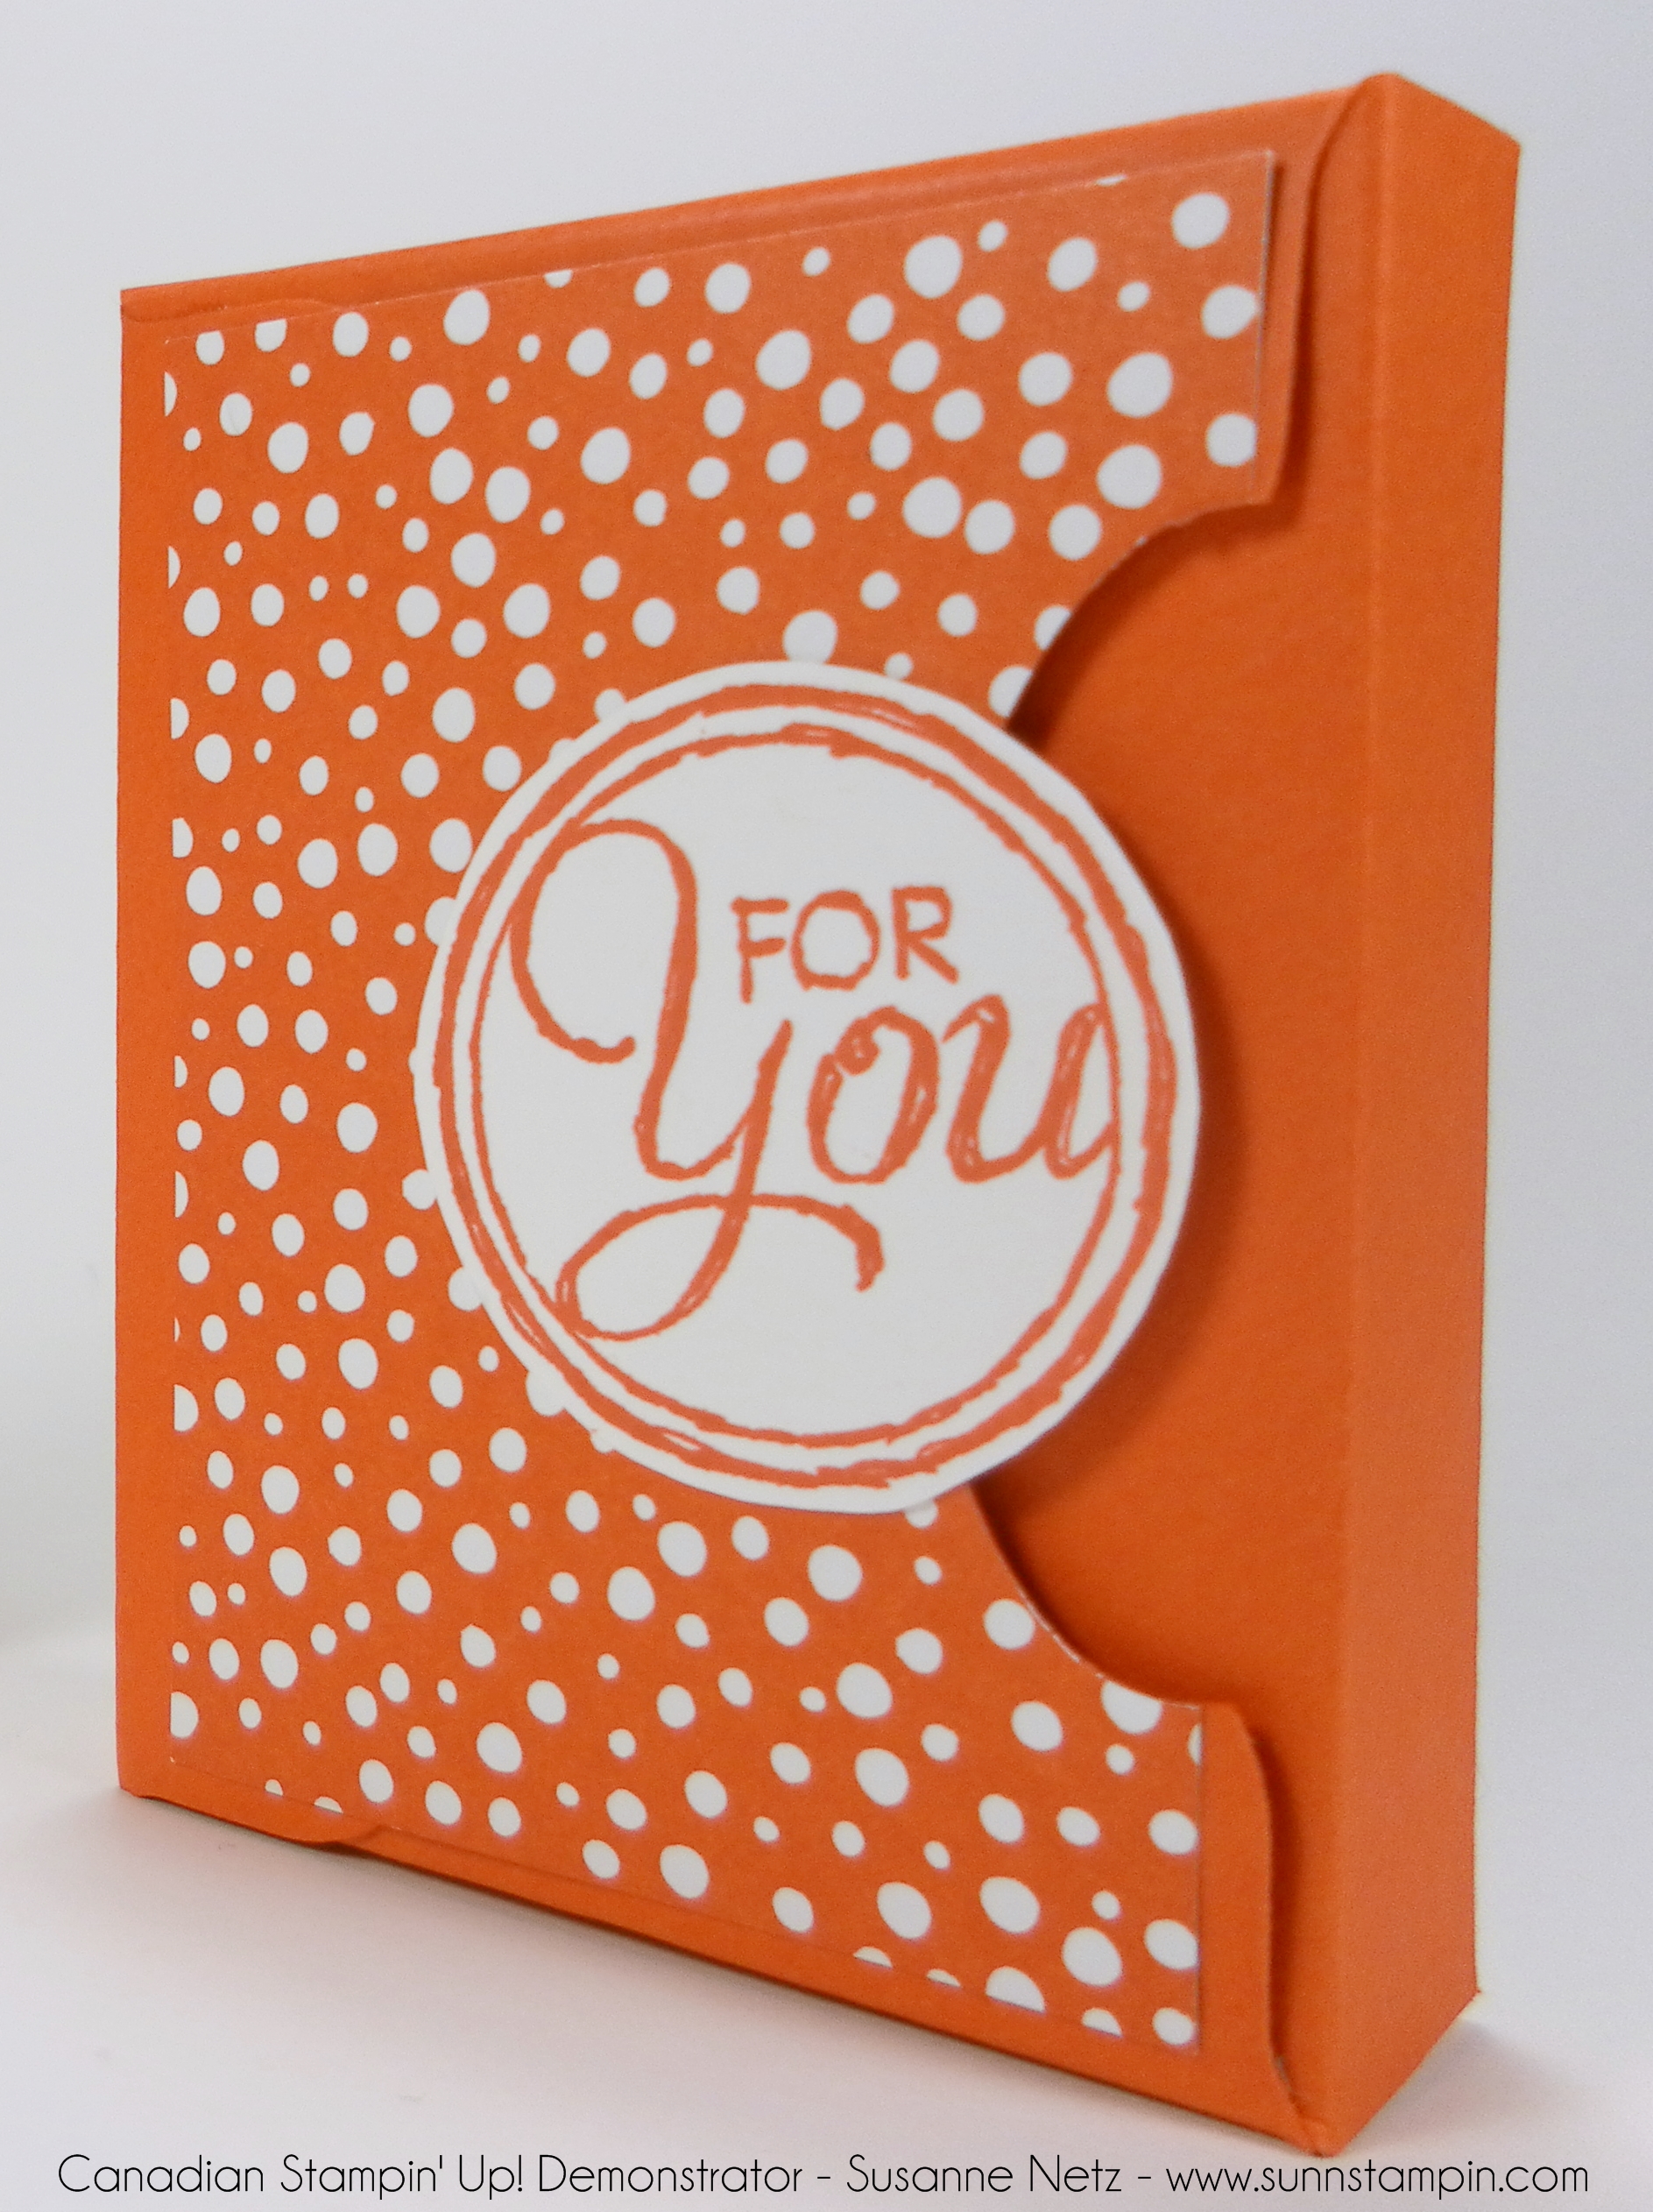
Hi there. I am kinda addicted to window boxes at the moment. I don`t really know what is going on but I can`t seem to stop making them. Ha ha. So this is, yes you guessed it, a window box. I really liked the way it turned out. I hope you do too. Check it out.
Here`s the video, enjoy the show…and as always the details are below with a list of supplies I used.
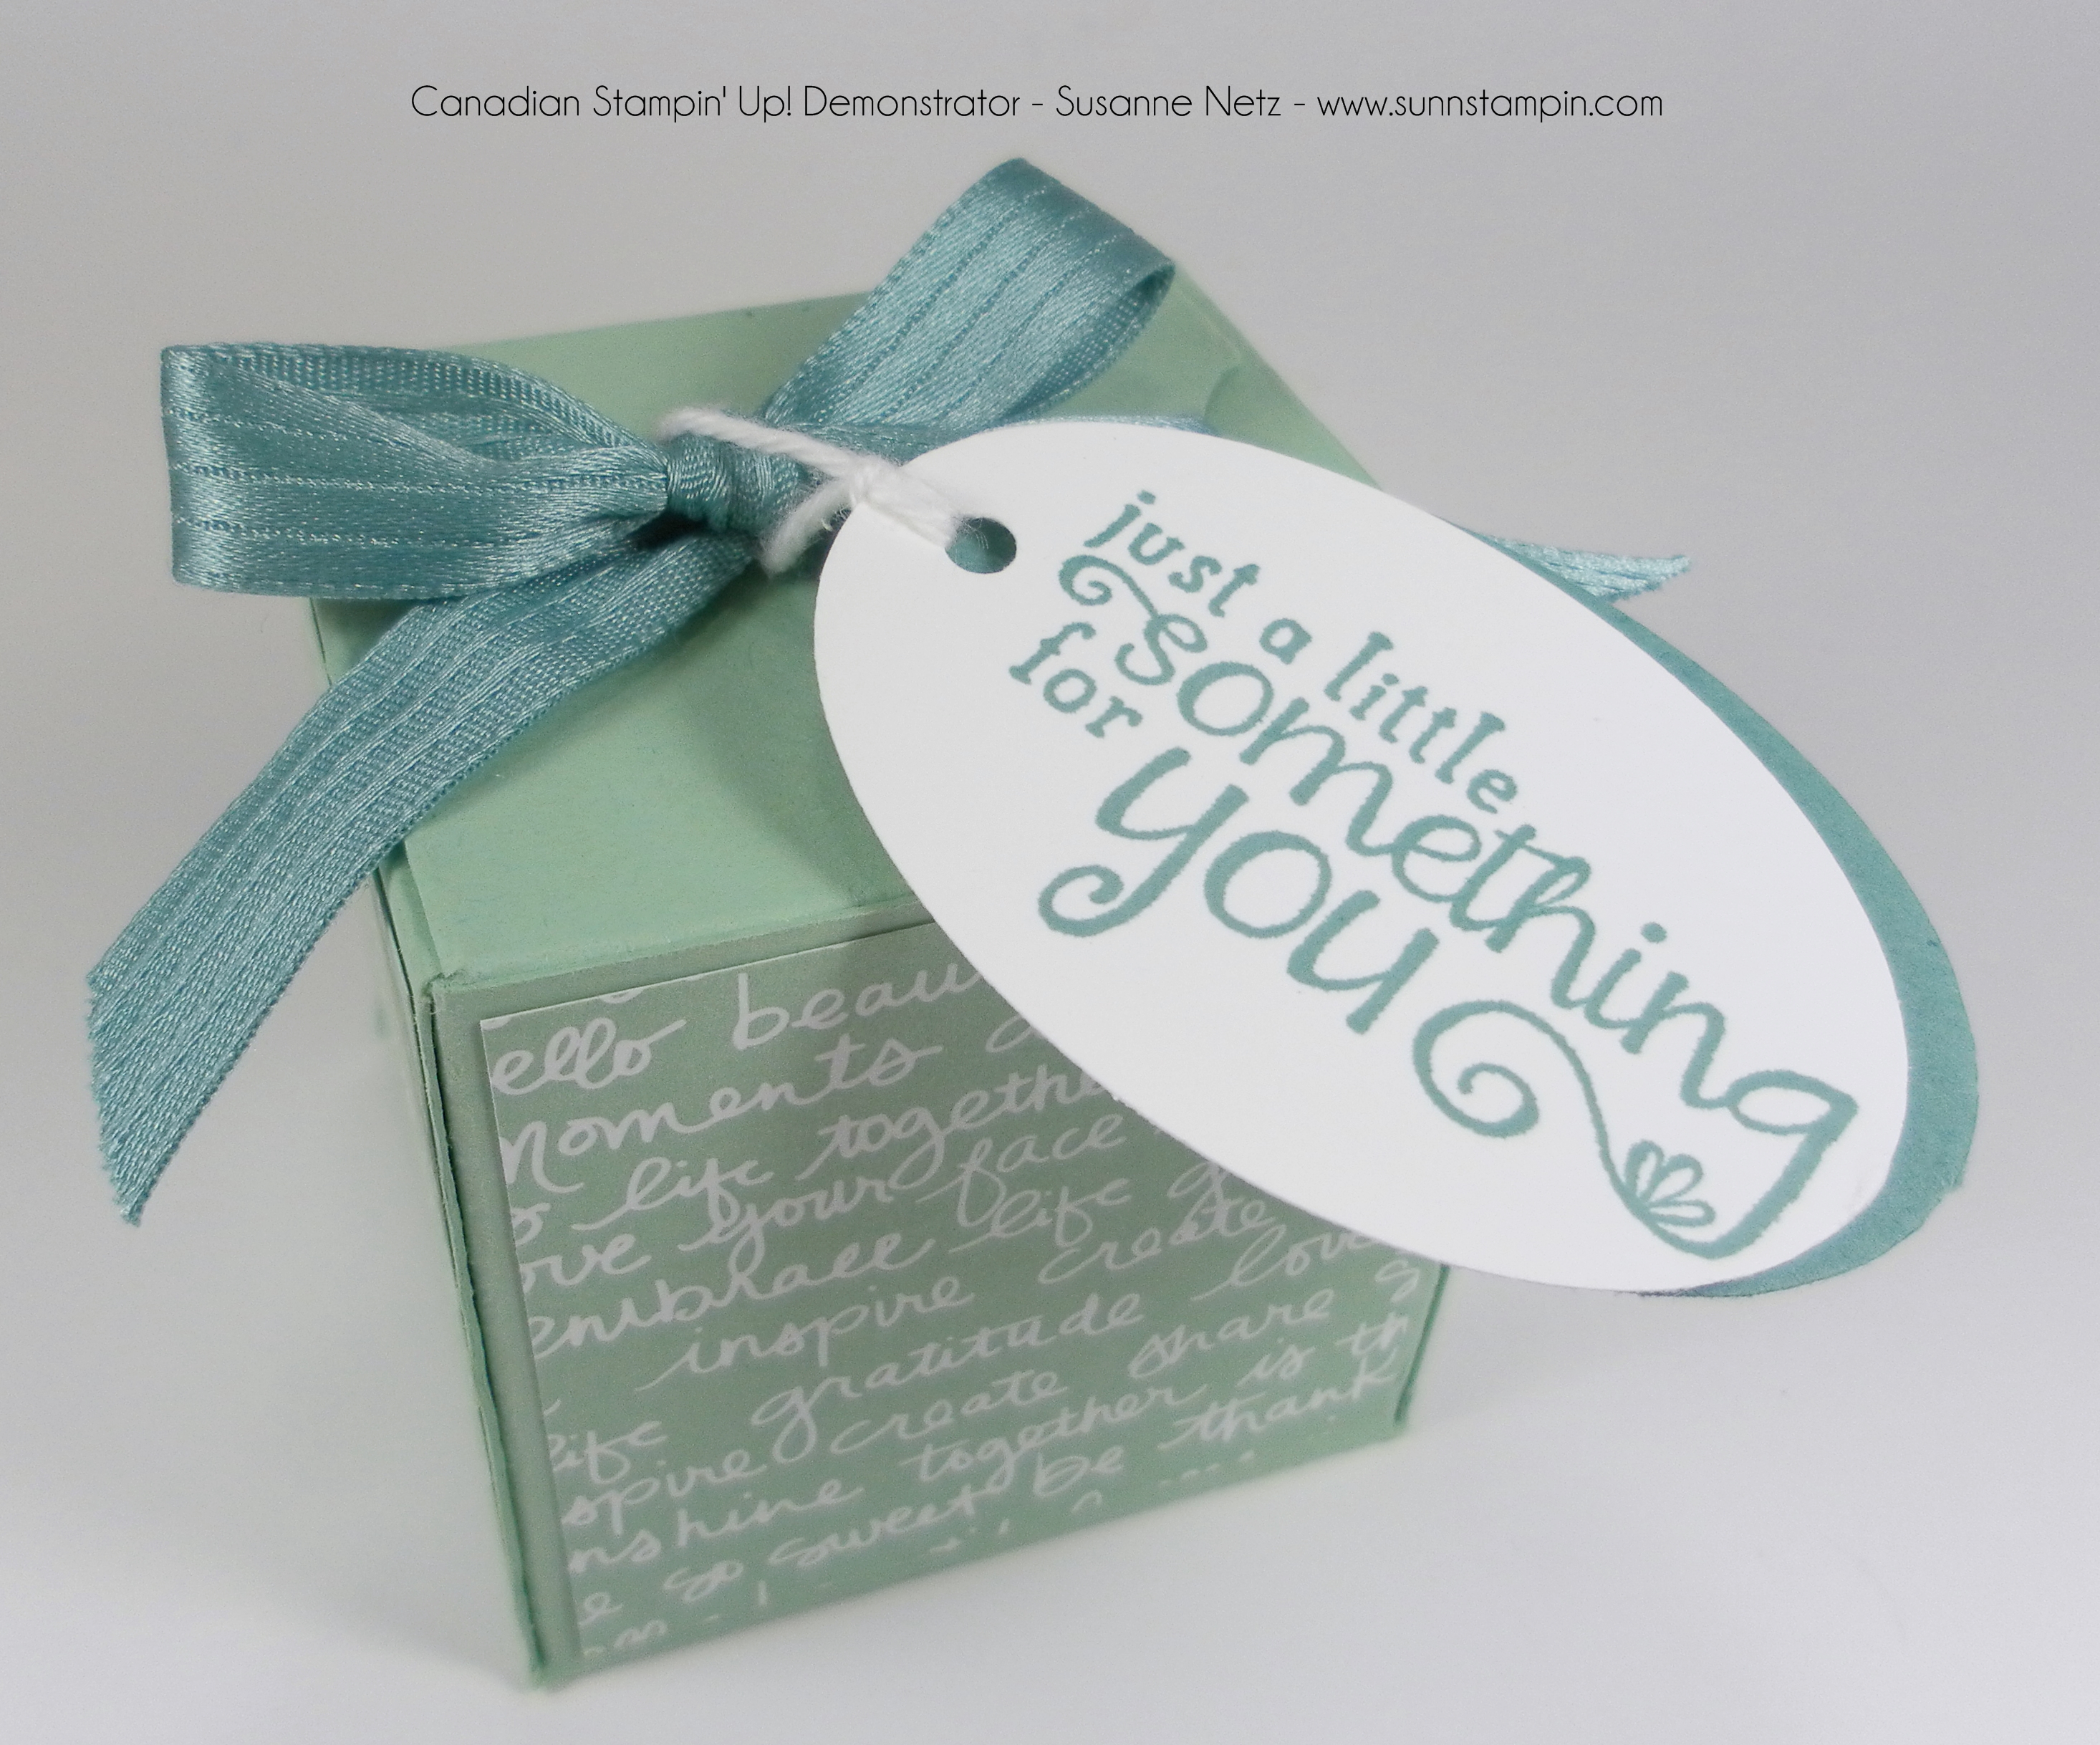
Today`s project is a cute box with a permanent ribbon tied in a bow on top of it. It`s fold flat (even with the bow) and it`s pretty cute. I liked the unique design and even though it is small it certainly has a lot of personality. Check it out.
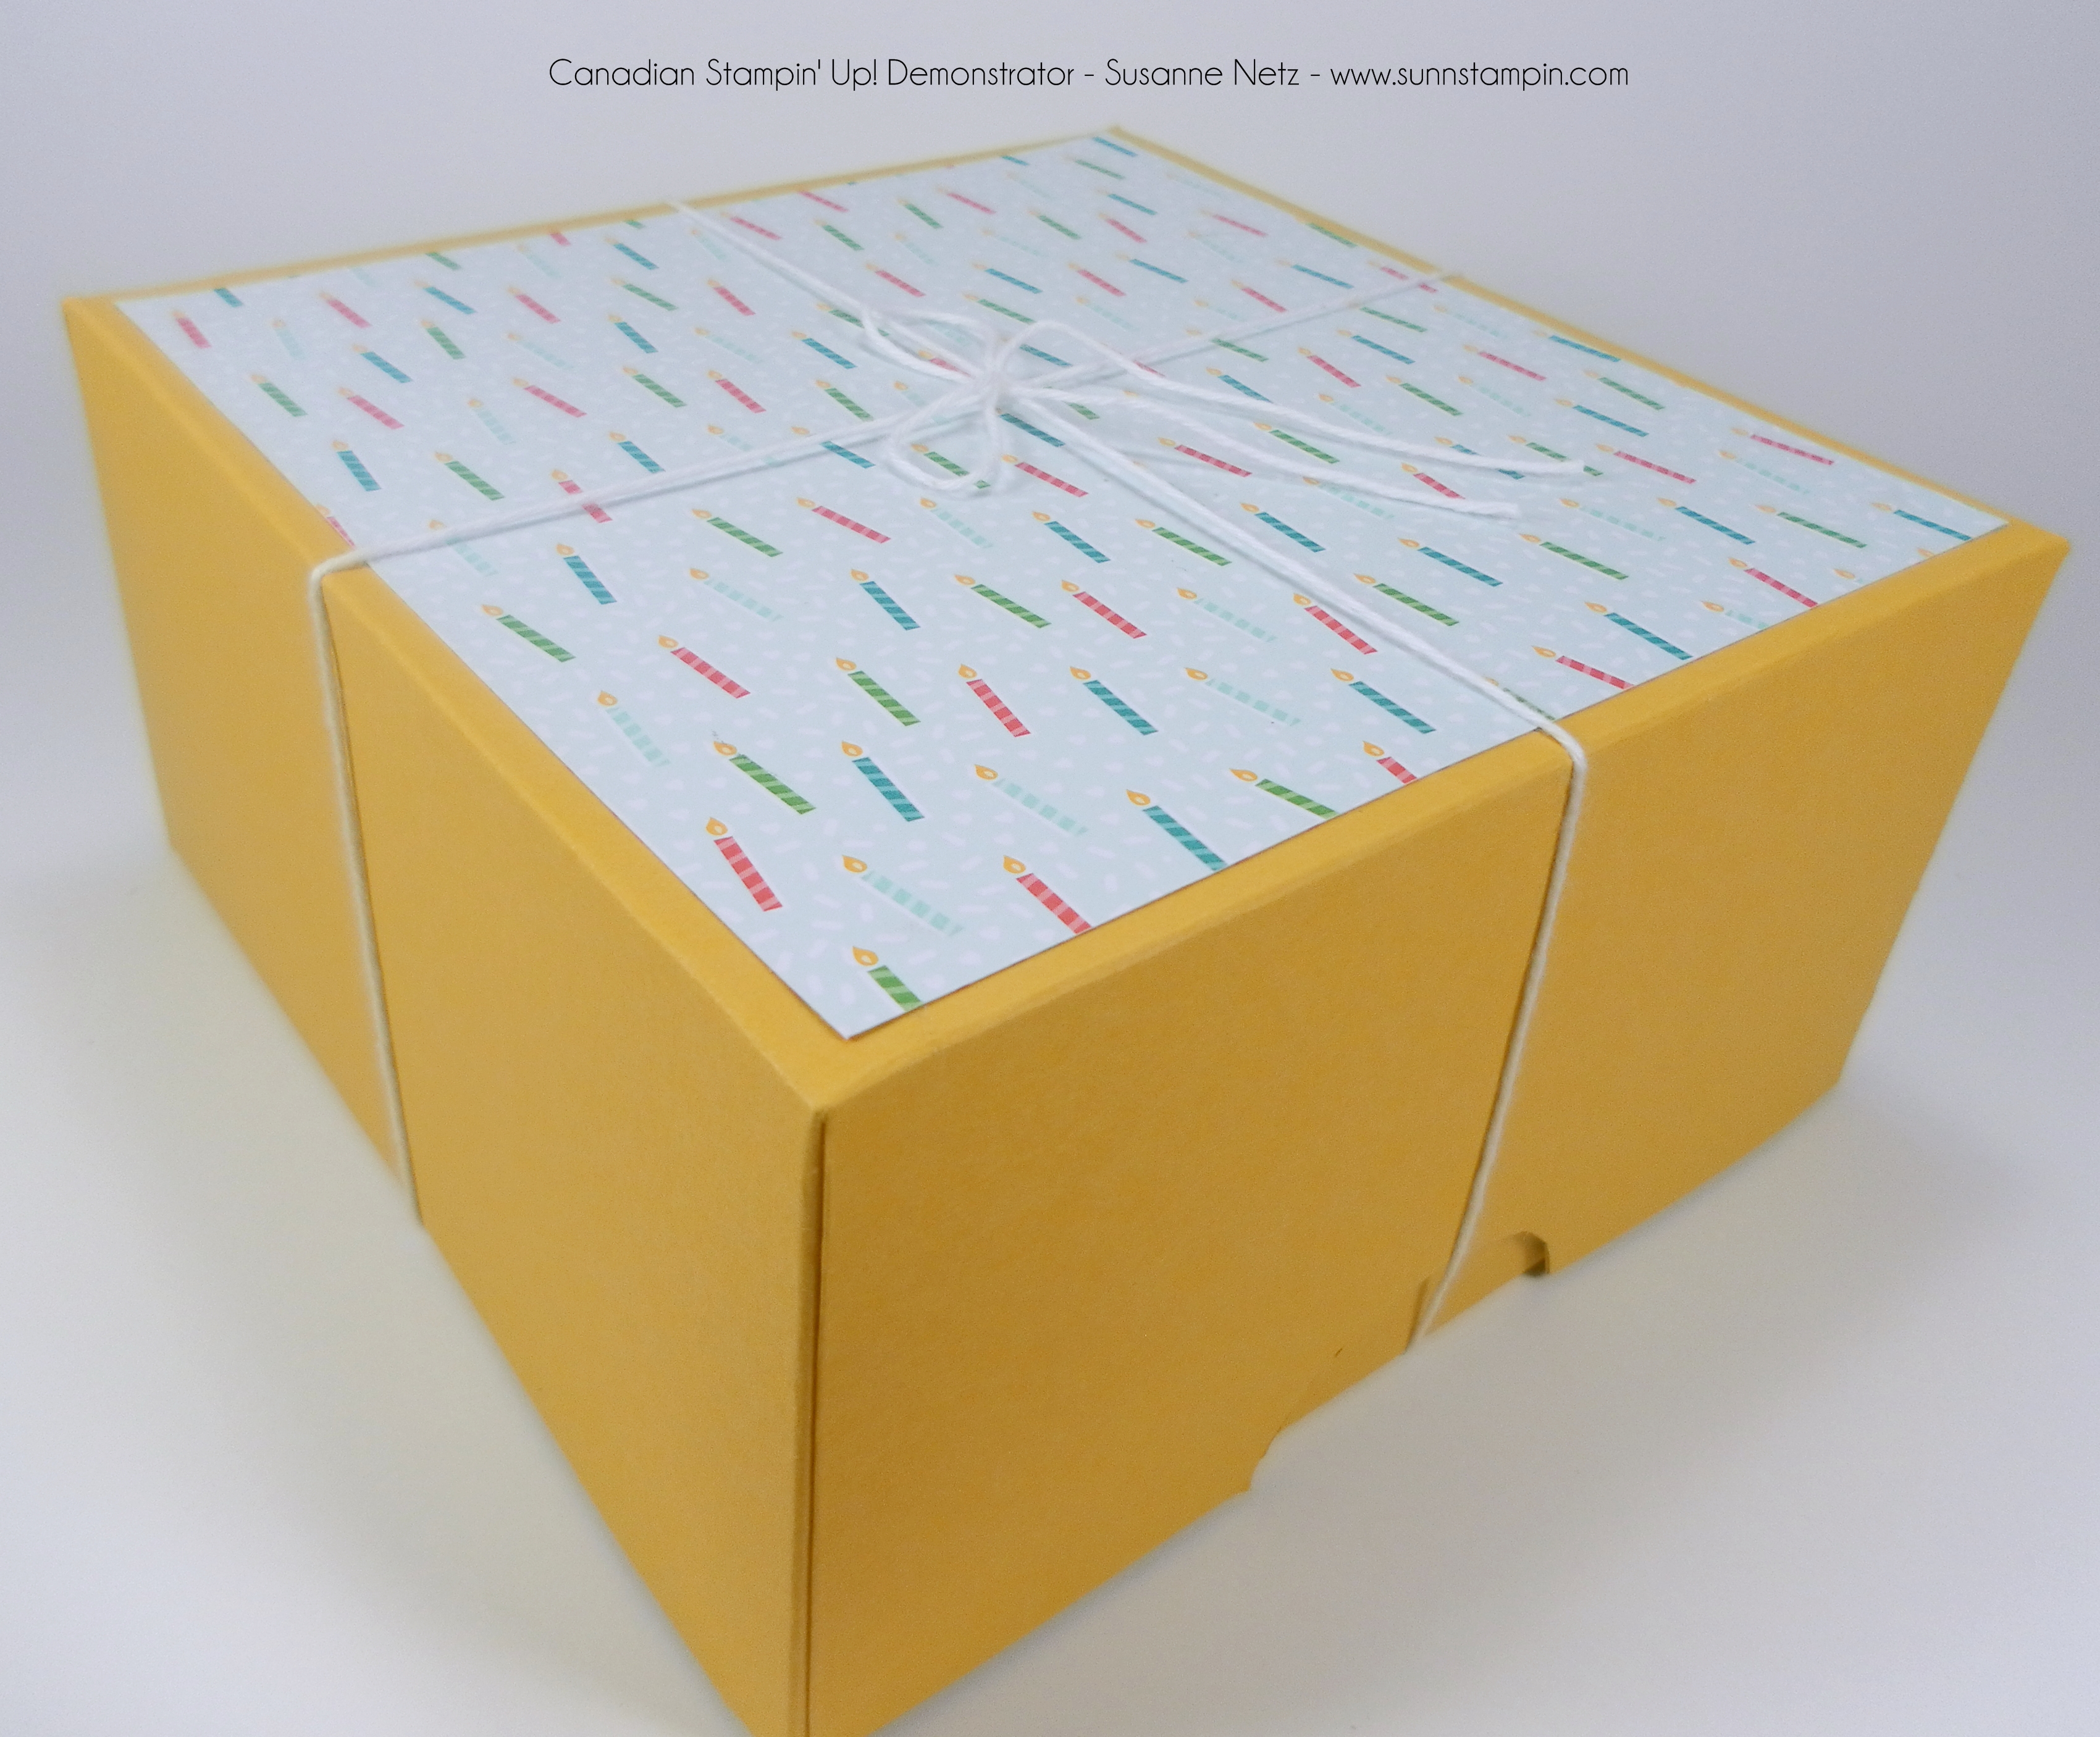
Hi all. I made this box a while back but didn’t get around to uploading it till now. Sorry for the delay but I just love it and had to wait no longer. It’s gigantic. I hope you can see the potential of having a large box around. It does take 2 pieces of card stock but it is worth it when you see how many things you can put inside it. Check it out.
Enjoy the show…
Card stock;
2 pieces of 12 by 12 inches
Scoring: on all sides (both sheets) score at 3 inches
Hello and welcome. Thanks for spending some time with me today. I hope you are off to a great weekend. I am heading on a road trip (in my new car) with my best freind for a lovely road trip to Vancouver Island for some whale watching and high tea drinking at a famous hotel called the Empress. I’ve included links here so you can live vicariously through me. Tonight I will dine in a fancy restaurant in Vancouver called Hawksworth Restaurant too, I’m pretty excited and I still have the morning to work at the salon before I take off (a wedding party, so I can’t leave early). I will most likely post pictures via Instagram (search Susanne_Netz) and Facebook (there’s a link on the right hand side of this blog) so you can follow along if you would like. I won’t gloat too much but rather wish that you too have some holiday time this summer or at least take the time to get out of the craft room and enjoy the sunshine.
Today’s project is a simple one, but none the less cute. Check it out.
Hello and welcome. Today’s project is using my favorite tool, the envelope punch board. Love it. Not only does it help you make envelopes but it can help you make treat boxes as well. Check it out.
Enjoy the show! Supply list is at the end of this post.
Directions:
With your 6 by 6 inch paper line up the left edge at 2 inches and punch and score.
turn 90 degrees to the left and line up at 3. Punch and score.
Repeat step one
repeat step two
On the same side that you just punched slide the edge to at 4 and then punch and score
turn 90 degrees and then measure to the 3 inch and then punch and score
turn and repeat step 5
turn and repeat step 6
Burnish the smaller corners on both sides and then pop back into the envelope punch board lining up the left score line at 1 1/8 and punch to create the pull, repeat on the opposite side.
Inside bottom liner:
Card stock 3 5/8 by 2 1/8 inches
Wrap:
Card stock 3 3/4 by 6 3/4
score on long side only at 1 1/4, 2, 4 3/8 and 5 1/8
Hello and welcome. Thanks for stopping in today. Today’s project is a mini album that I am going to use personally for an upcoming road trip I have planned at the end of this month. Don’t worry, it won’t interfere with my video scheduling. I haven’t let you down yet have I?
So here’s the picture, the video follows that, and the dimensions follow that. I did say in the video that I would be giving you the sizing for the tags that I used in the example so those are included there. If you need any of the supplies I used in today’s project, please see the supply list at the end and if you click on the picture of the item that you wish it will magically whisk you away to my online store where you can shop 24/7 (no restrictions there). Note here: the Project Life cards I used in the video are no longer available however, I have included in the supply list alternatives for you to check out. It’s worth a look.
Have a great weekend my special friends.
Card stock sizing: 12 by 10 3/4 inches
Scoring:
Long side: 3 3/4, 4, 7 7/8, 8 1/8
Short side: 2 1/8, 7 1/4
Card stock for tags: 3 by 4 1/2
Designer Series Paper sizing:
outside 3 5/8 by 4 3/4 (3 pcs)
inside 3 1/4 by 3 5/8 (3 pcs)
Flaps; 1 7/8 by 3 5/8 (6 pcs)
Optional cards stock : (extra pockets) 1 1/4 by 3 1/2 (i used 3 pcs)
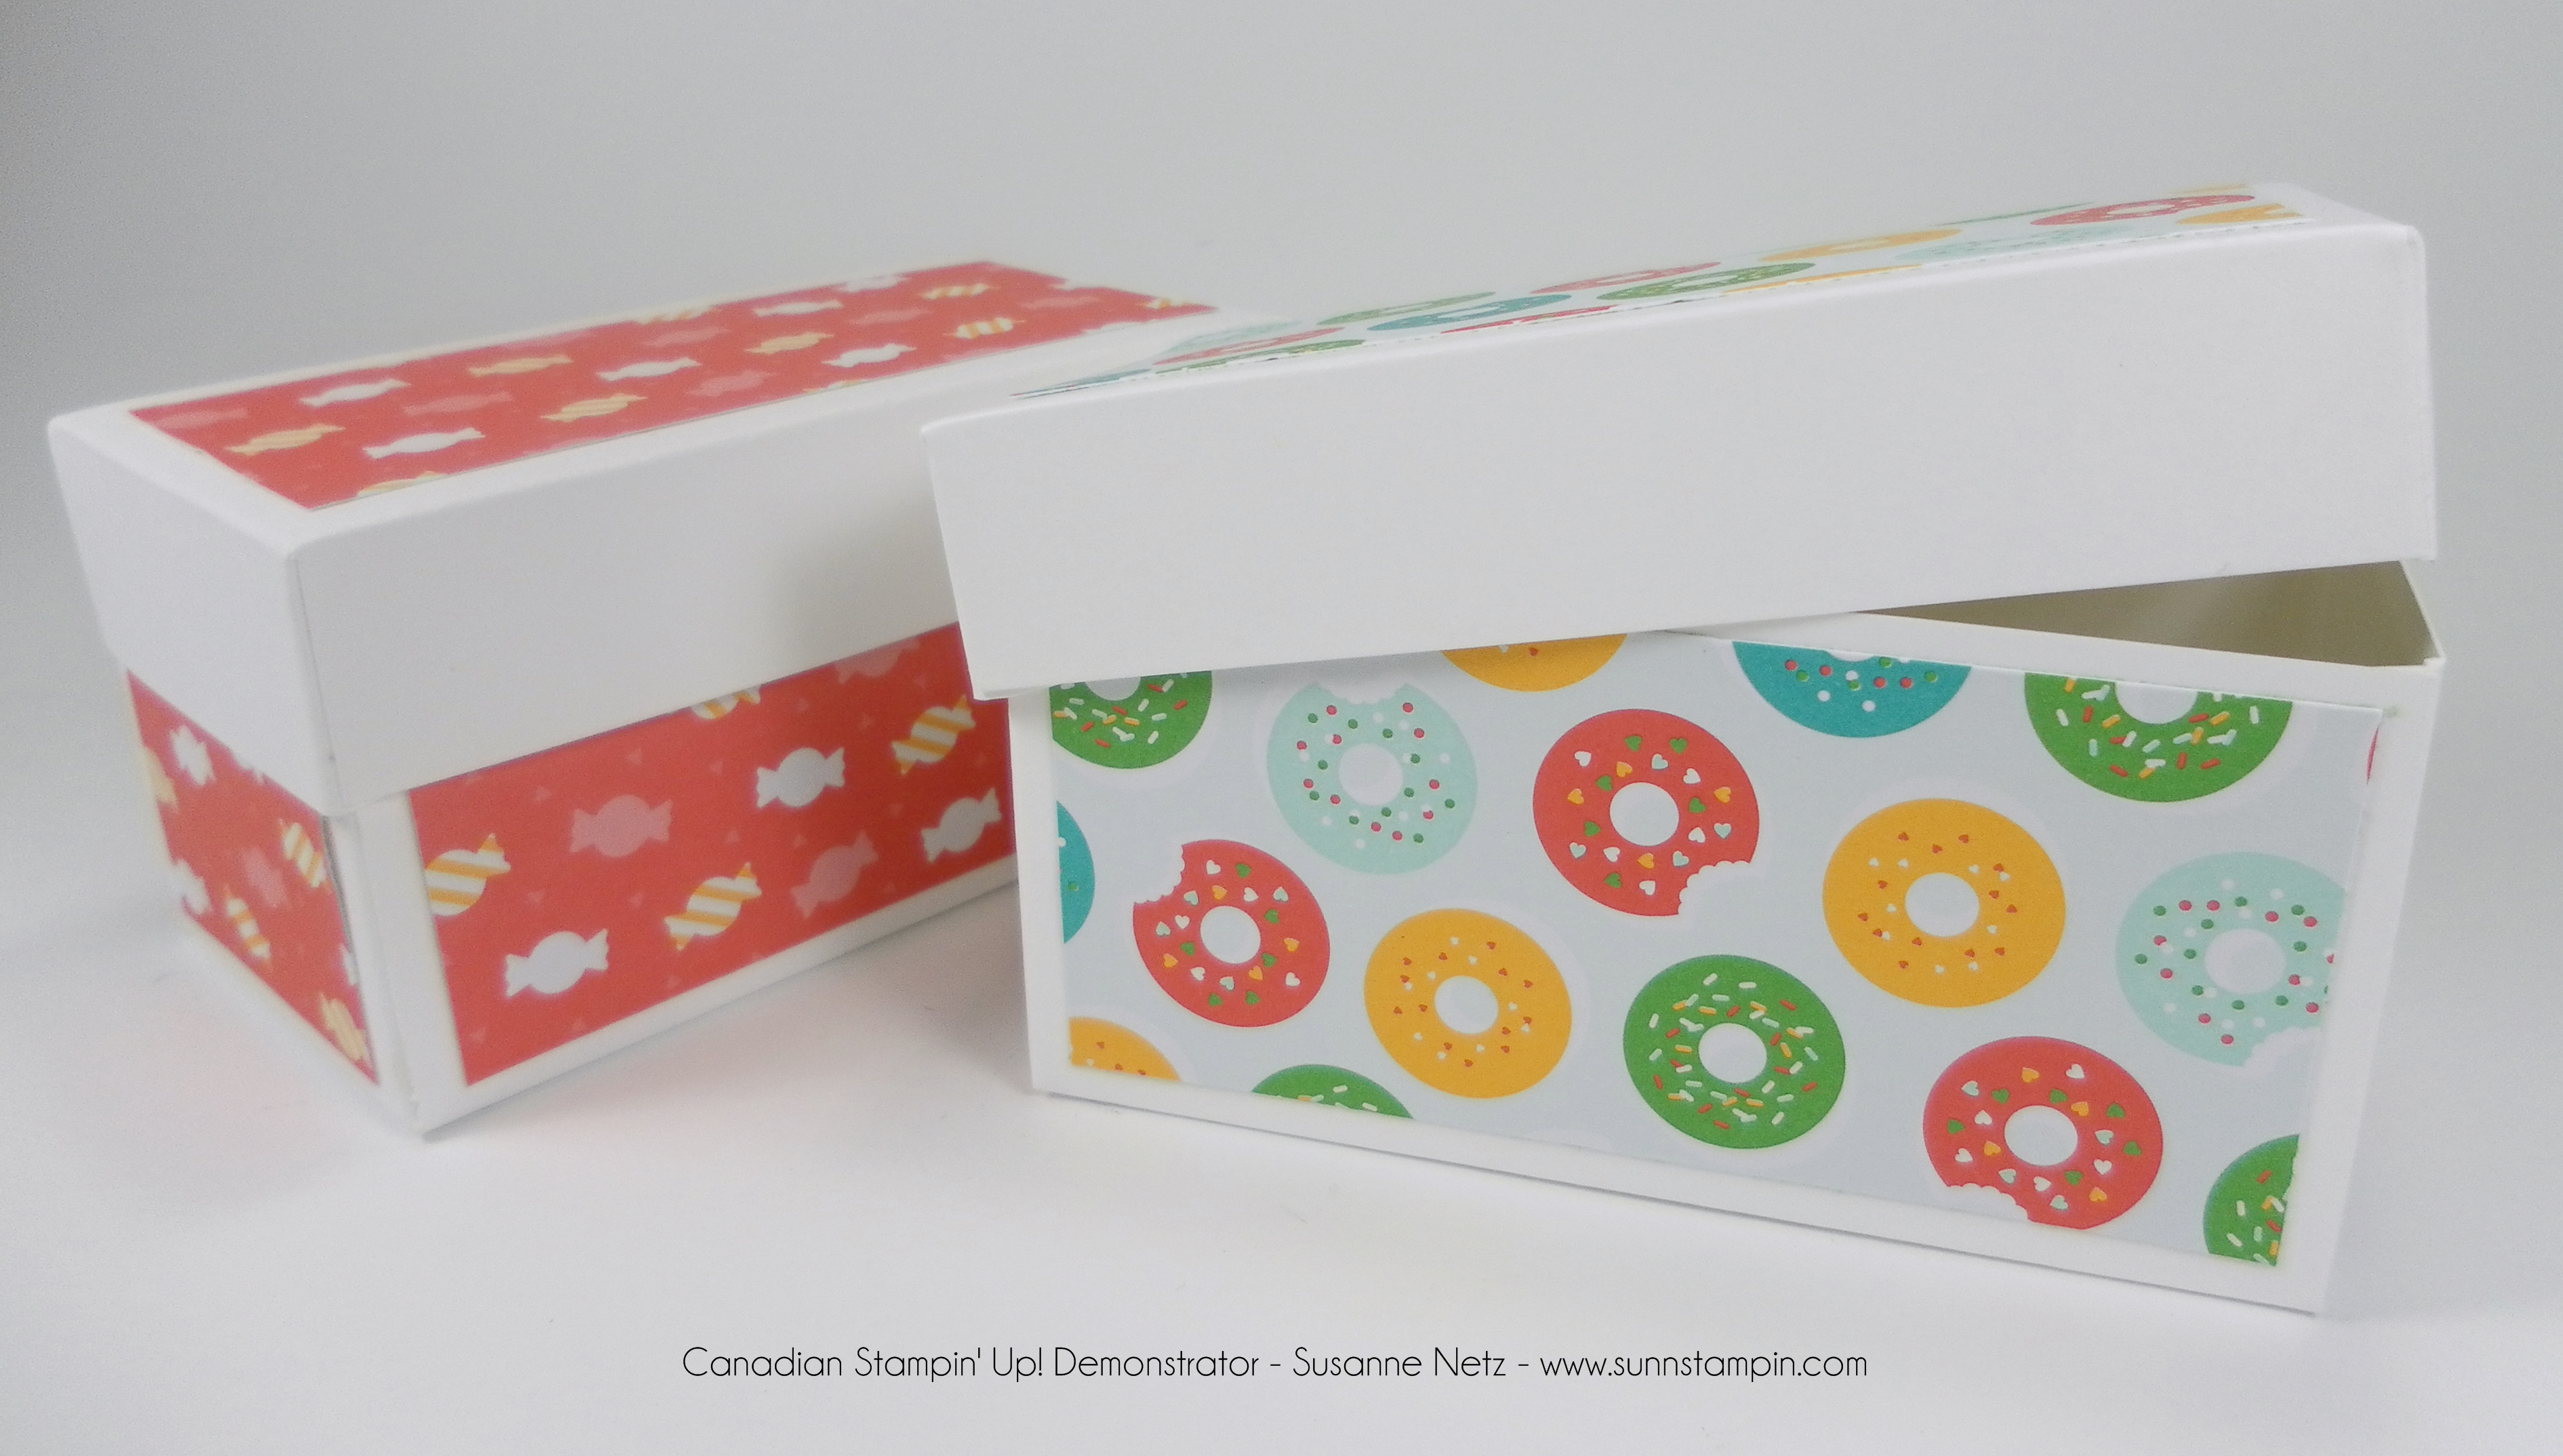
Hi friends. I have made it a personal quest to find larger boxes so that they can house larger gifts that one would give. I mean a dinky box is great for treats and such but what happens when you want to give a gift that is larger than some treats? I hope you feel the same way as I do and that you like this project.
Hi there. I have never attempted a project like this and I was really pleased as to how it turned out. If you saw my inspiration basket for this you would laugh as it doesn’t look at all what I ended up with. So, in the video I spoke of the neodymium magnets and you’ll have to locate them yourself, I found the big ones at Michaels but I do believe somewhere on the net you can find smaller ones. Anyway, enjoy the show.
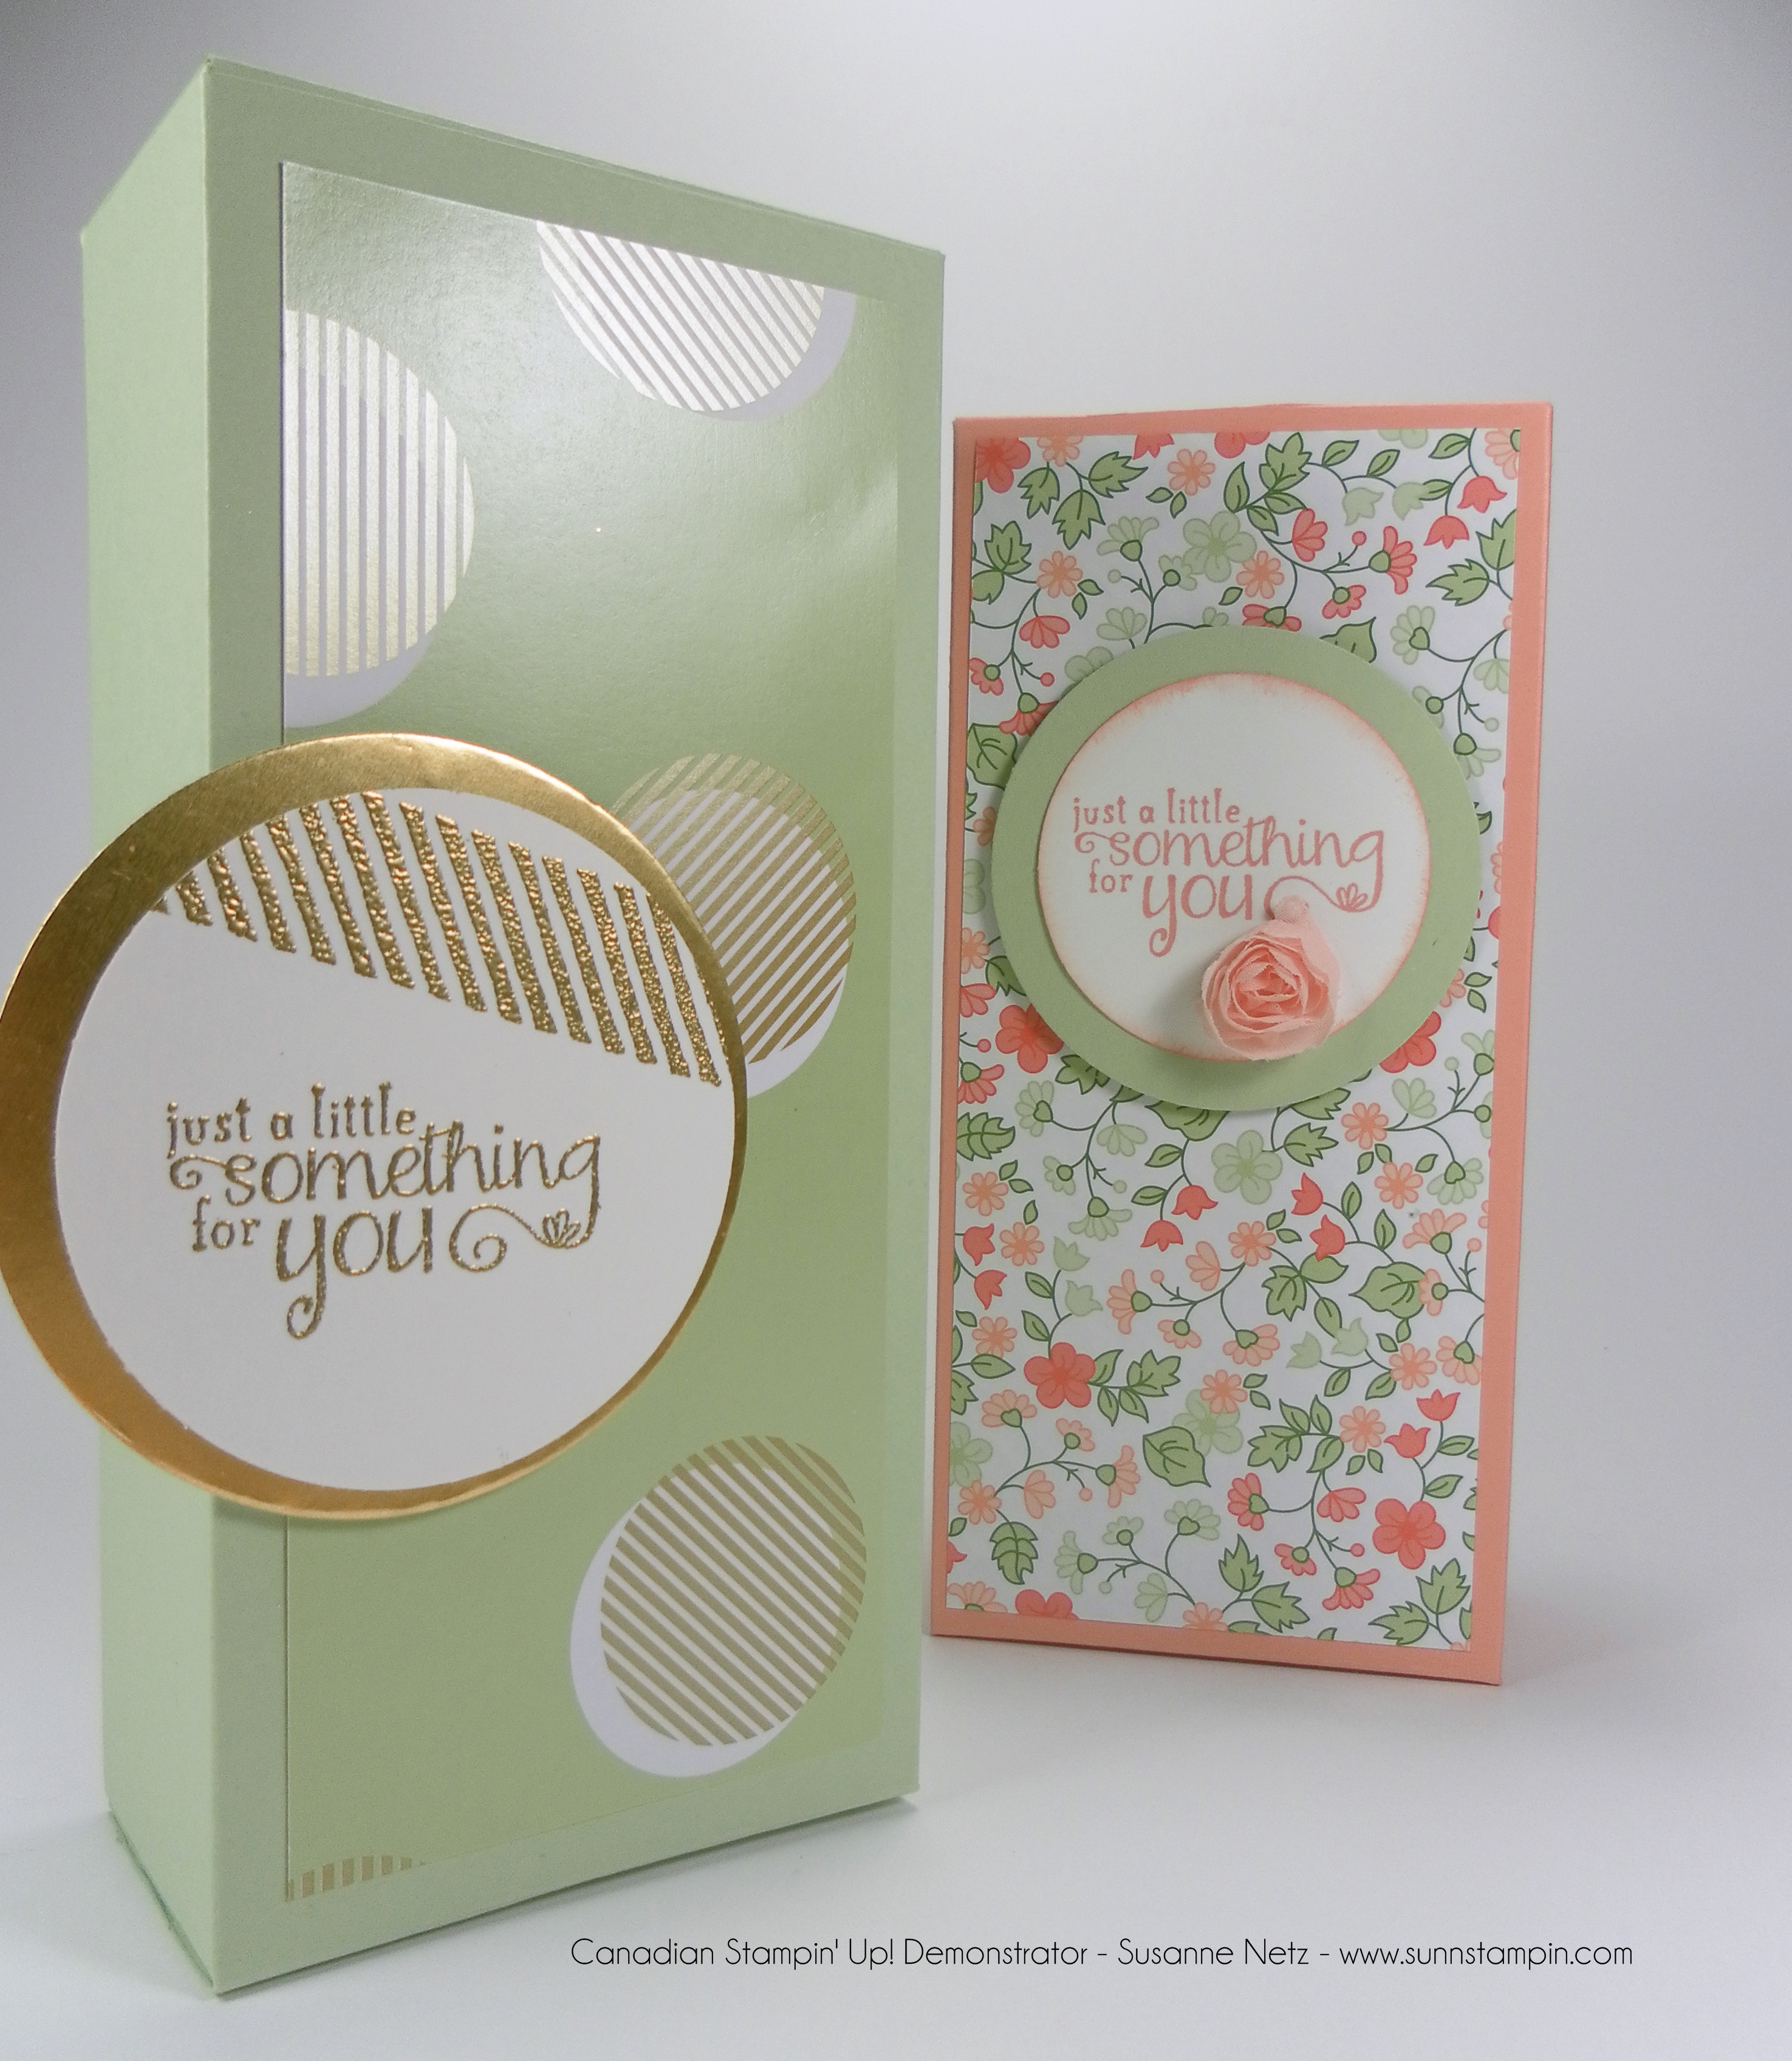
Wishing you a happy Friday. Here’s a quick project that I made. Hope you like it.
Enjoy the show…
Card stock: 5 1/2 by 5 1/2
Punch and score on the 2 inch measure and move along to the 3 inch measure and punch then score. Turn one quarter and follow the score lines to punch and score again. Repeat on remaining sides.
Hello there. Hope you are heading to a nice weekend outdoors. It’s finally spring (except in Calgary ha ha). So today I have a tall box to share with you today. I did have an inspiration box and I do show you in the video. I think I forgot to mention the dimensions of the card stock I used so scroll down past the video where you will find all the information needed. Hope you like it. Enjoy the show.
Hi there. Glad you stopped by. I have a great box to share with you today and I am so very pleased at how it turned out. I ended up giving it to my Mom for Easter (she’s the one who always comments on almost every post if you haven’t noticed). Anyway, the info is after the picture, and then the list of supplies is after the video. Enjoy the show.
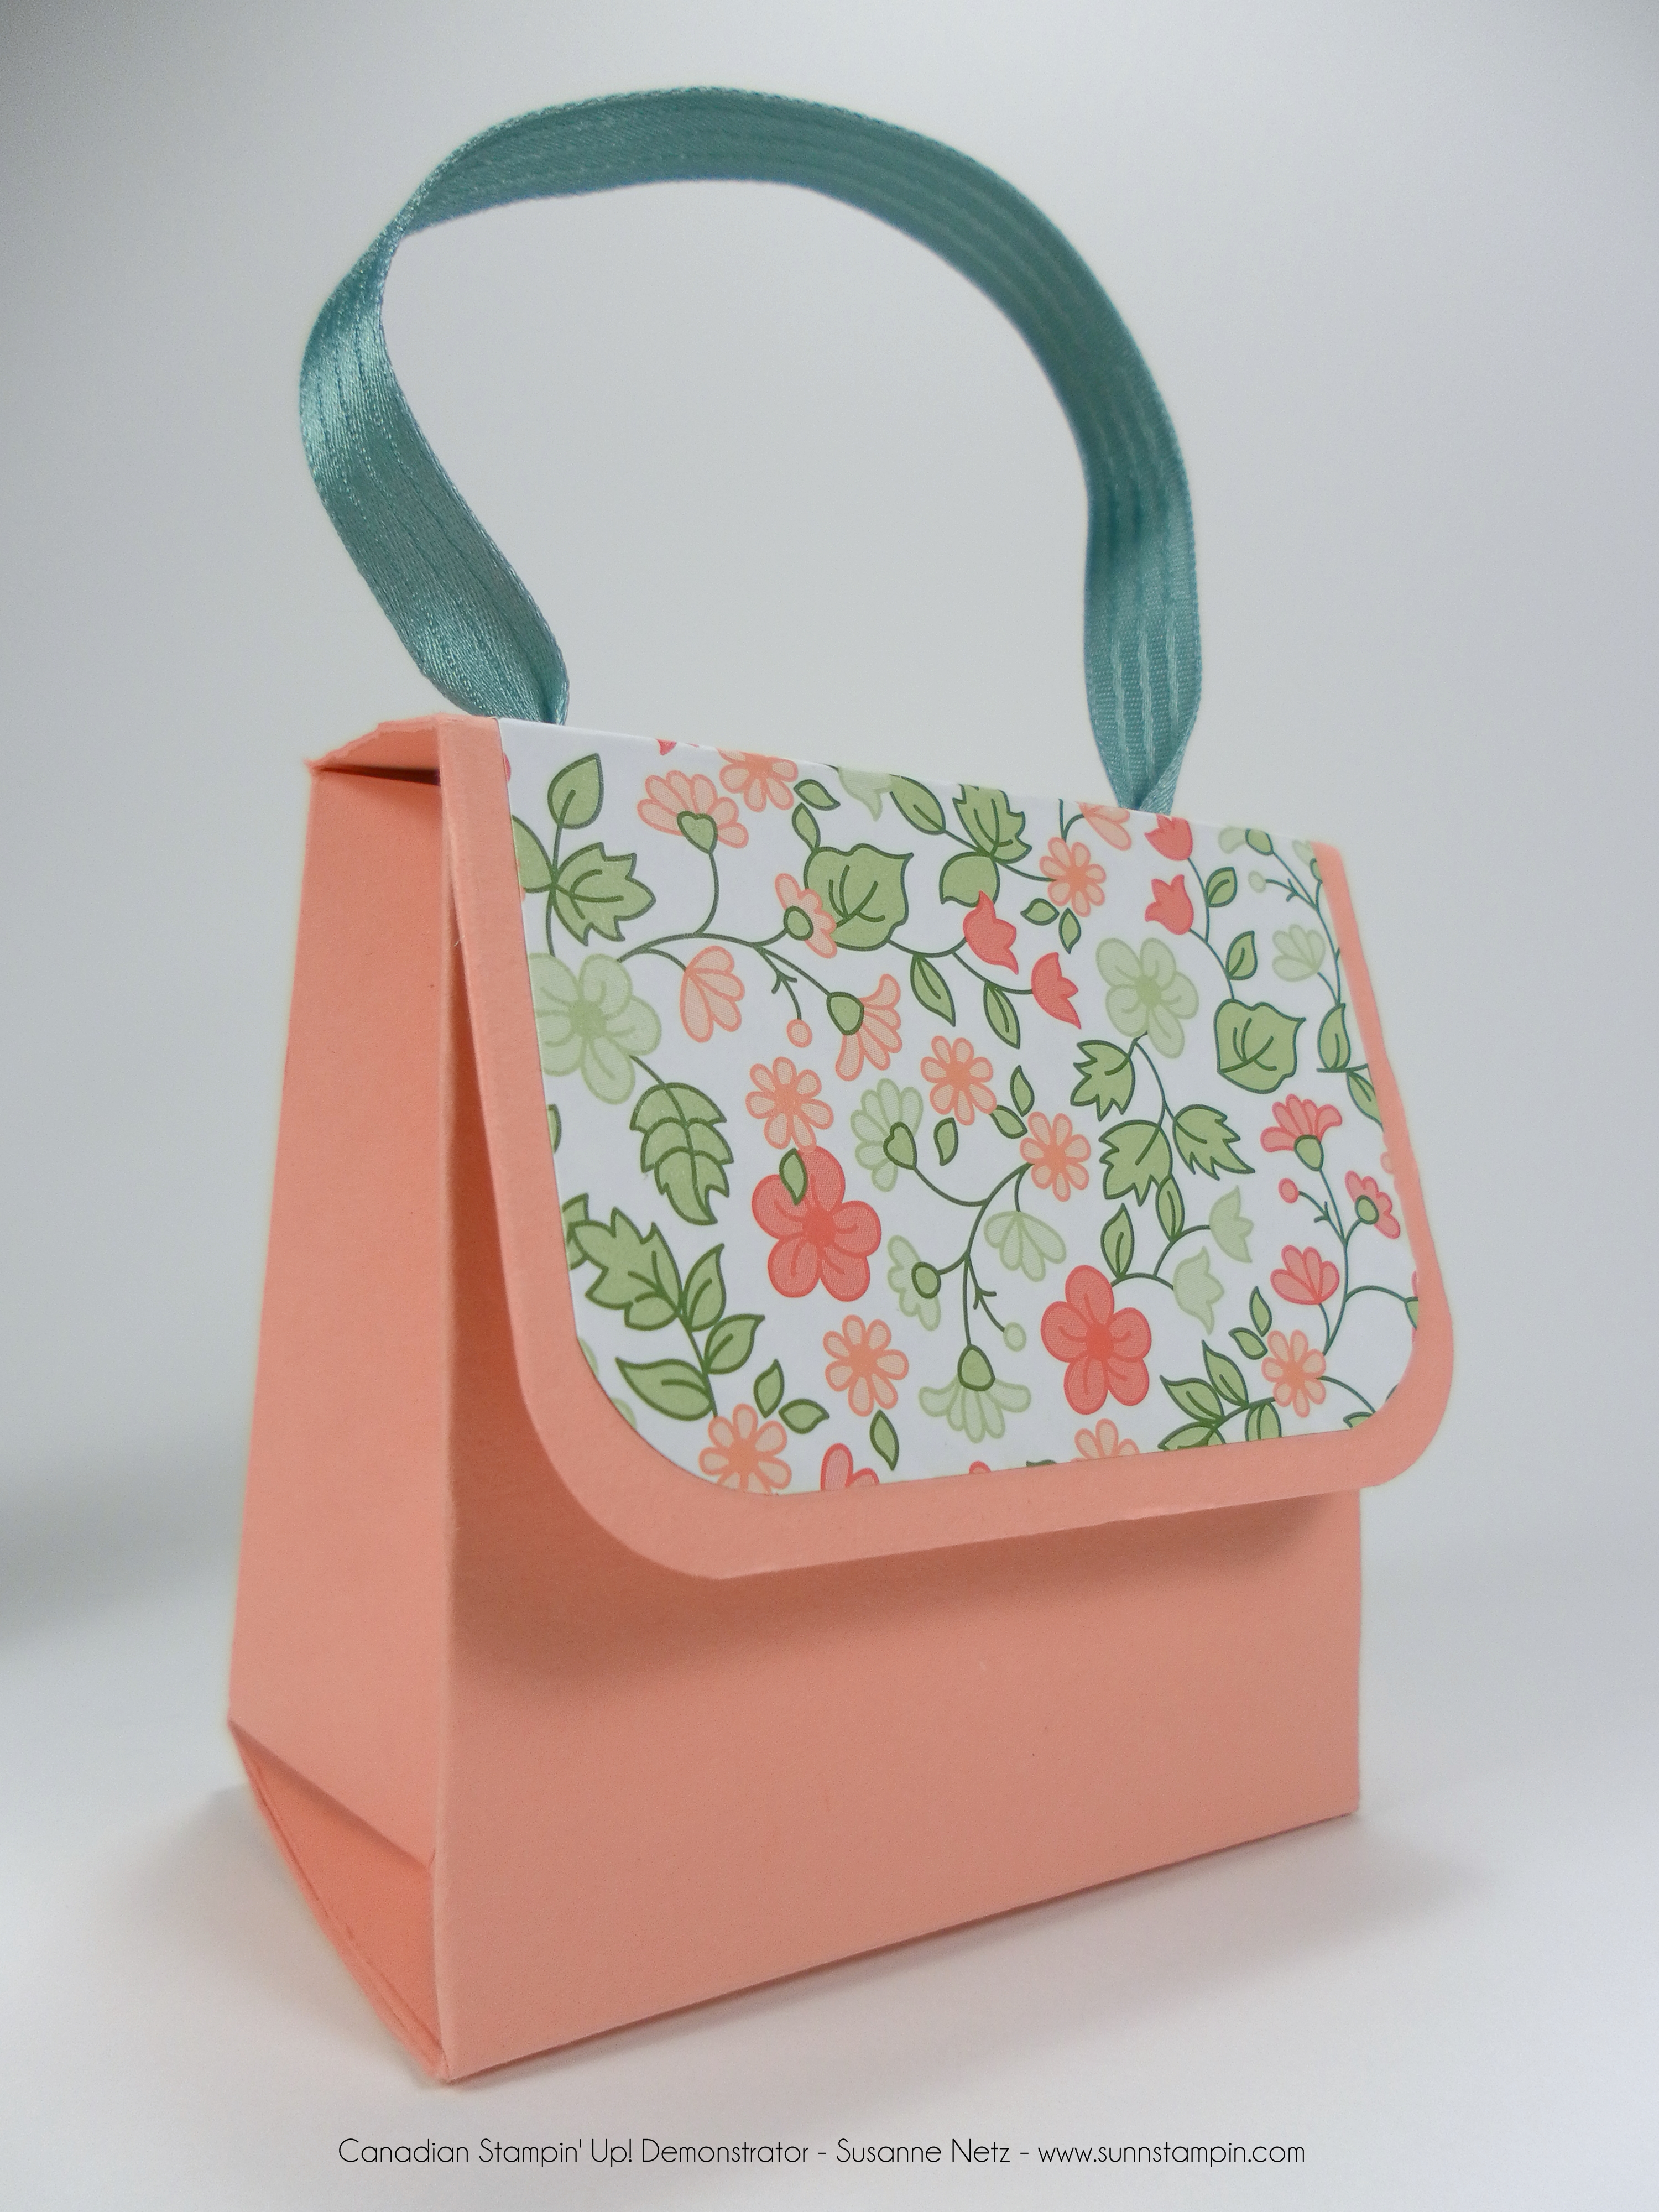
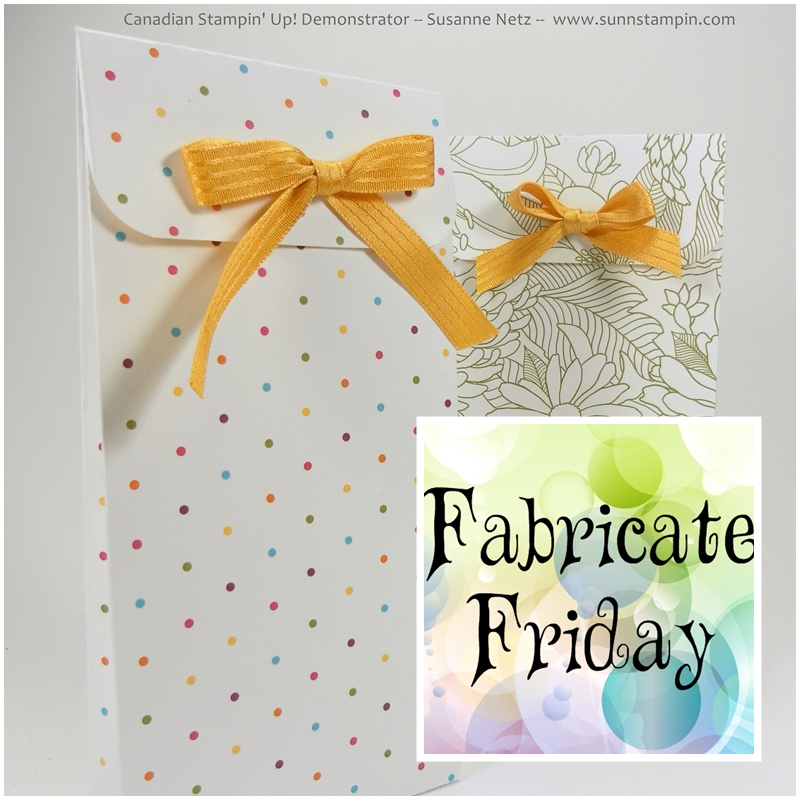
Hi Everyone. Here’s another little bag for you. I’m still thinking Easter but it could be used for party favors or Christmas Tree ornaments. Check it out.
Oh my, it’s almost Easter. It’s also a time where I find that many people head to the craft room to make pretty little boxes and bags for the young ones. Here’s a cute project for you. As always, there is a list below the video so you see what products I used.
Oh, coffee…it’s a wonderful thing. I call it my attitude adjustment in the morning. I would be a serious grouch without it. So I often buy pouches of the instant Starbucks coffee for myself and the salon (don’t knock it till you try it…it’s really good) and that is where I got the inspiration for this little gift bag. Check out the video and if you need any of the supplies I used in this video please just scroll down after the video to the visual product link below and it will whisk you away to my online store where you can shop 24/7.
Card stock: 9 by 9 square
Score one side : half score at 1/2, Full score at 1, 4 1/2, second half score at 4 3/4, full score at 4 3/4, 51/4 and 8 1/2
Score the other side at 1 and 7 inches.
Notes:
I say a half score but I suggest scoring down to 6 inches or so.
That partial score is folded like an accordion.
Notch that accordion fold so you get a V shape when flat.
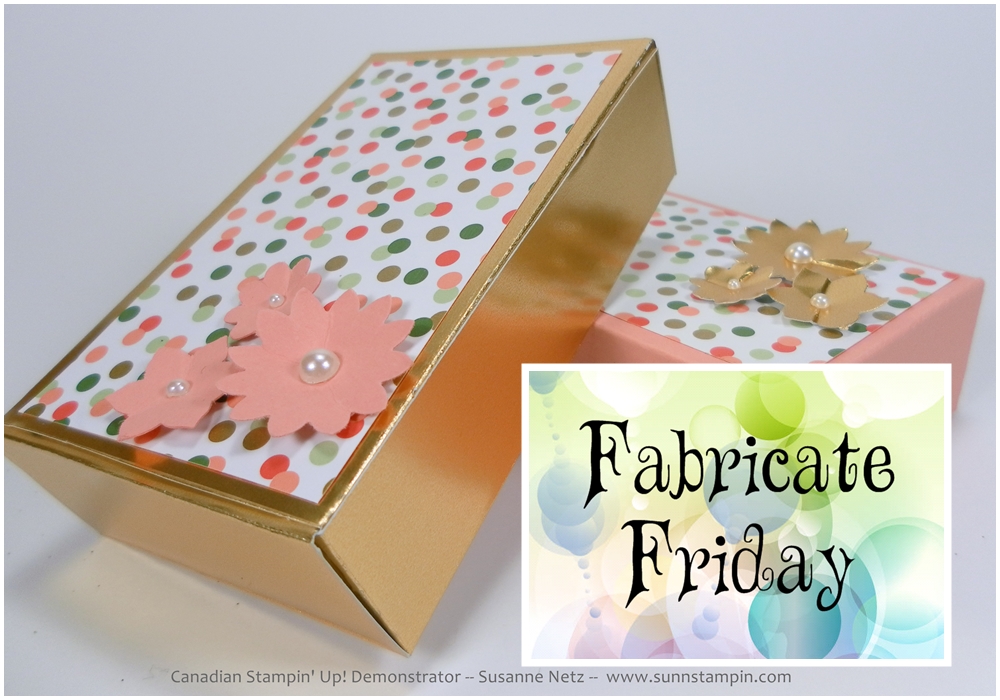
Hi friends, I’m on a gold foil paper kick right now. I am trying to use my paper products instead of hoarding them so this is the project that I choose to make for today. Love the glitter and the shine. Ha! I’ve listed the products I used in this project below the video in case you wanted to grab yourself some stuff from my store. 🙂
Card stock: 7 by 6 3/4
Scoring:
Short side (6 3/4 length at the top of your scoring tool): Score at 1/2, 1 1/2, 5 1/4, 6 1/4
Long side (7): Score at 1, 3 1/4, 4 1/4, 6 1/4
Check out the video for the tutorial. The above measurements are the correct ones I promise.
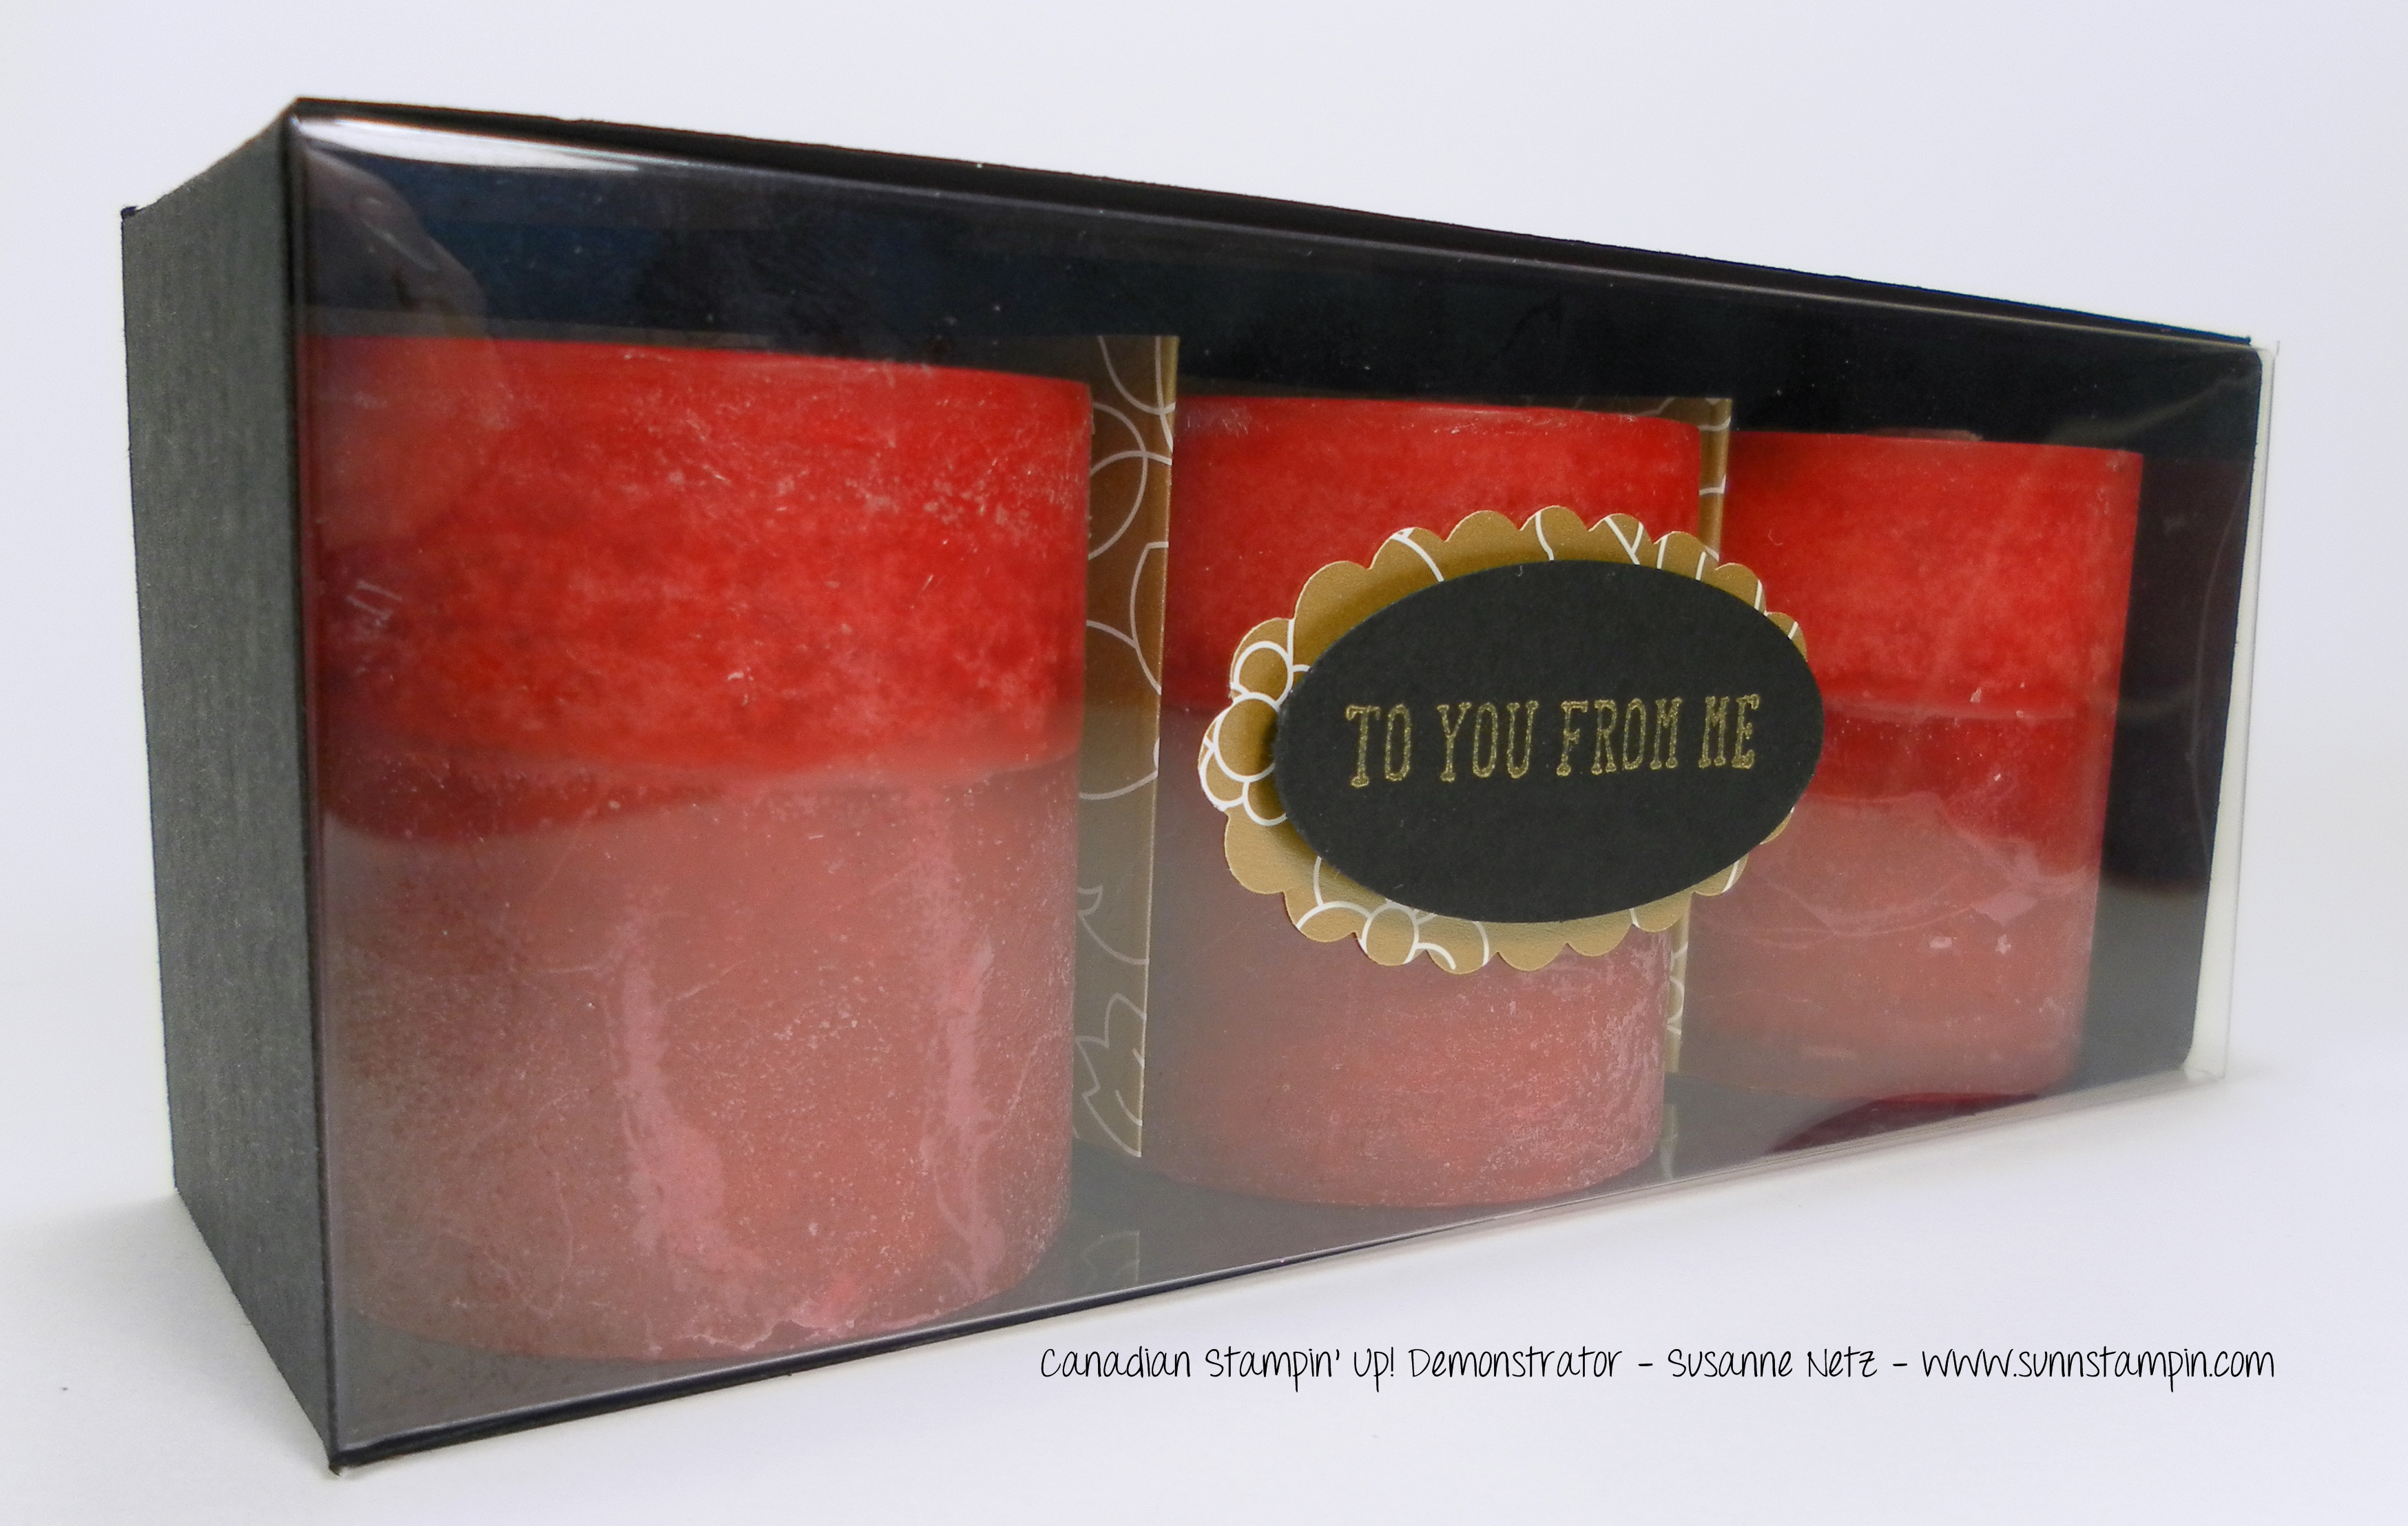
Oh my how I love this candle, it smells like heaven. This is a project that I made to house said candle so it won’t rattle around in the box. As always, if you need any of the supplies I used in today’s project just click on the visual link below the video and it will take you to my online store.
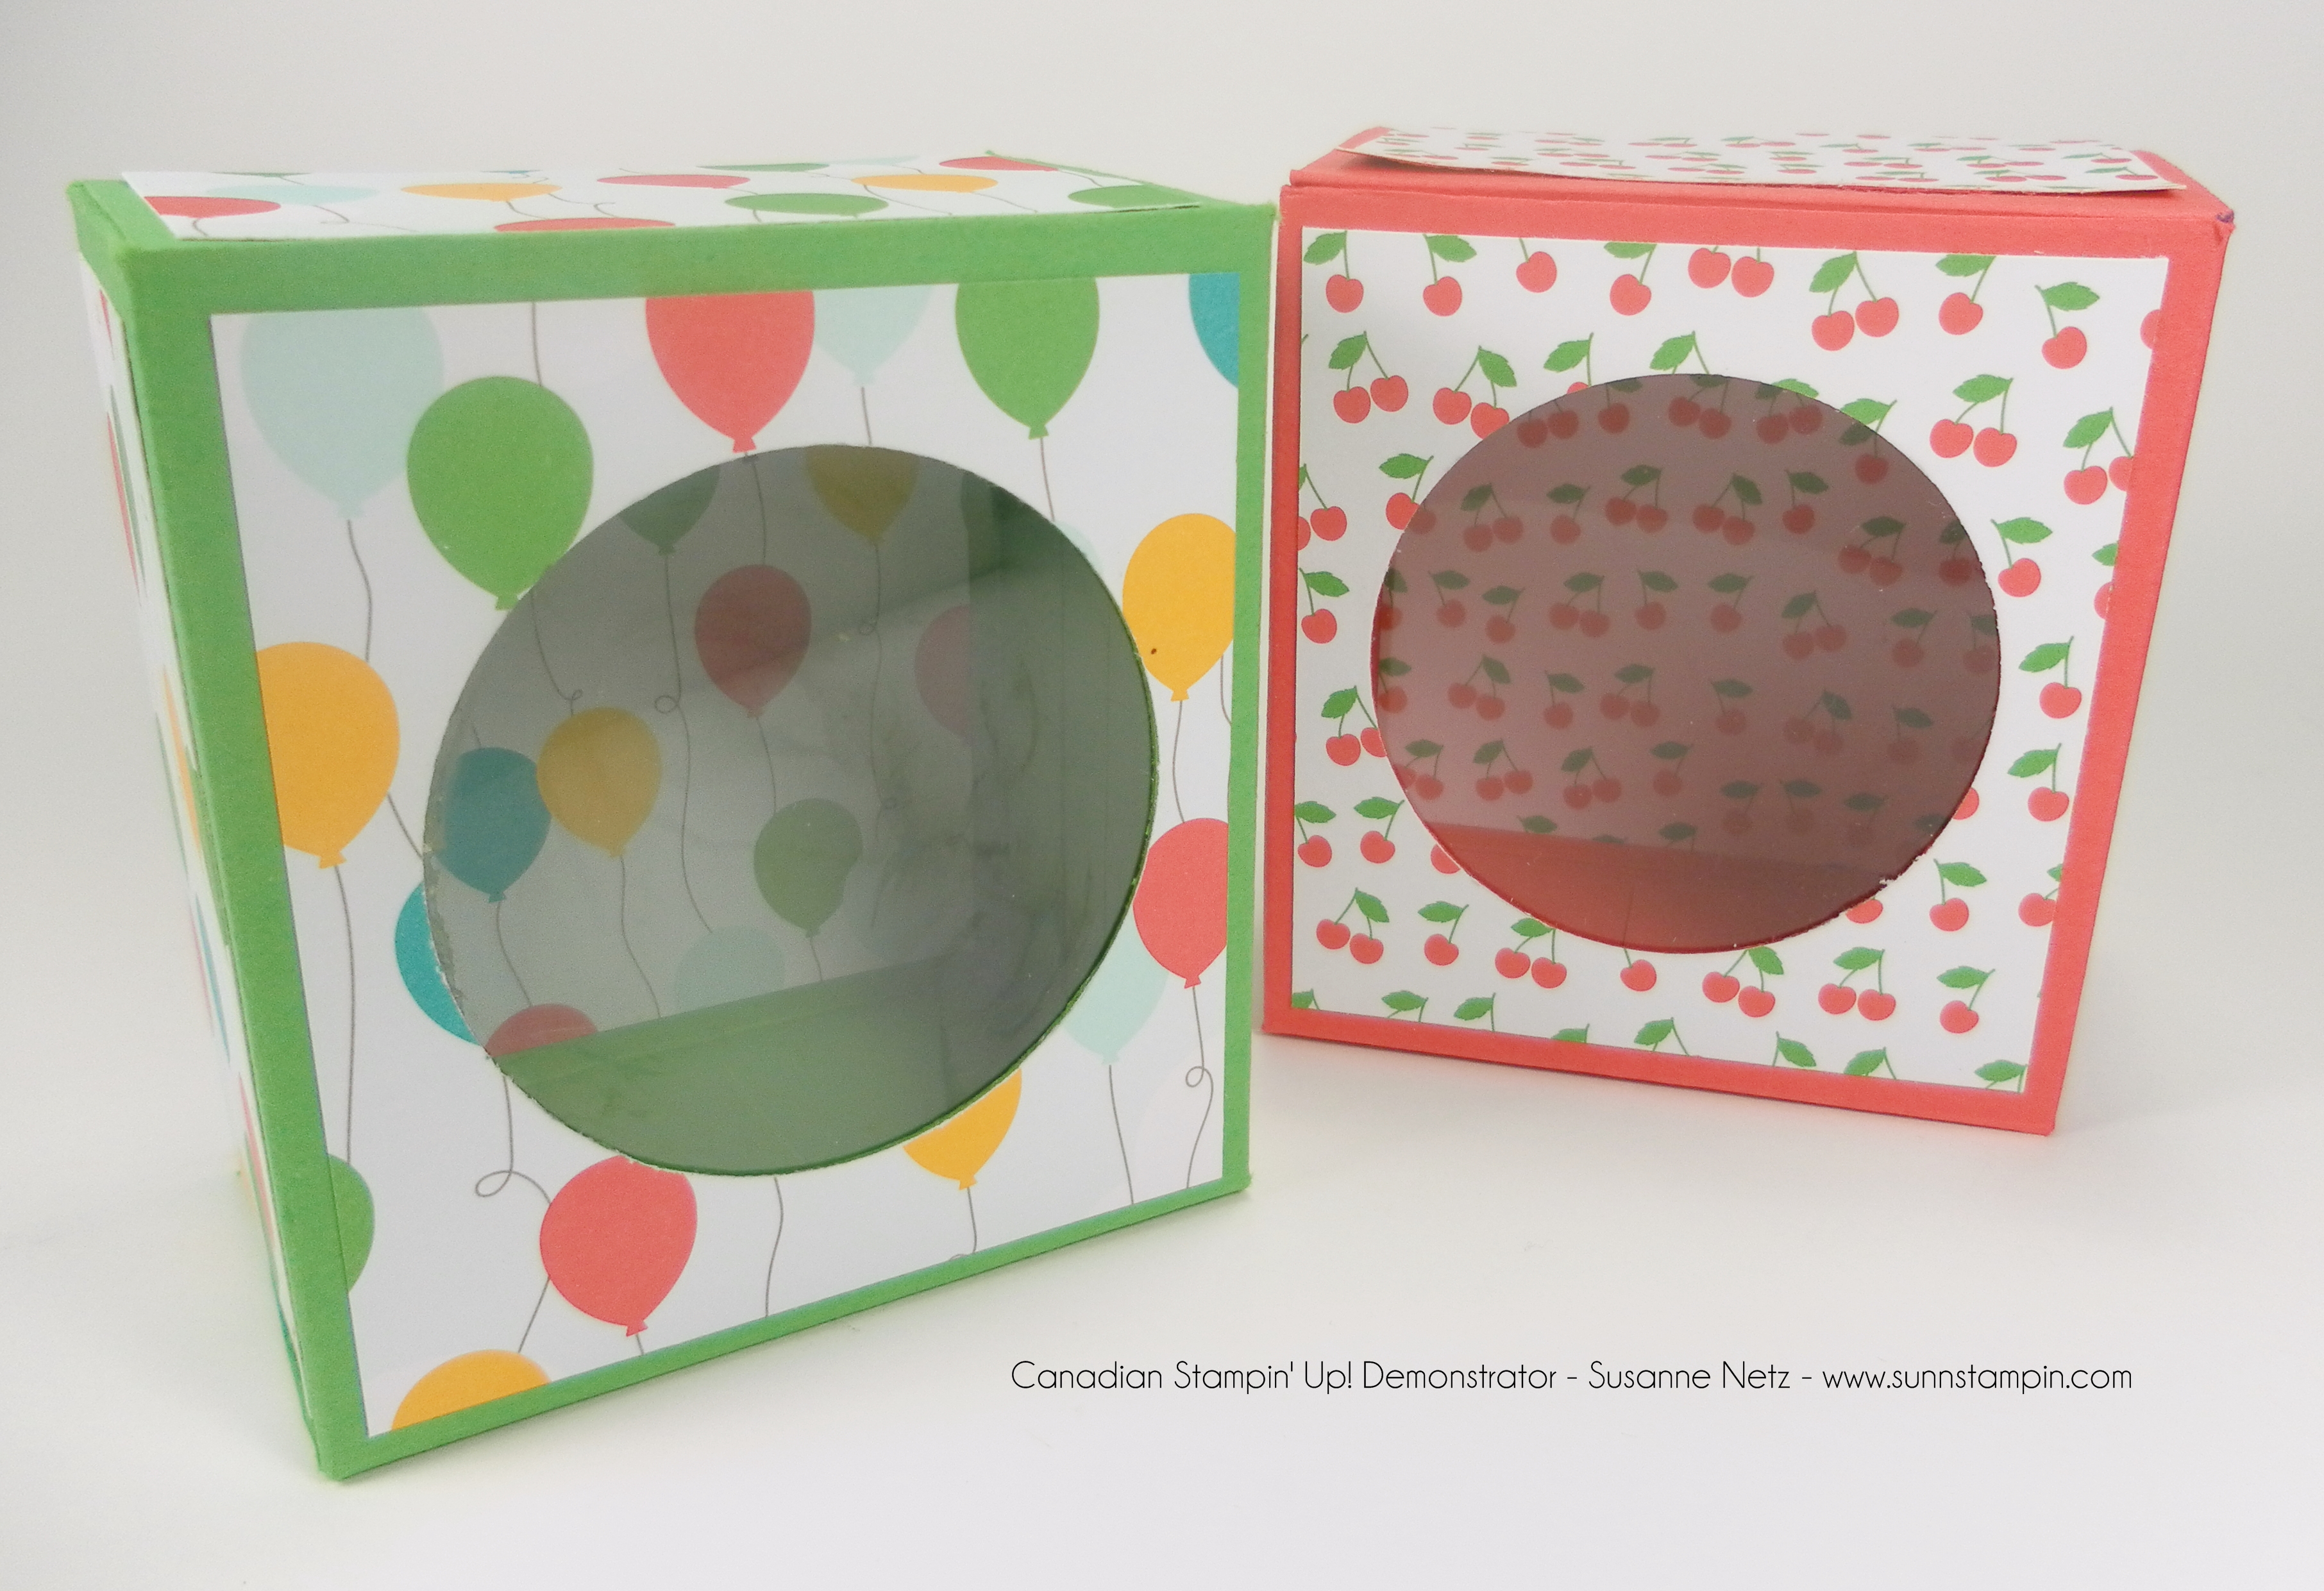
This is a cute project for all those paper crafters looking for wedding favor boxes or perhaps just a quick box for candies. As always, if you need any of the supplies I used in this project click on the visual link below the video to get to my online store.
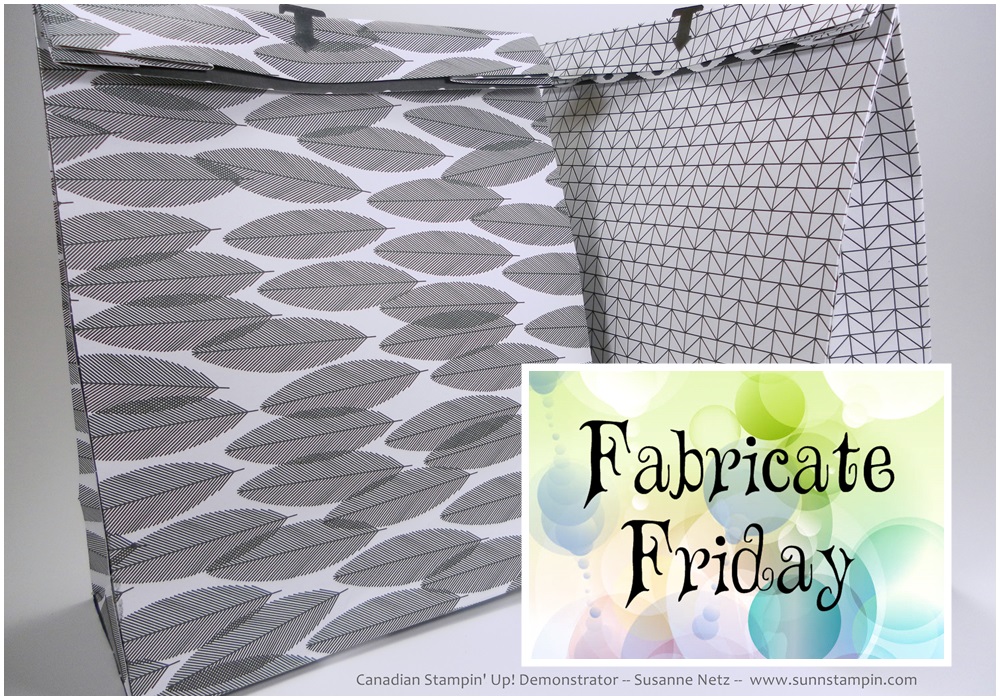
I thought I would share with you a project that my sister asked me to create to house 2 small jam jars. As she lives in Calgary, I had to send them to her and it was really convenient that I was able to fold these bags flat. Anyway, check out the video and as always if you like or want any of the products you see me use just click on the visual links below the video and it will take you to my online store.
You’ll need 2 pieces of DSP (pretty paper) sized 10 by 9 3/4. The short side is basically the right way up (meaning if you have a pattern you’ll want it to run in the proper direction NOT the way I did it in my video).
Short side at the top score both pieces at 3 and 9 inches.
Turn so the long side (10 inches) is on the top of your score board and score both sides at 2 inches.
Check out the video for a how to tutorial (albeit slightly confusing but I’m sure you’ll figure it out). Enjoy the show.
This project was a lot of fun to make. Check out the video and as usual if you need any of the supplies to make this project please click on the product link below and it will take you to my online store. Thanks again for tuning in and you have yourself a great weekend. 🙂
For the base:
Card stock sizing 8.5 by 8.5
Score 2.5 on all sides
For the Lid:
Card stock sizing 5 1/16 by 5 1/16
Score at 3/4 on all sides
DSP (pretty paper) sizing 3 3/8 by 3 3/8
cut appropriate hole in the top for your project, I used the 3rd from the inside of my circle framelits.
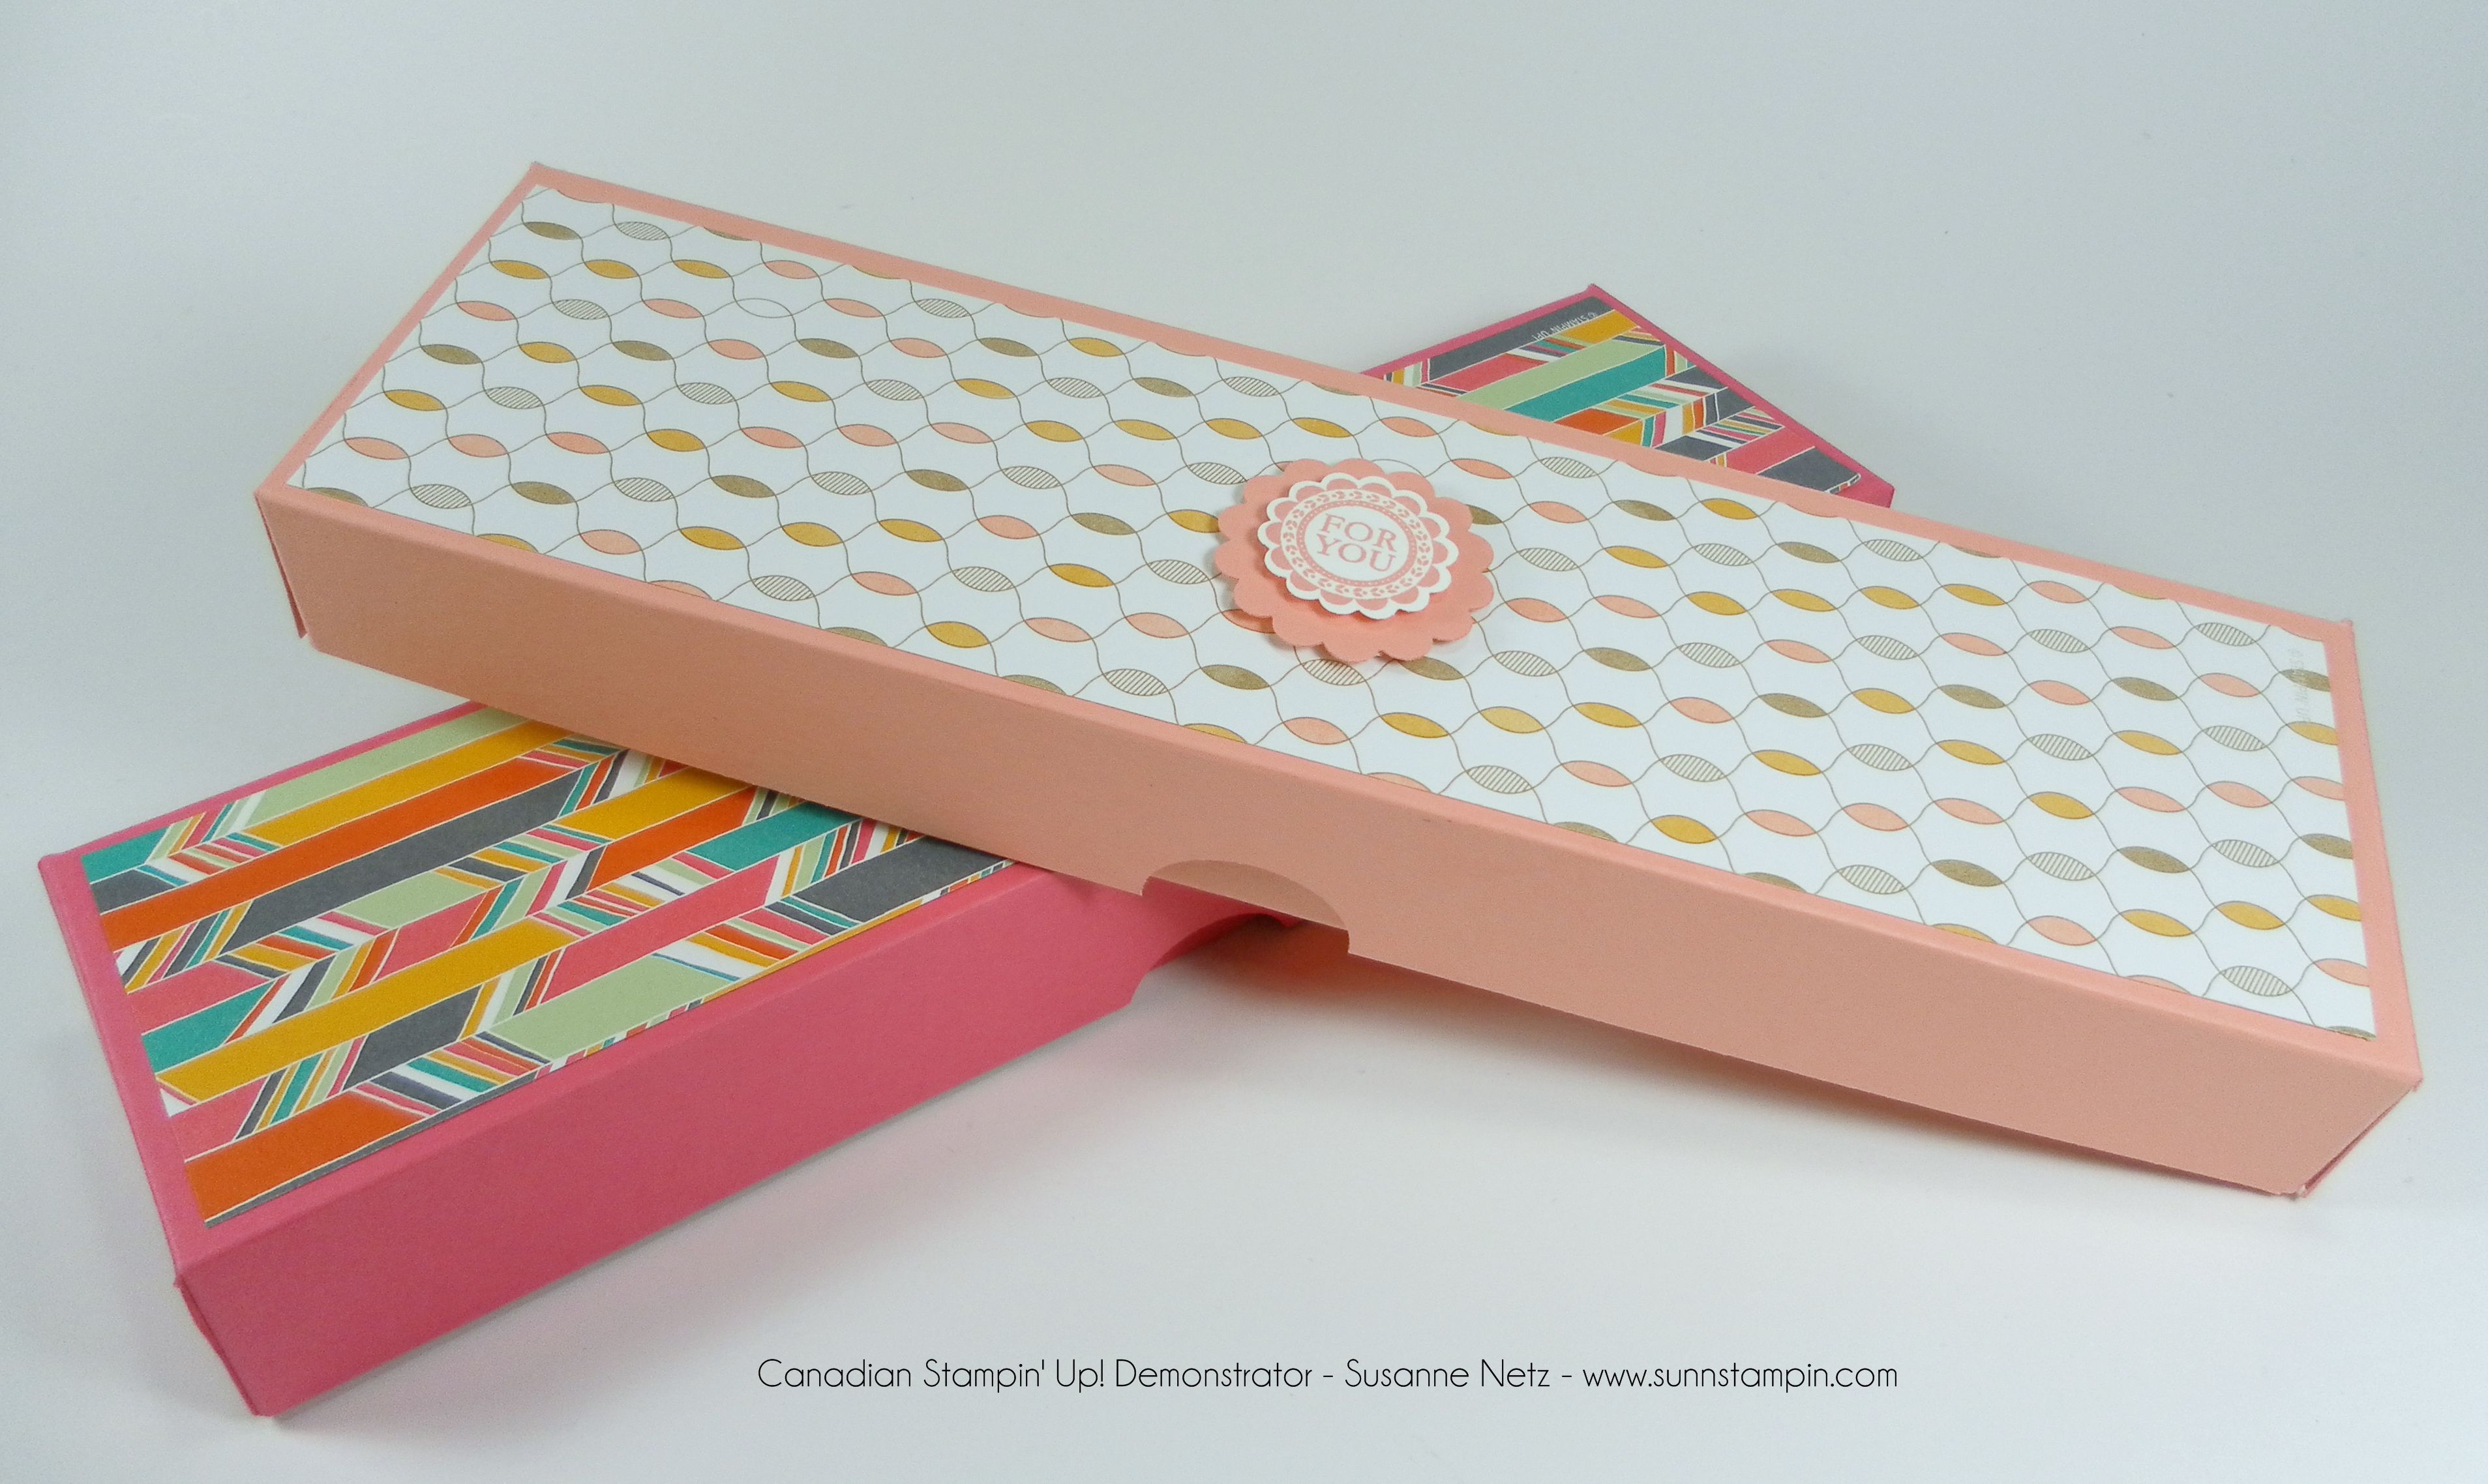
Well, this wee box could be given to your sweetie with some chocolates inside. As I have said before the smallest boxes hold the best things. 🙂 This project is made using the new chalk board paper, chalk inks and my favorite stamp set (out of this new catalog – er well so far). The measurements are after the video and a product list is following after that. Enjoy the show.