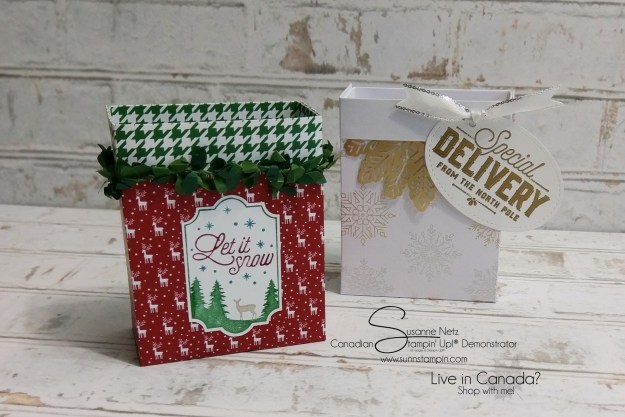
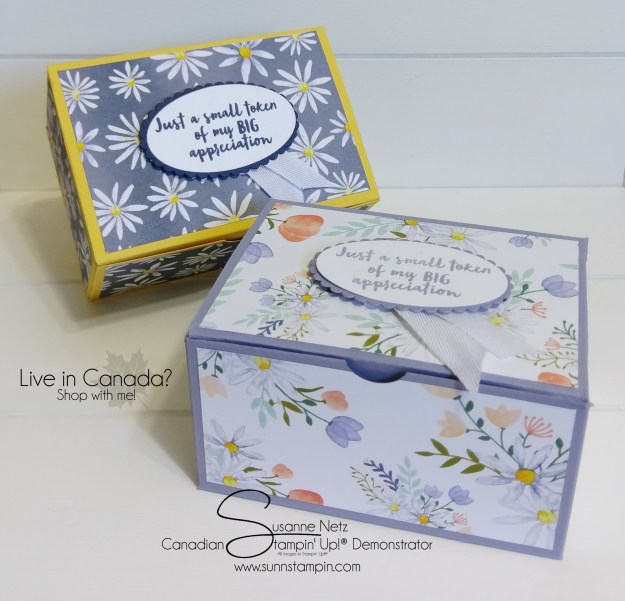
Hello and how are you? It’s the first Friday of the year and I have a tradition here at SuNN Stampin’. Every year I create a card holder box. If you want to see all of them you can click on this play list and it will give you selection of them. So this year I have decided to do something similar but with a twist. Ha. I’m always mixing it up don’t you know? So here is the project for this year and today, however there is a part 2 which will be aired next Friday. It’s kinda a 2 part project. Hope you like it.

 Above is button to the entire online store. Below are the links to what I have used on today’s project. Please click on the picture to be taken to the online store. If you make a purchase after clicking on my link, I receive a small commission as your demonstrator with no extra cost to you. I truly appreciate your support when shopping with me. Please do not hesitate to ask me a question as I am here to help you.


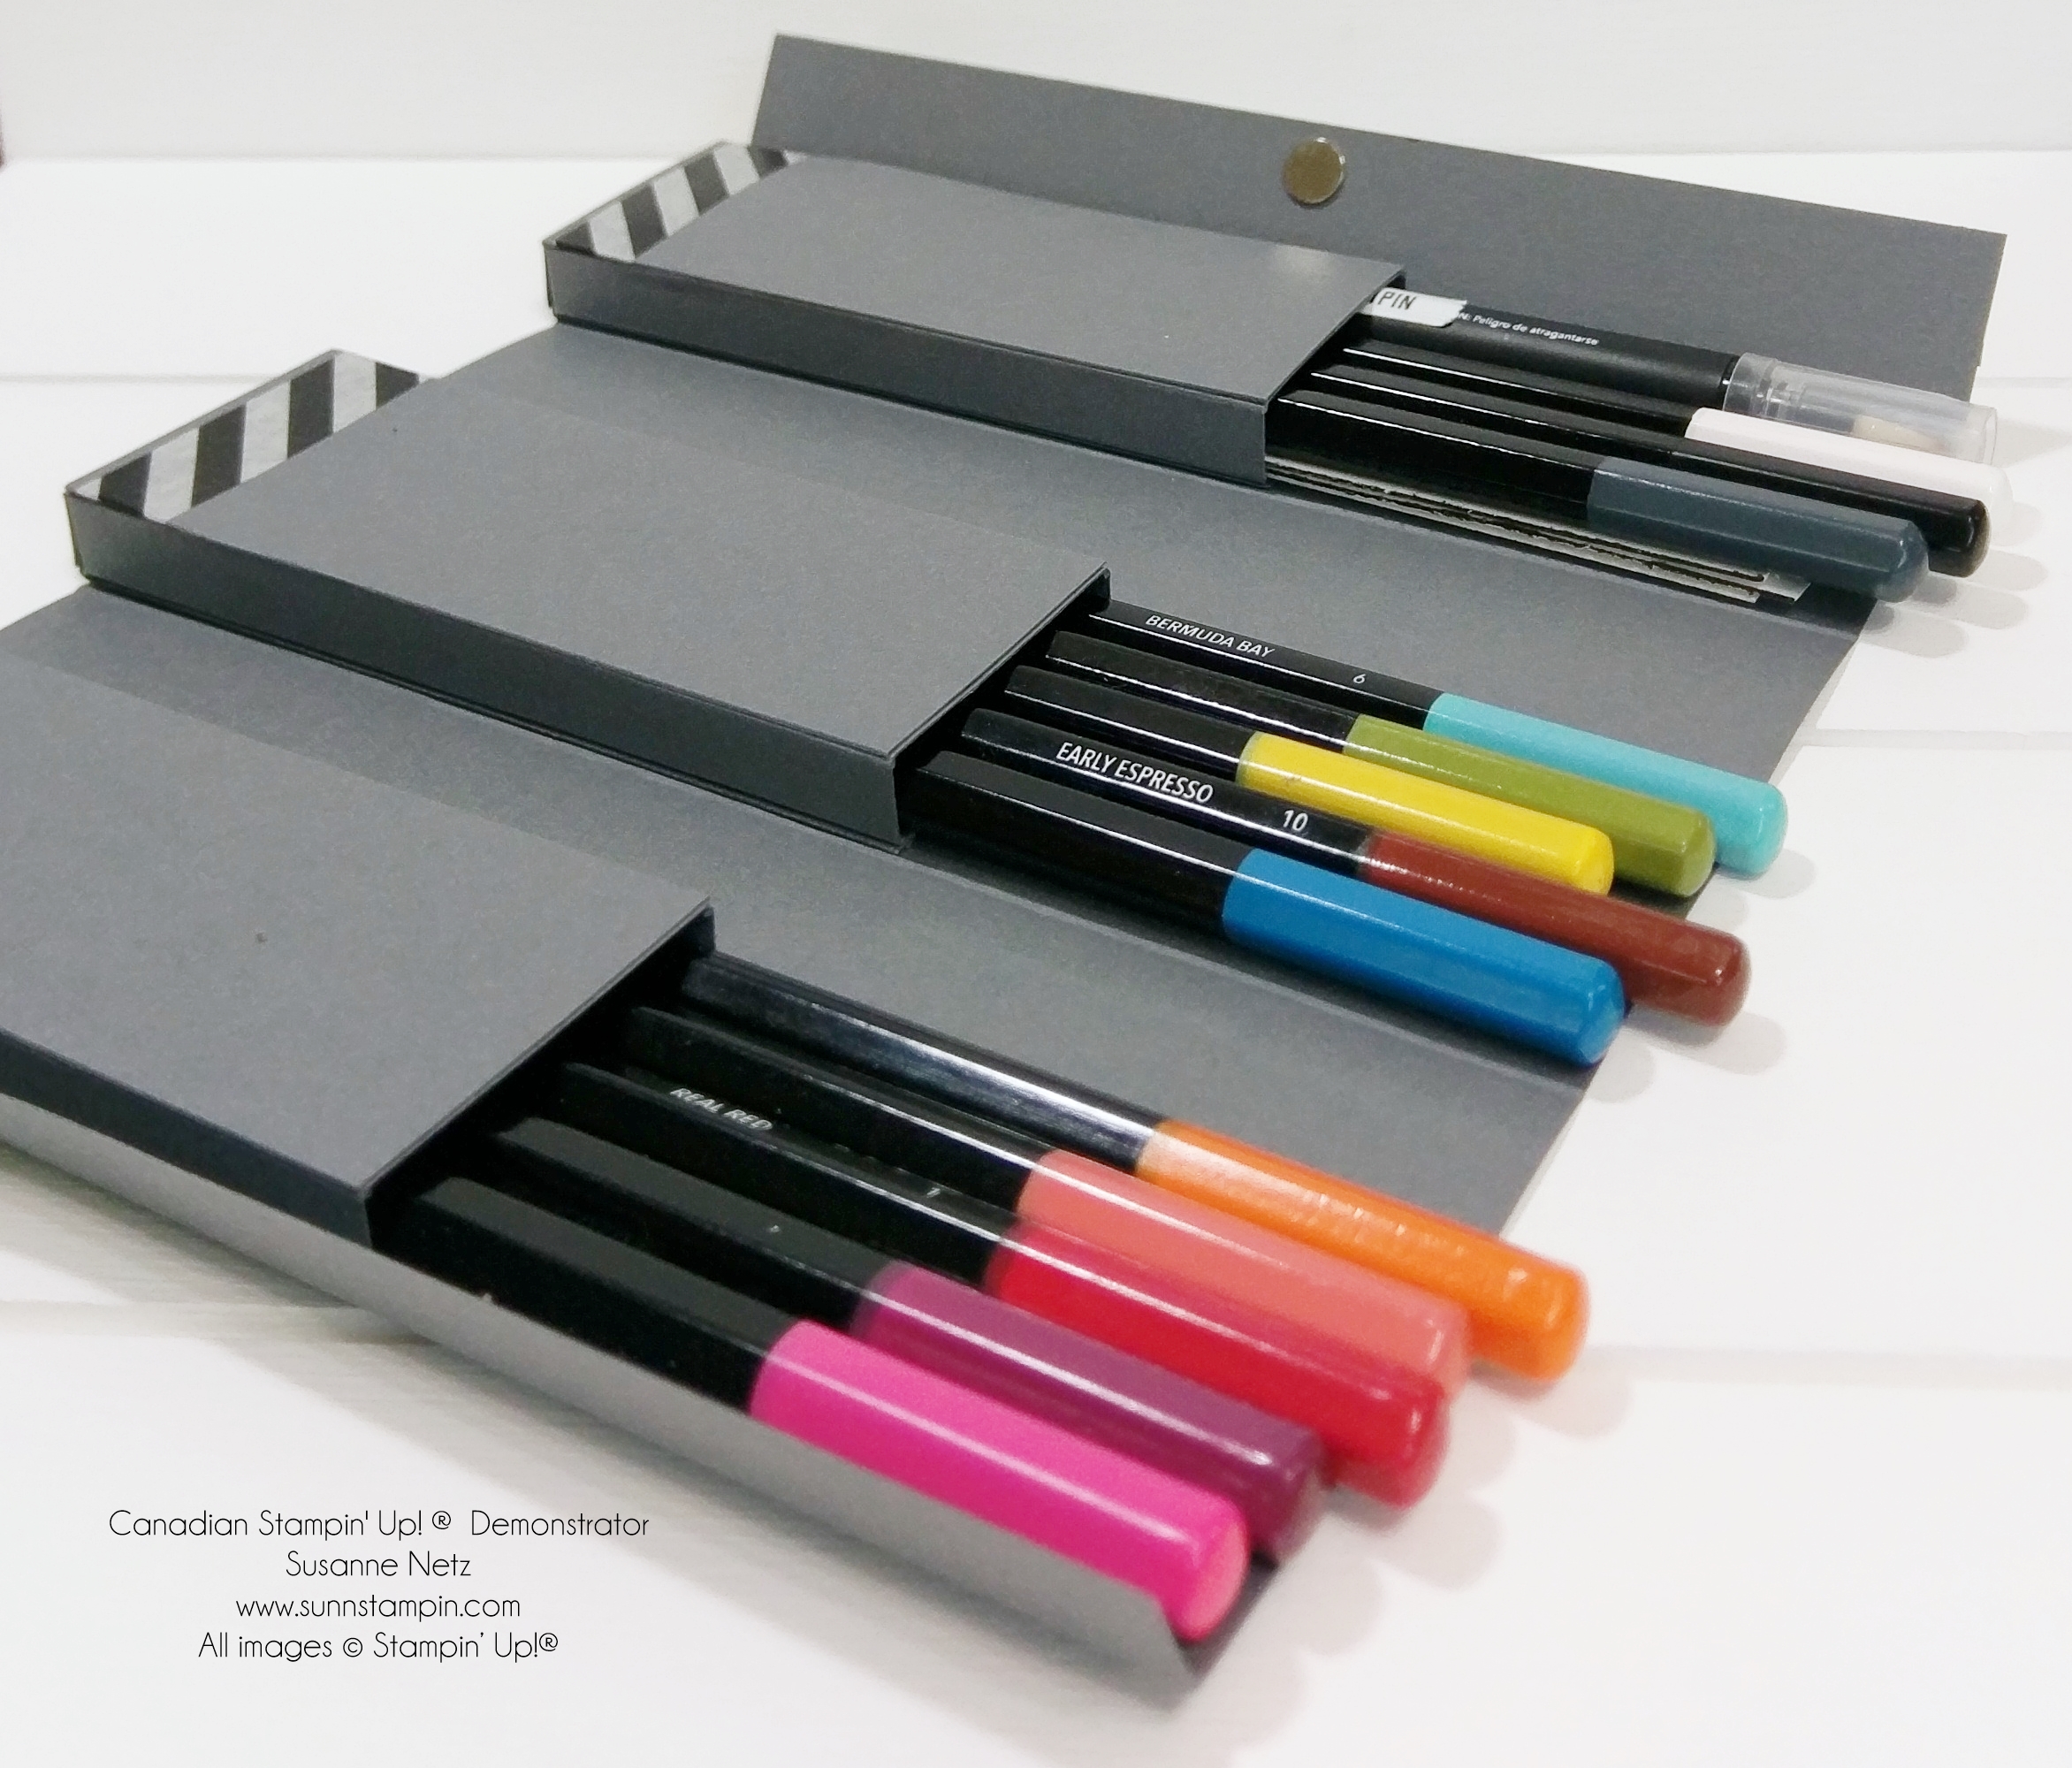
The Details:
Card Holder Folders:
- Patterned Paper sizing: 12″ x 6″
- Long side scoring: 4 1/2″, 5 1/4″, 9 3/4″, and 10 1/2″
Inside Pockets
- Cardstock sizing: 5 7/8″ x 3″
- Scoring on 3 short sides and 1 long (that means only 3 sides are being scored) : 3/8″, 3/4″


 Designer Series Paper")


 Solid Ribbon")


 Metallic-Edge Ribbon")