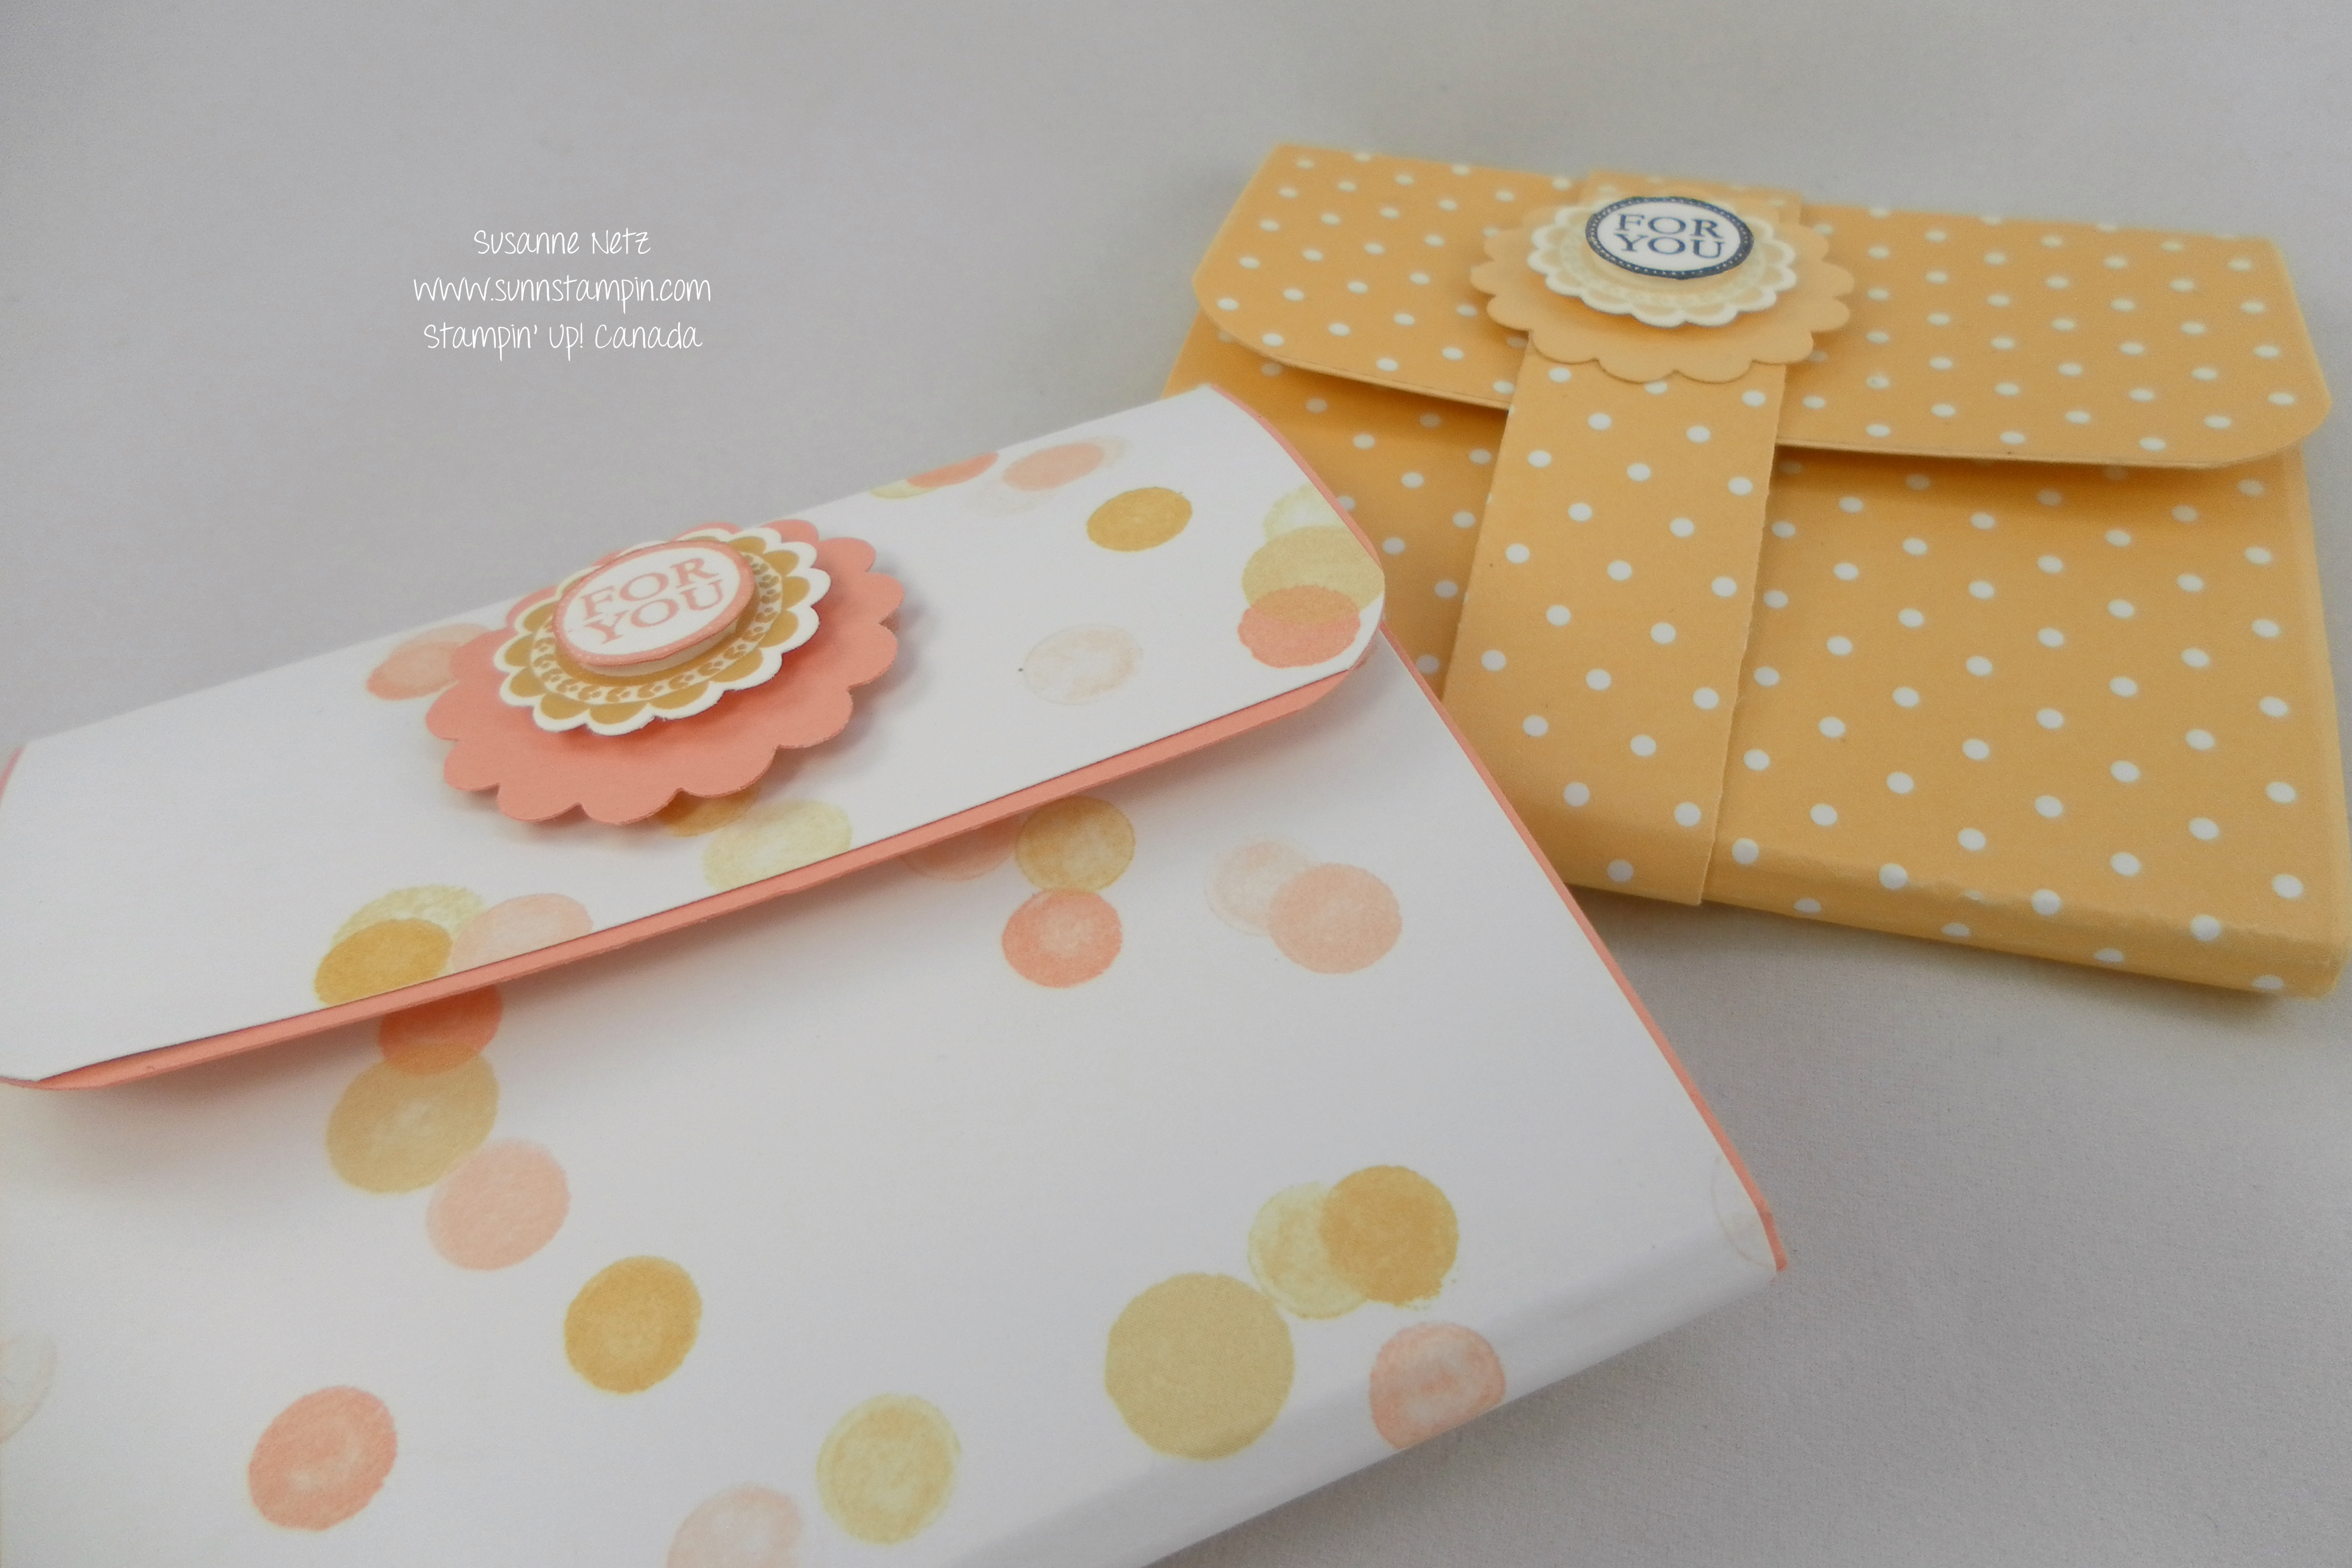
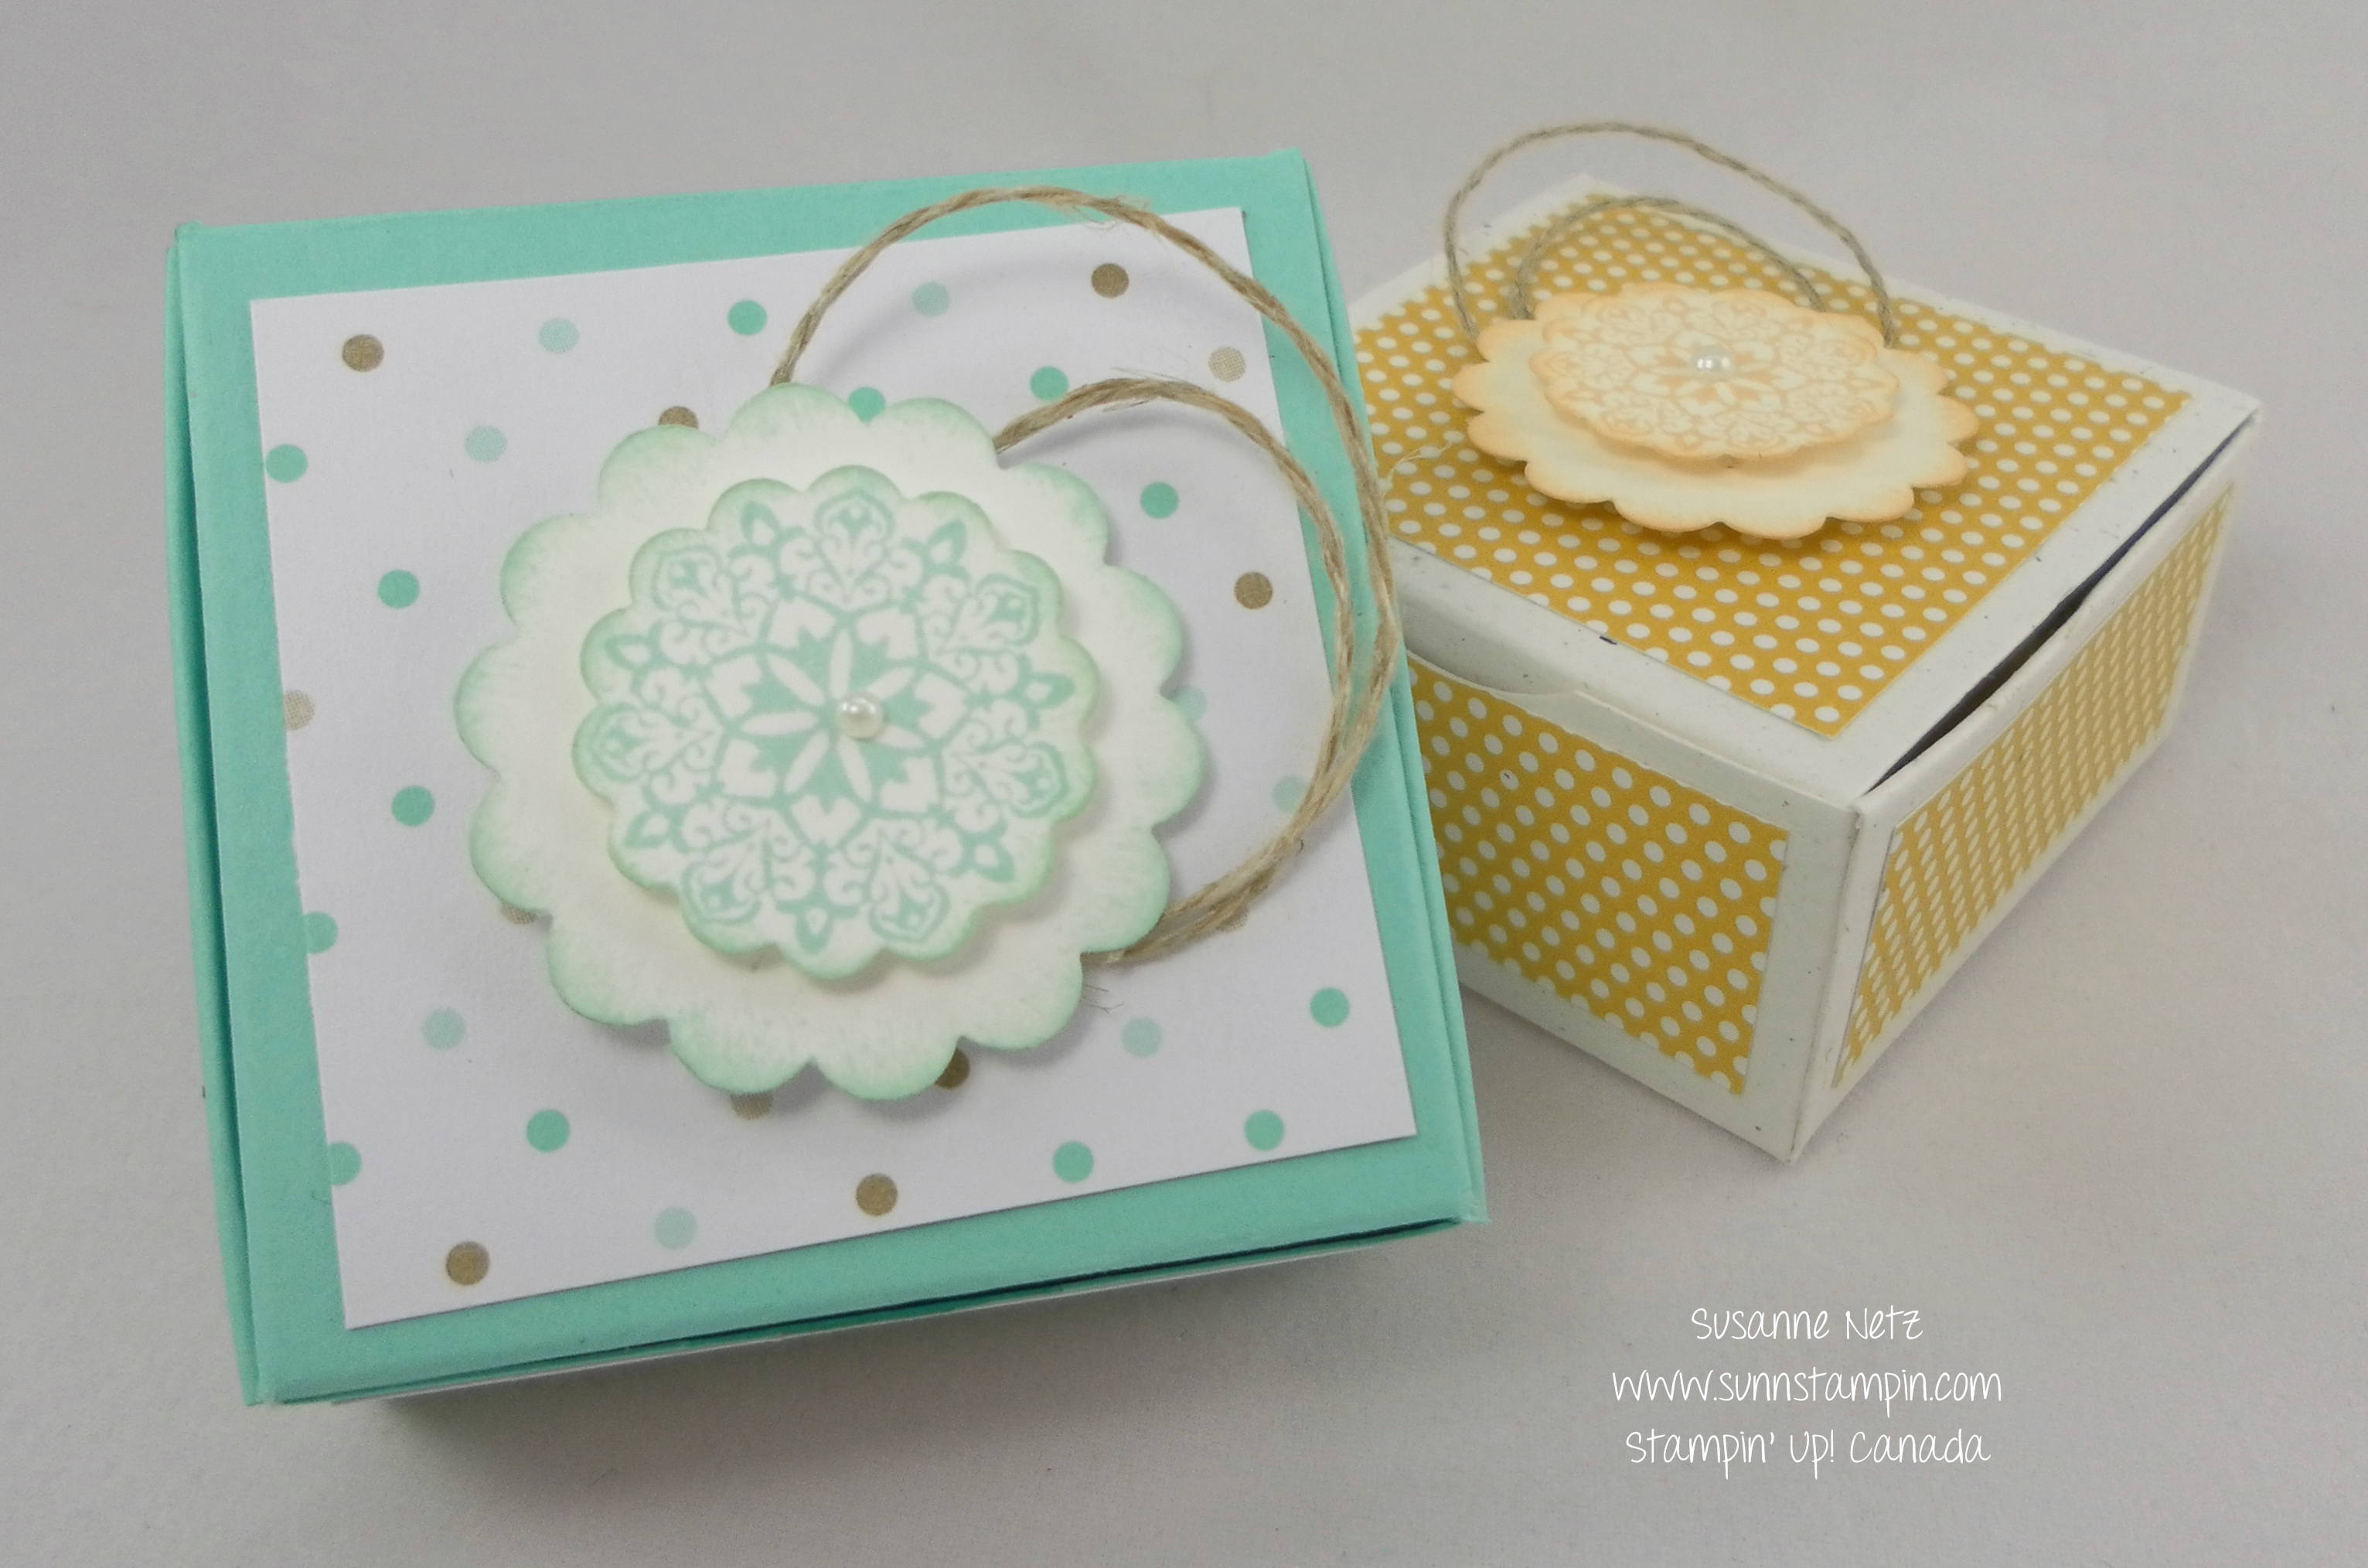
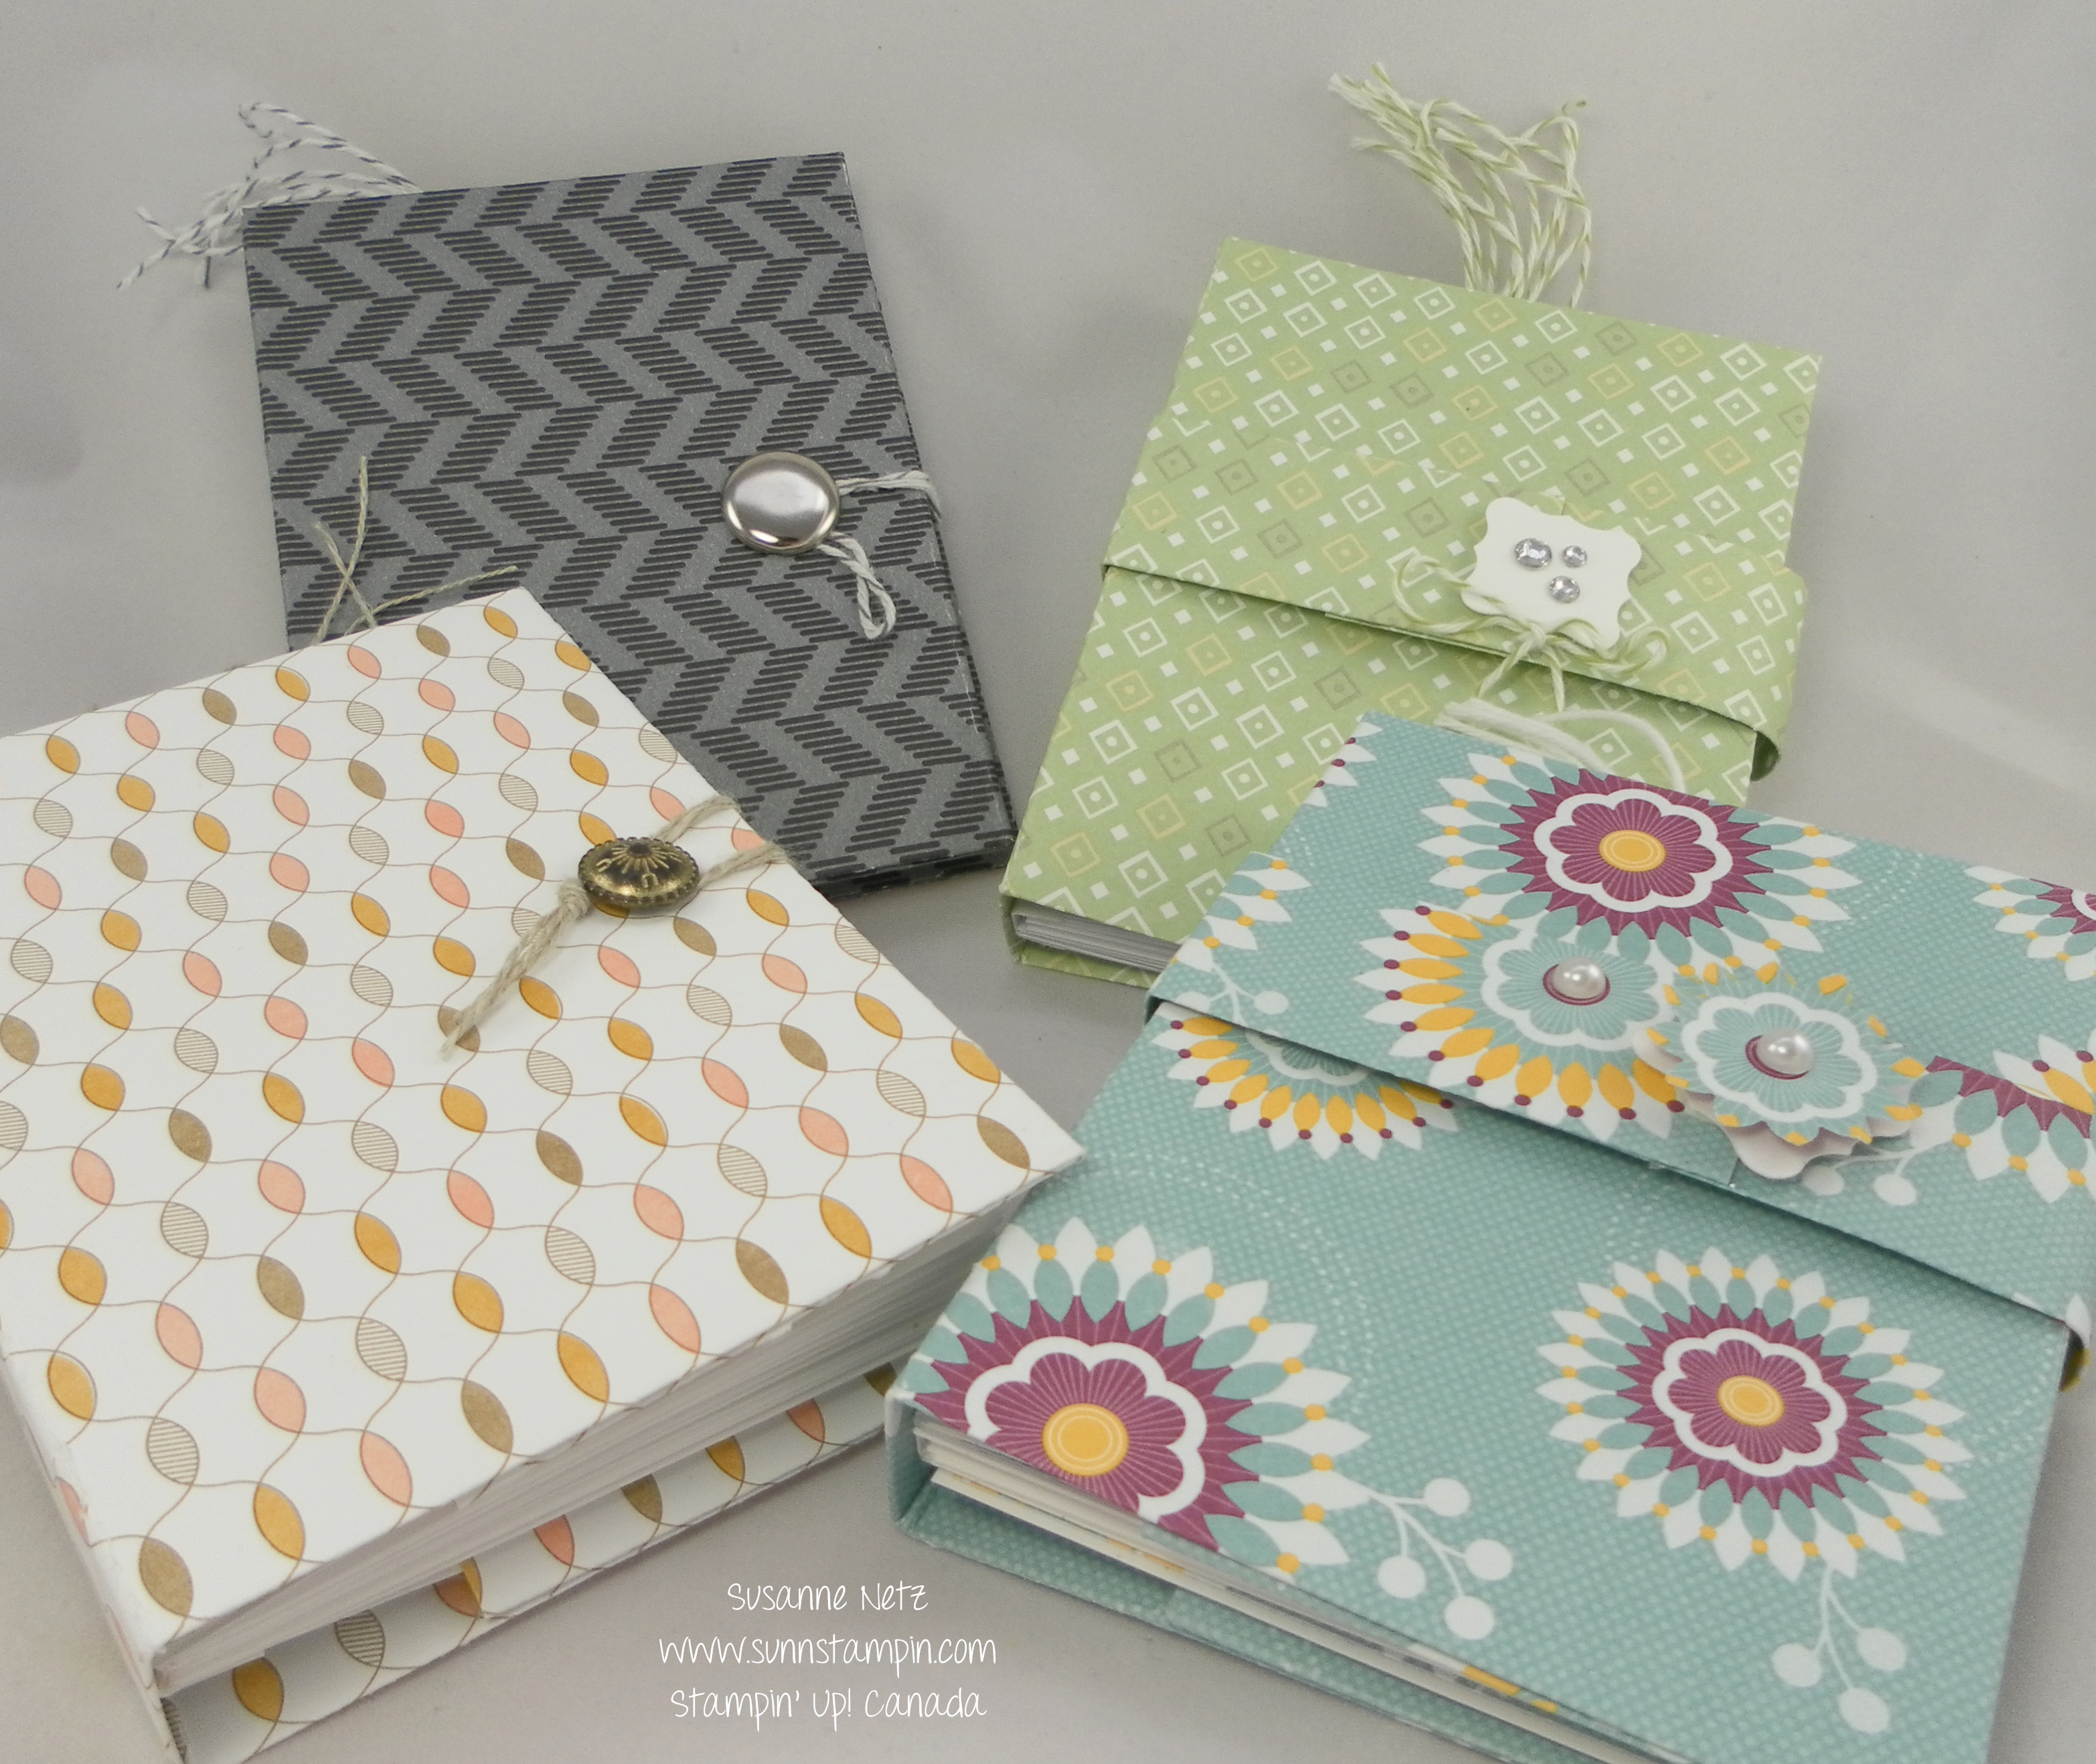
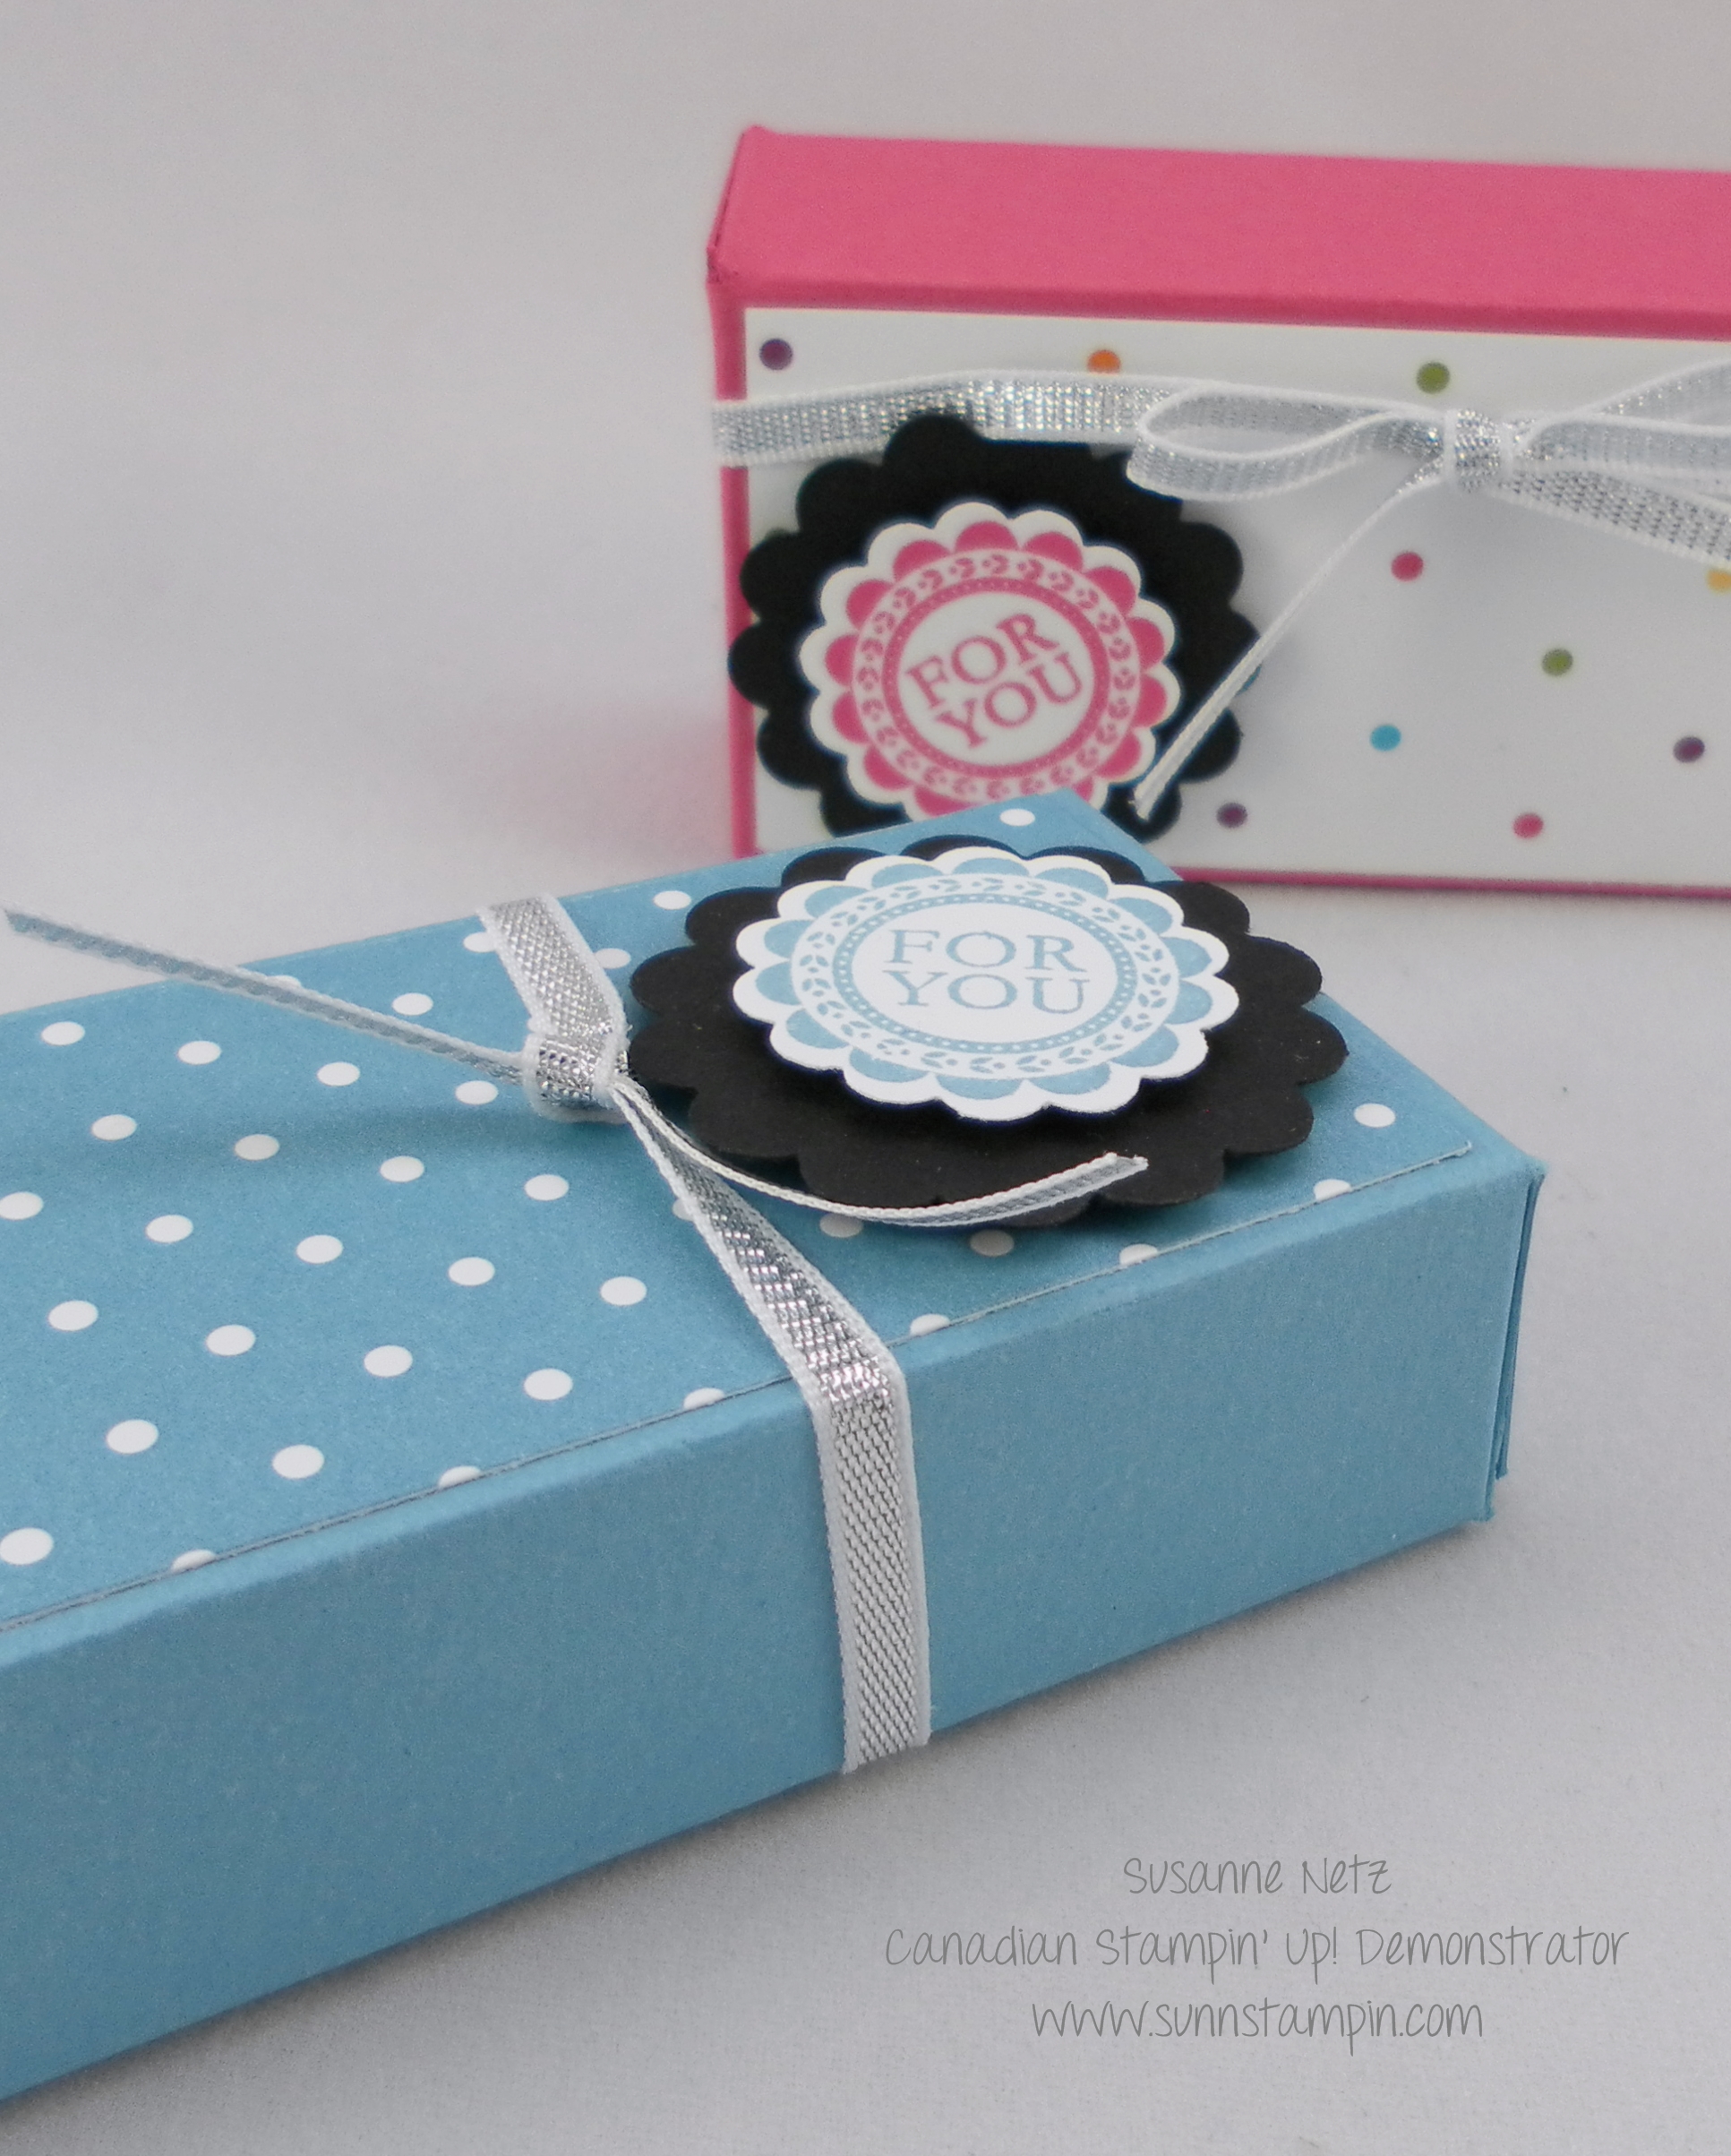
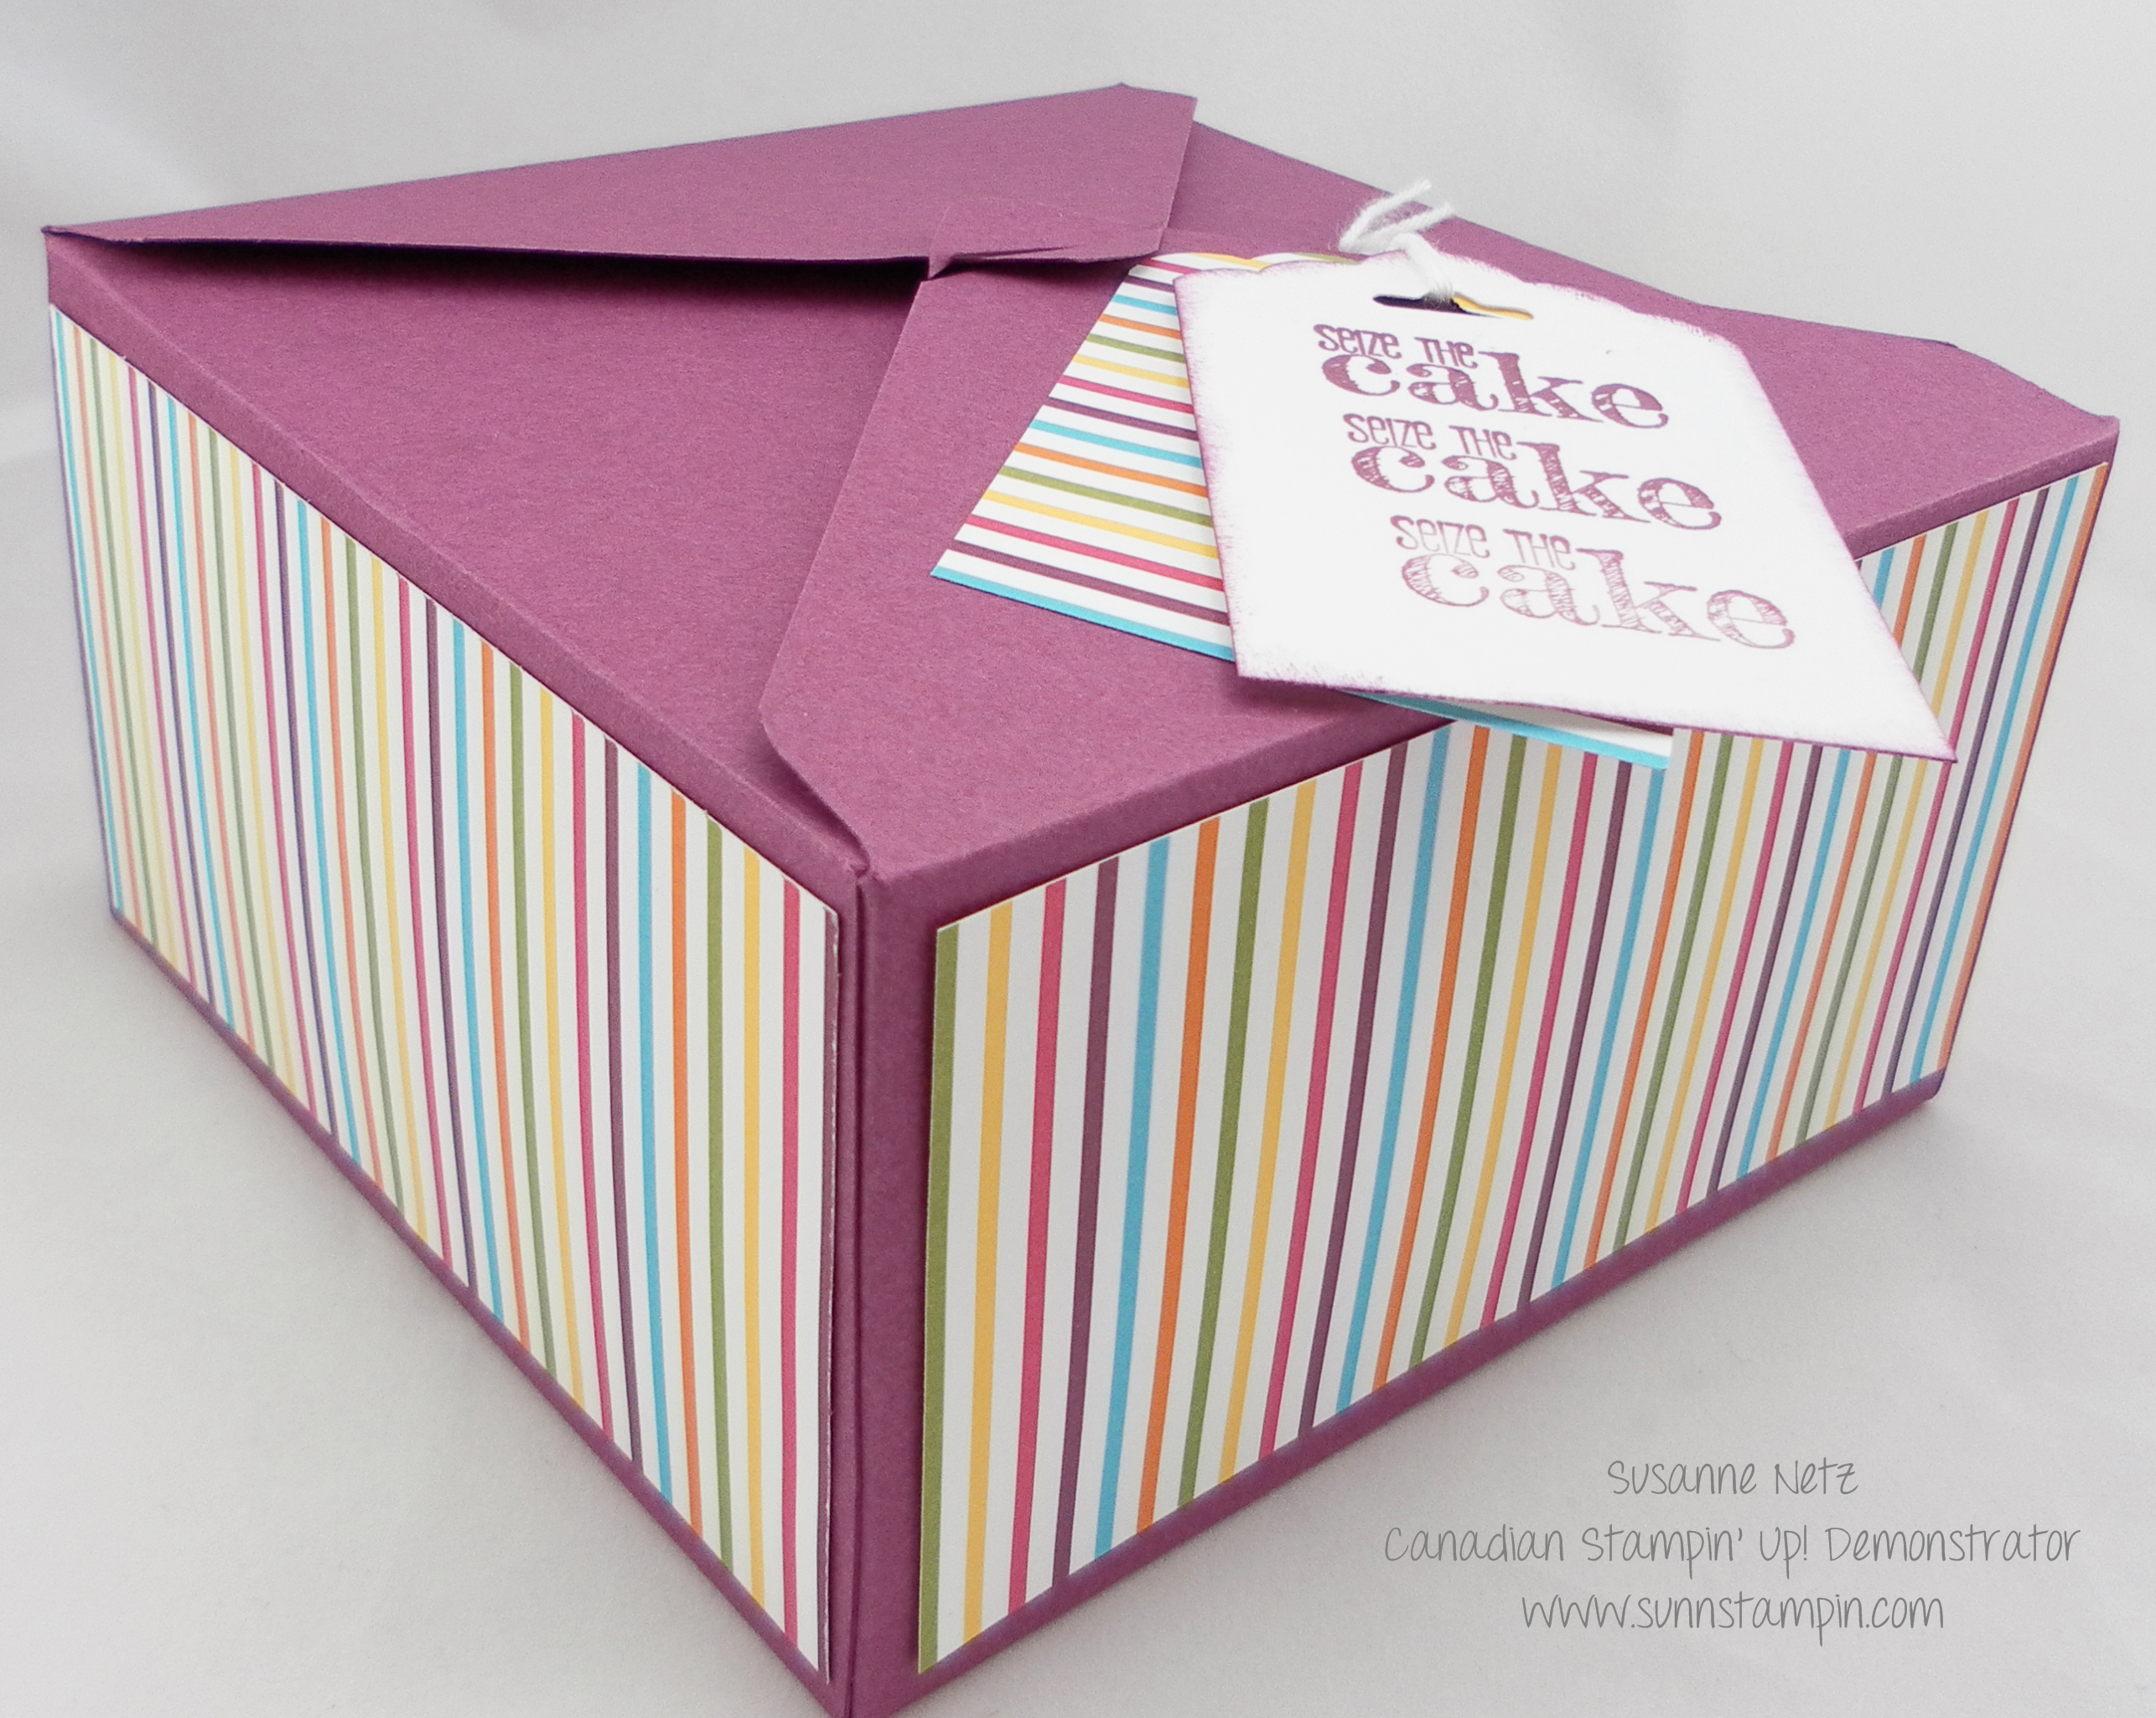
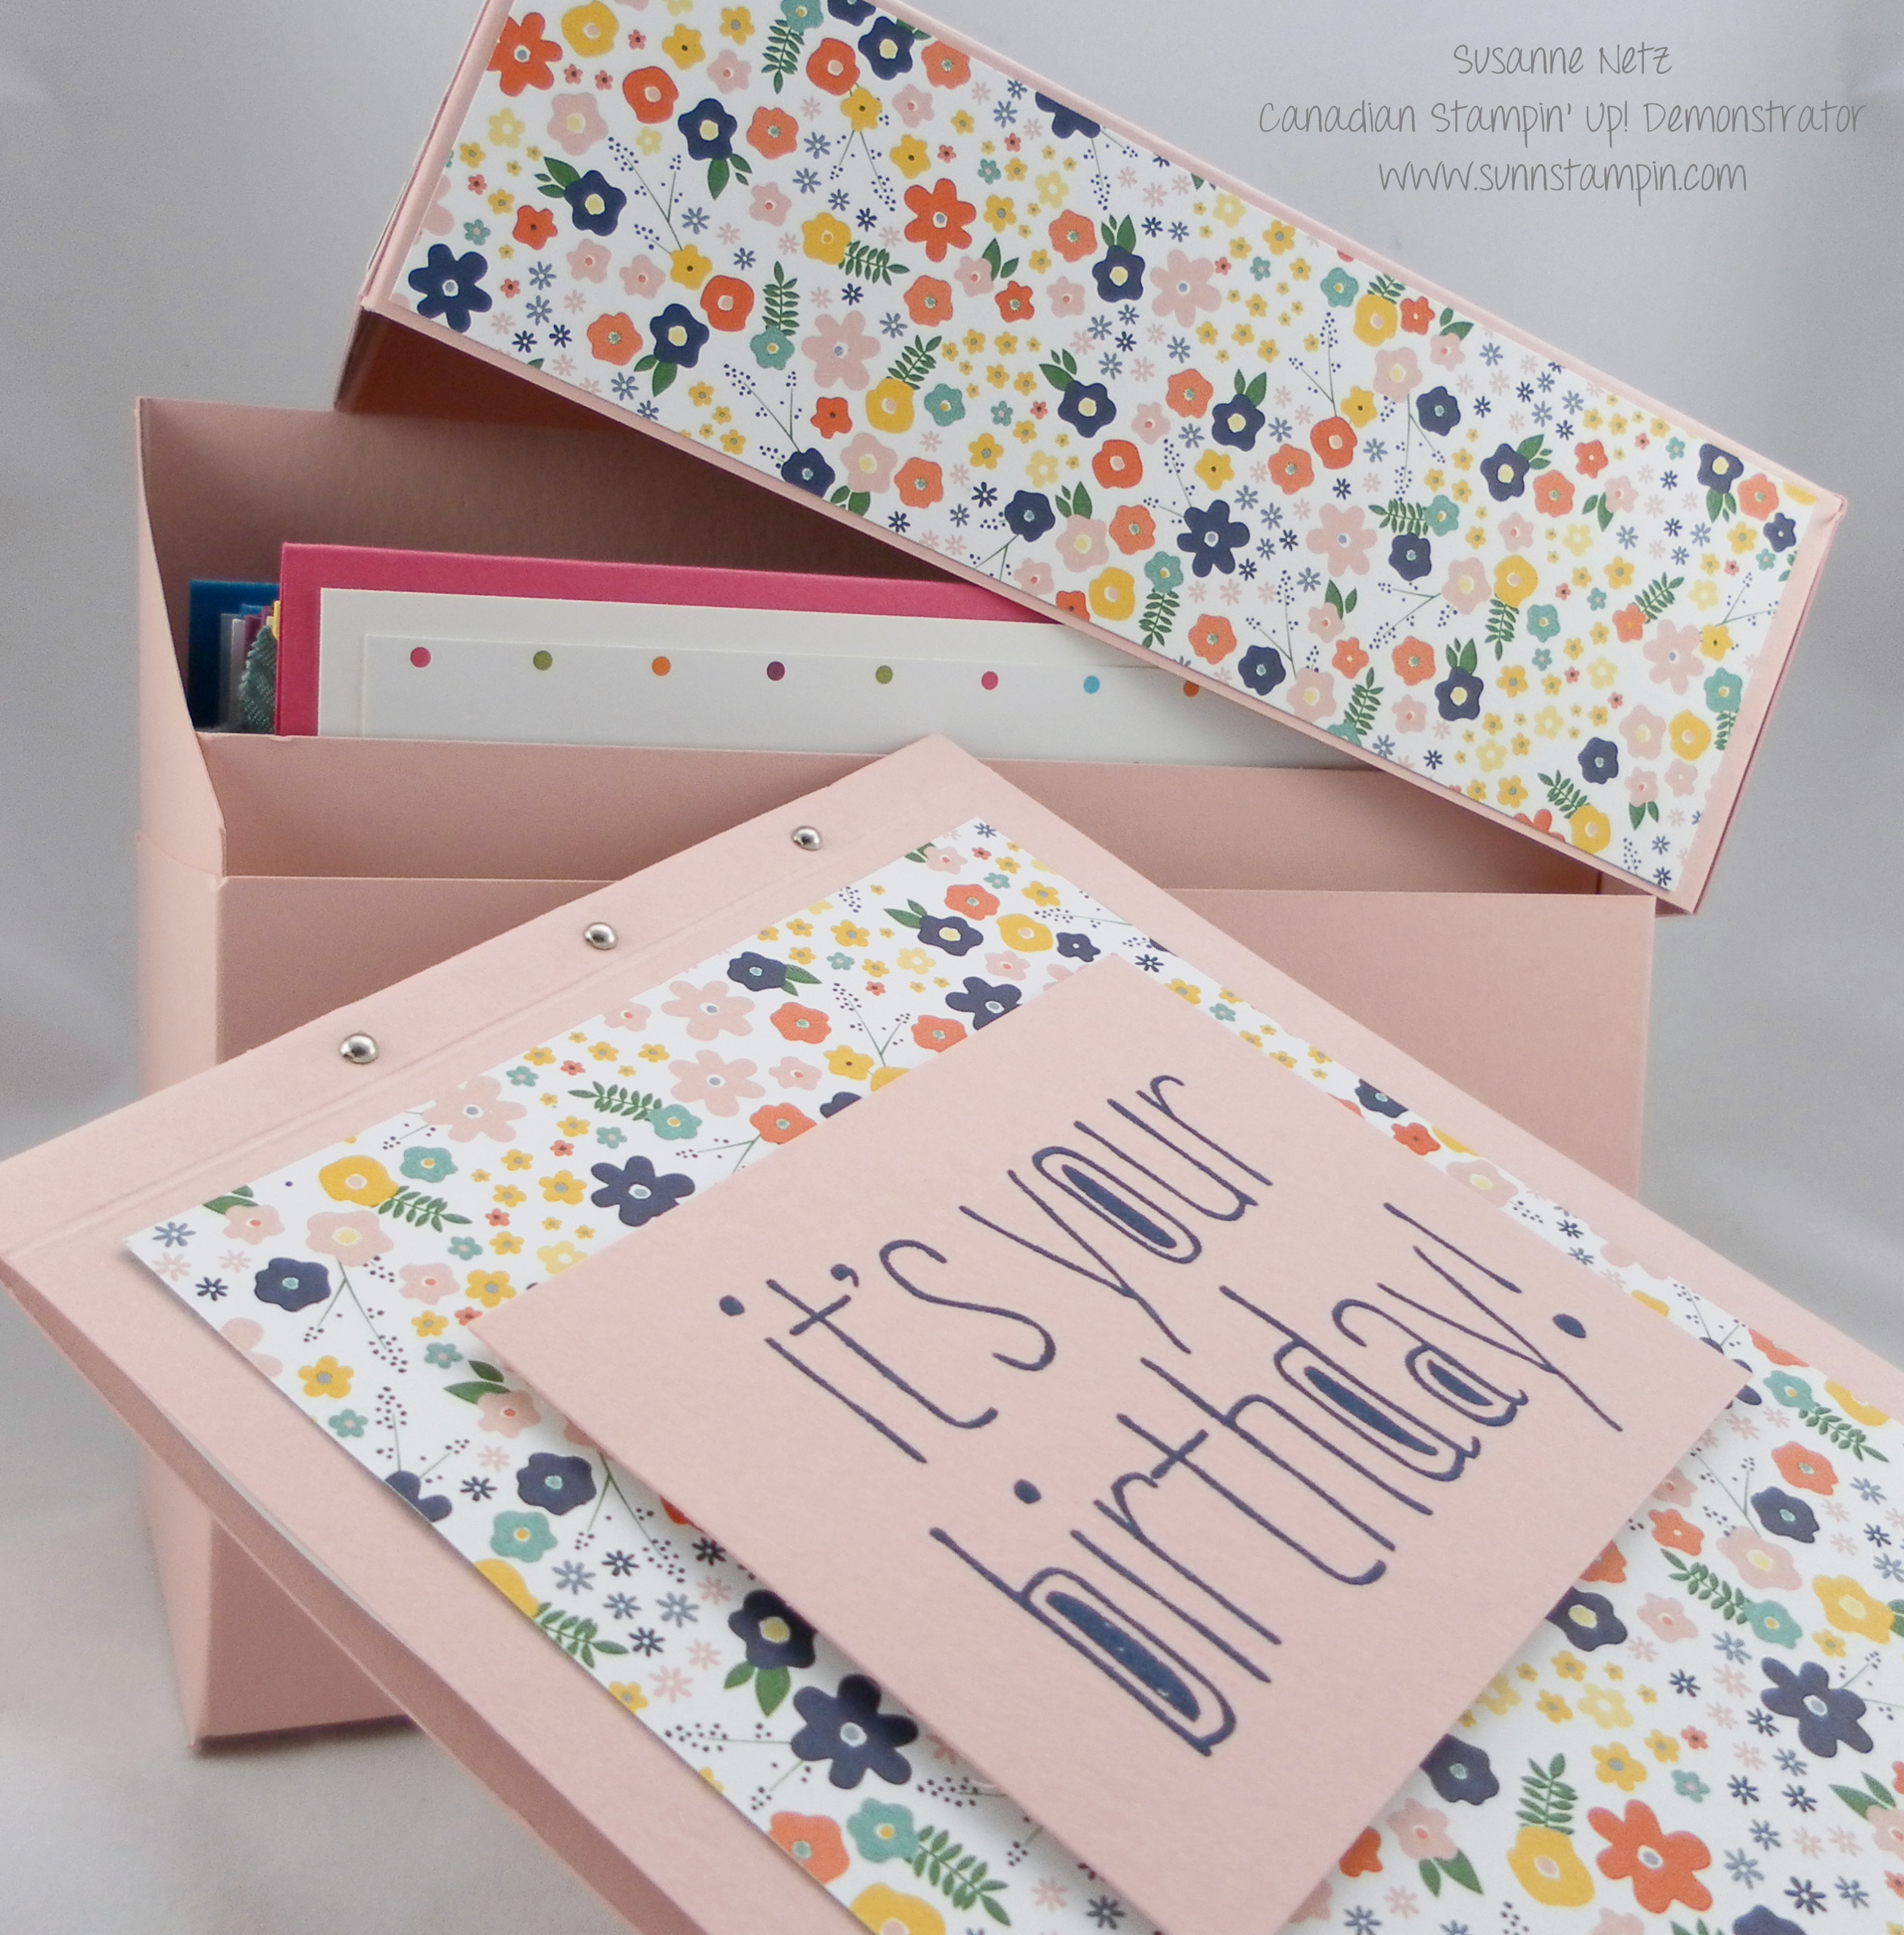
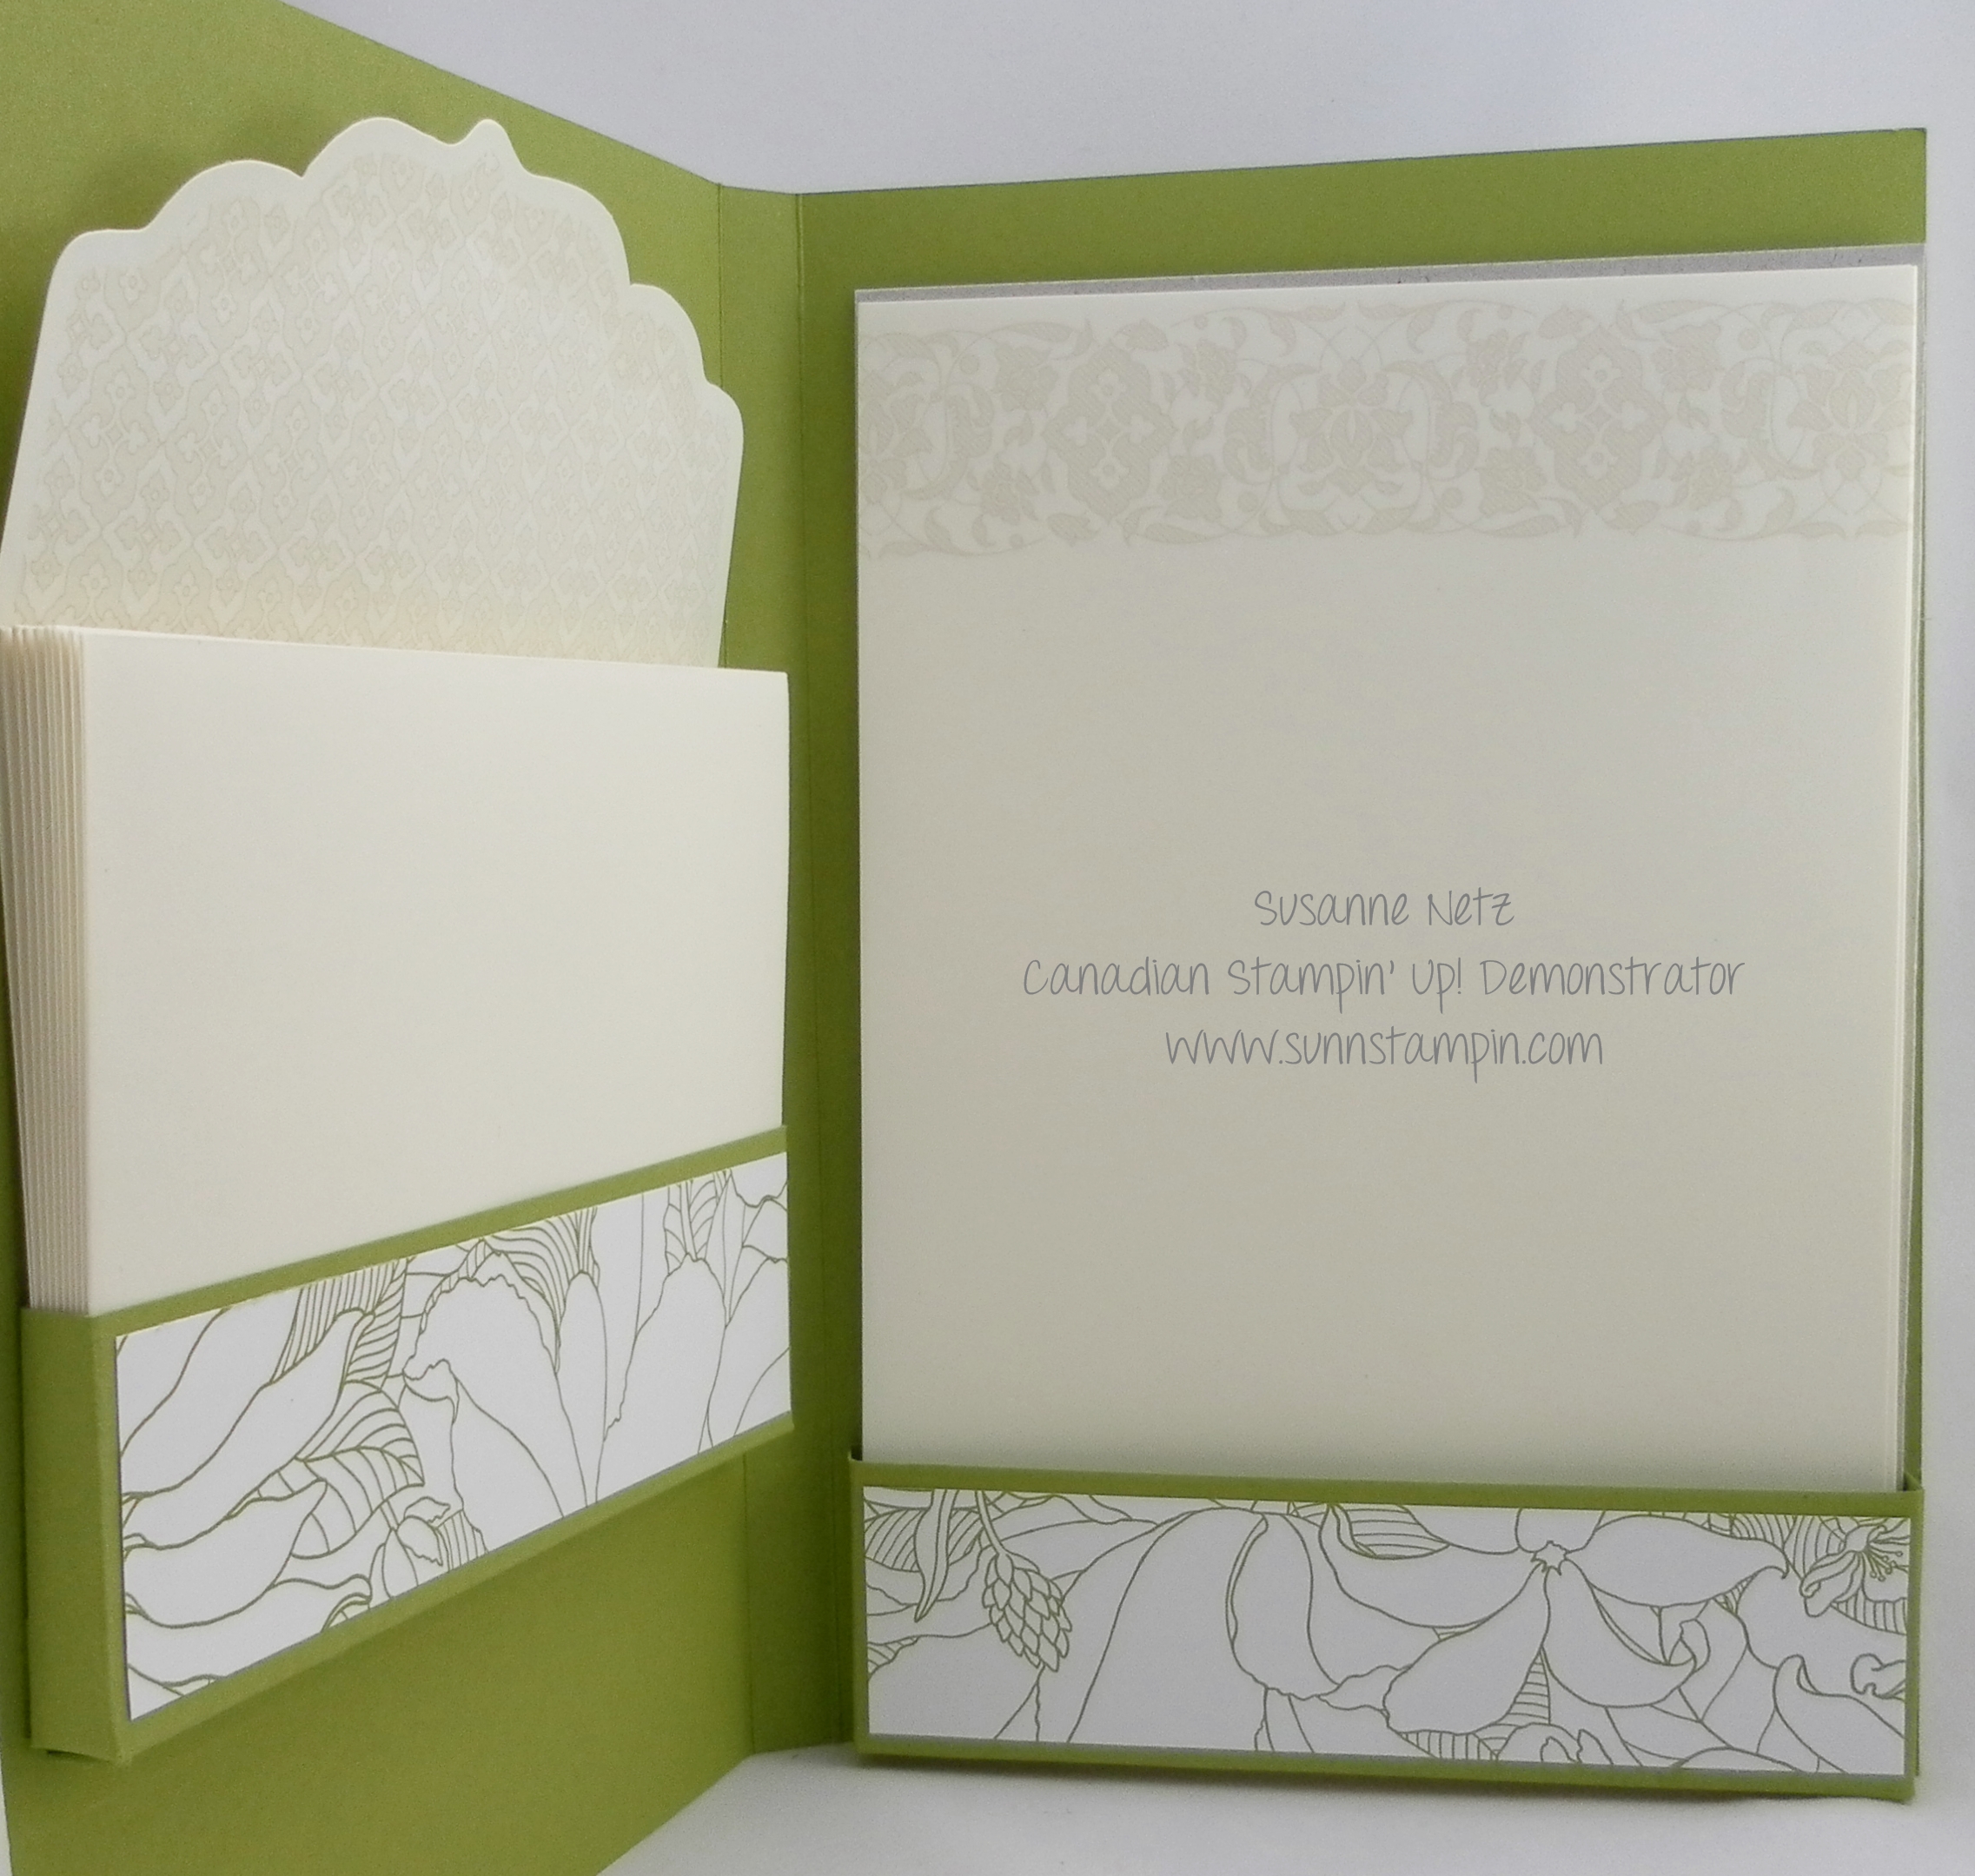
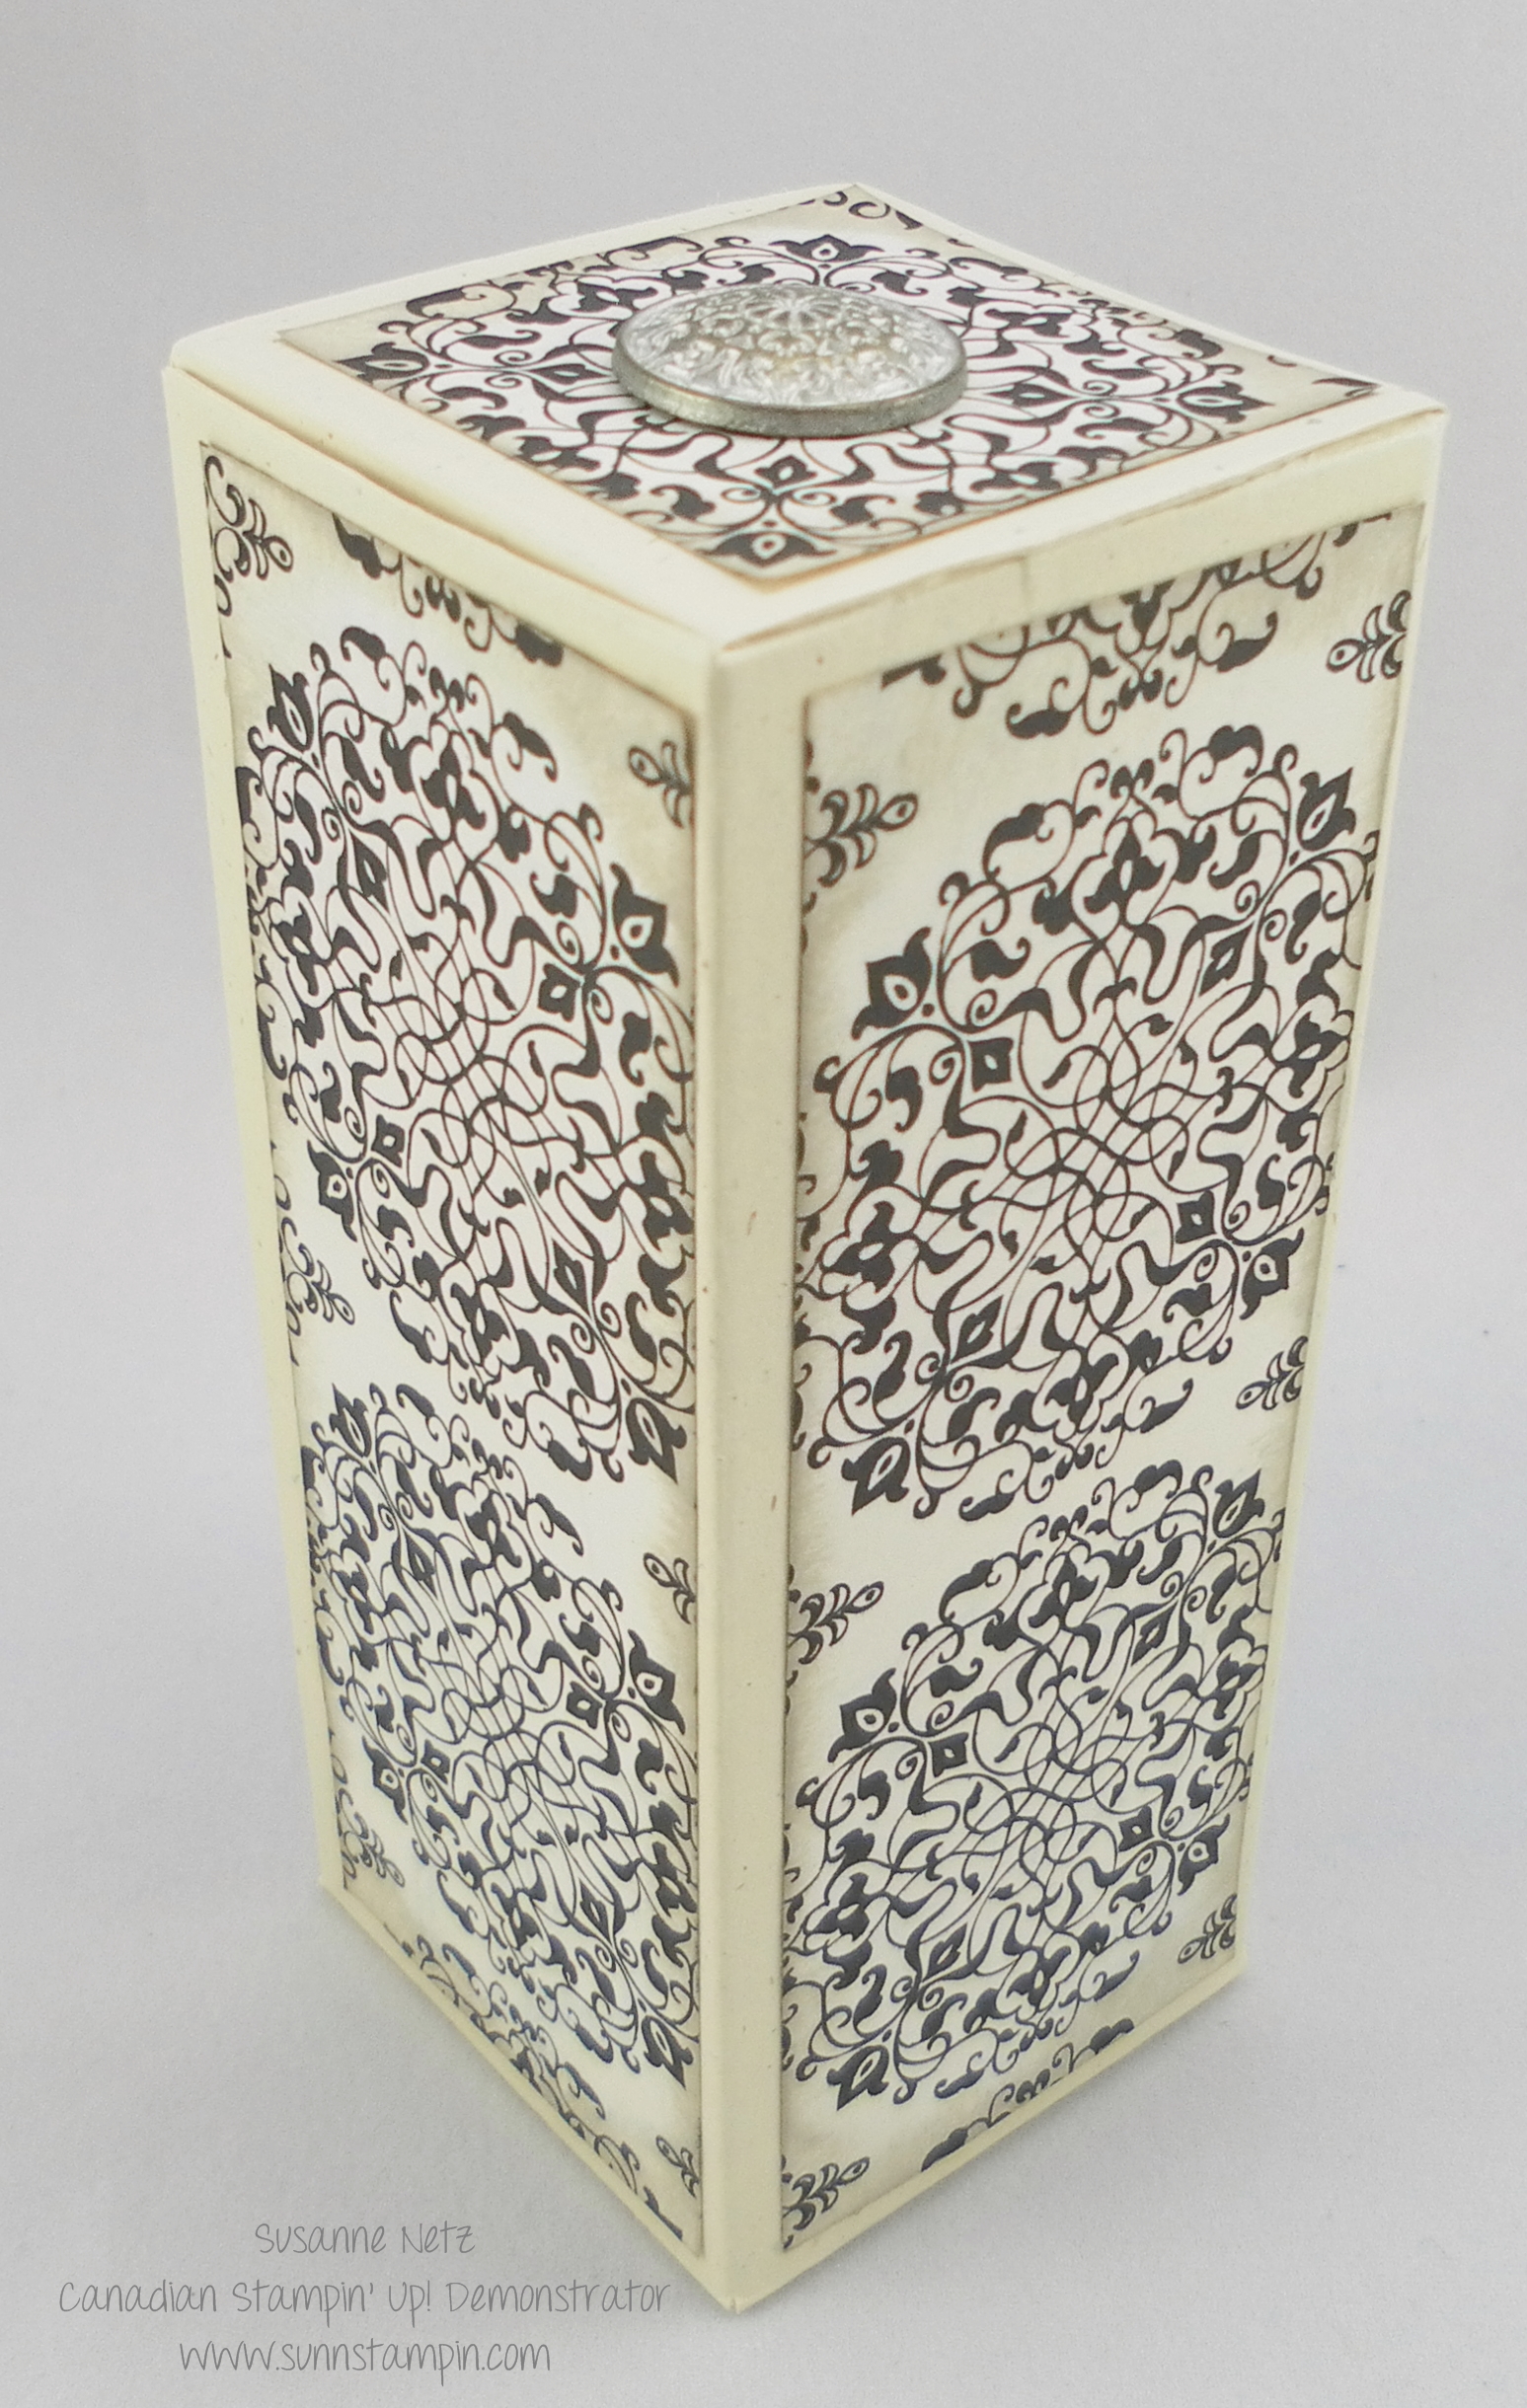
Hi everyone. It’s Friday and that means a box tutorial. Today I’ve made a video using both the score board and the envelope punch board to make the same sized box to house your homemade cards in. My client/customer Rose requested this size box because I hadn’t made one like this before. The measurements are below the video and I hope you get inspired. All products are listed at the end of this post. Enjoy the show.

Score board Measurement
- Card Stock for base: 9 by 7 3/4
Scoring on all 4 sides at 1 1/2 inches.
- Card Stock for Lid: 7 9/16 by 6 5/16
Scoring on all 4 sides at 3/4 of an inch.
Envelope Punch Board Measurement
- Cardstock 10 5/8 by 10 5/8
First punch at 4 5/8 and second punch at 6 3/4. Turn and follow score lines for the rest of the sides. Round corners.
Product List


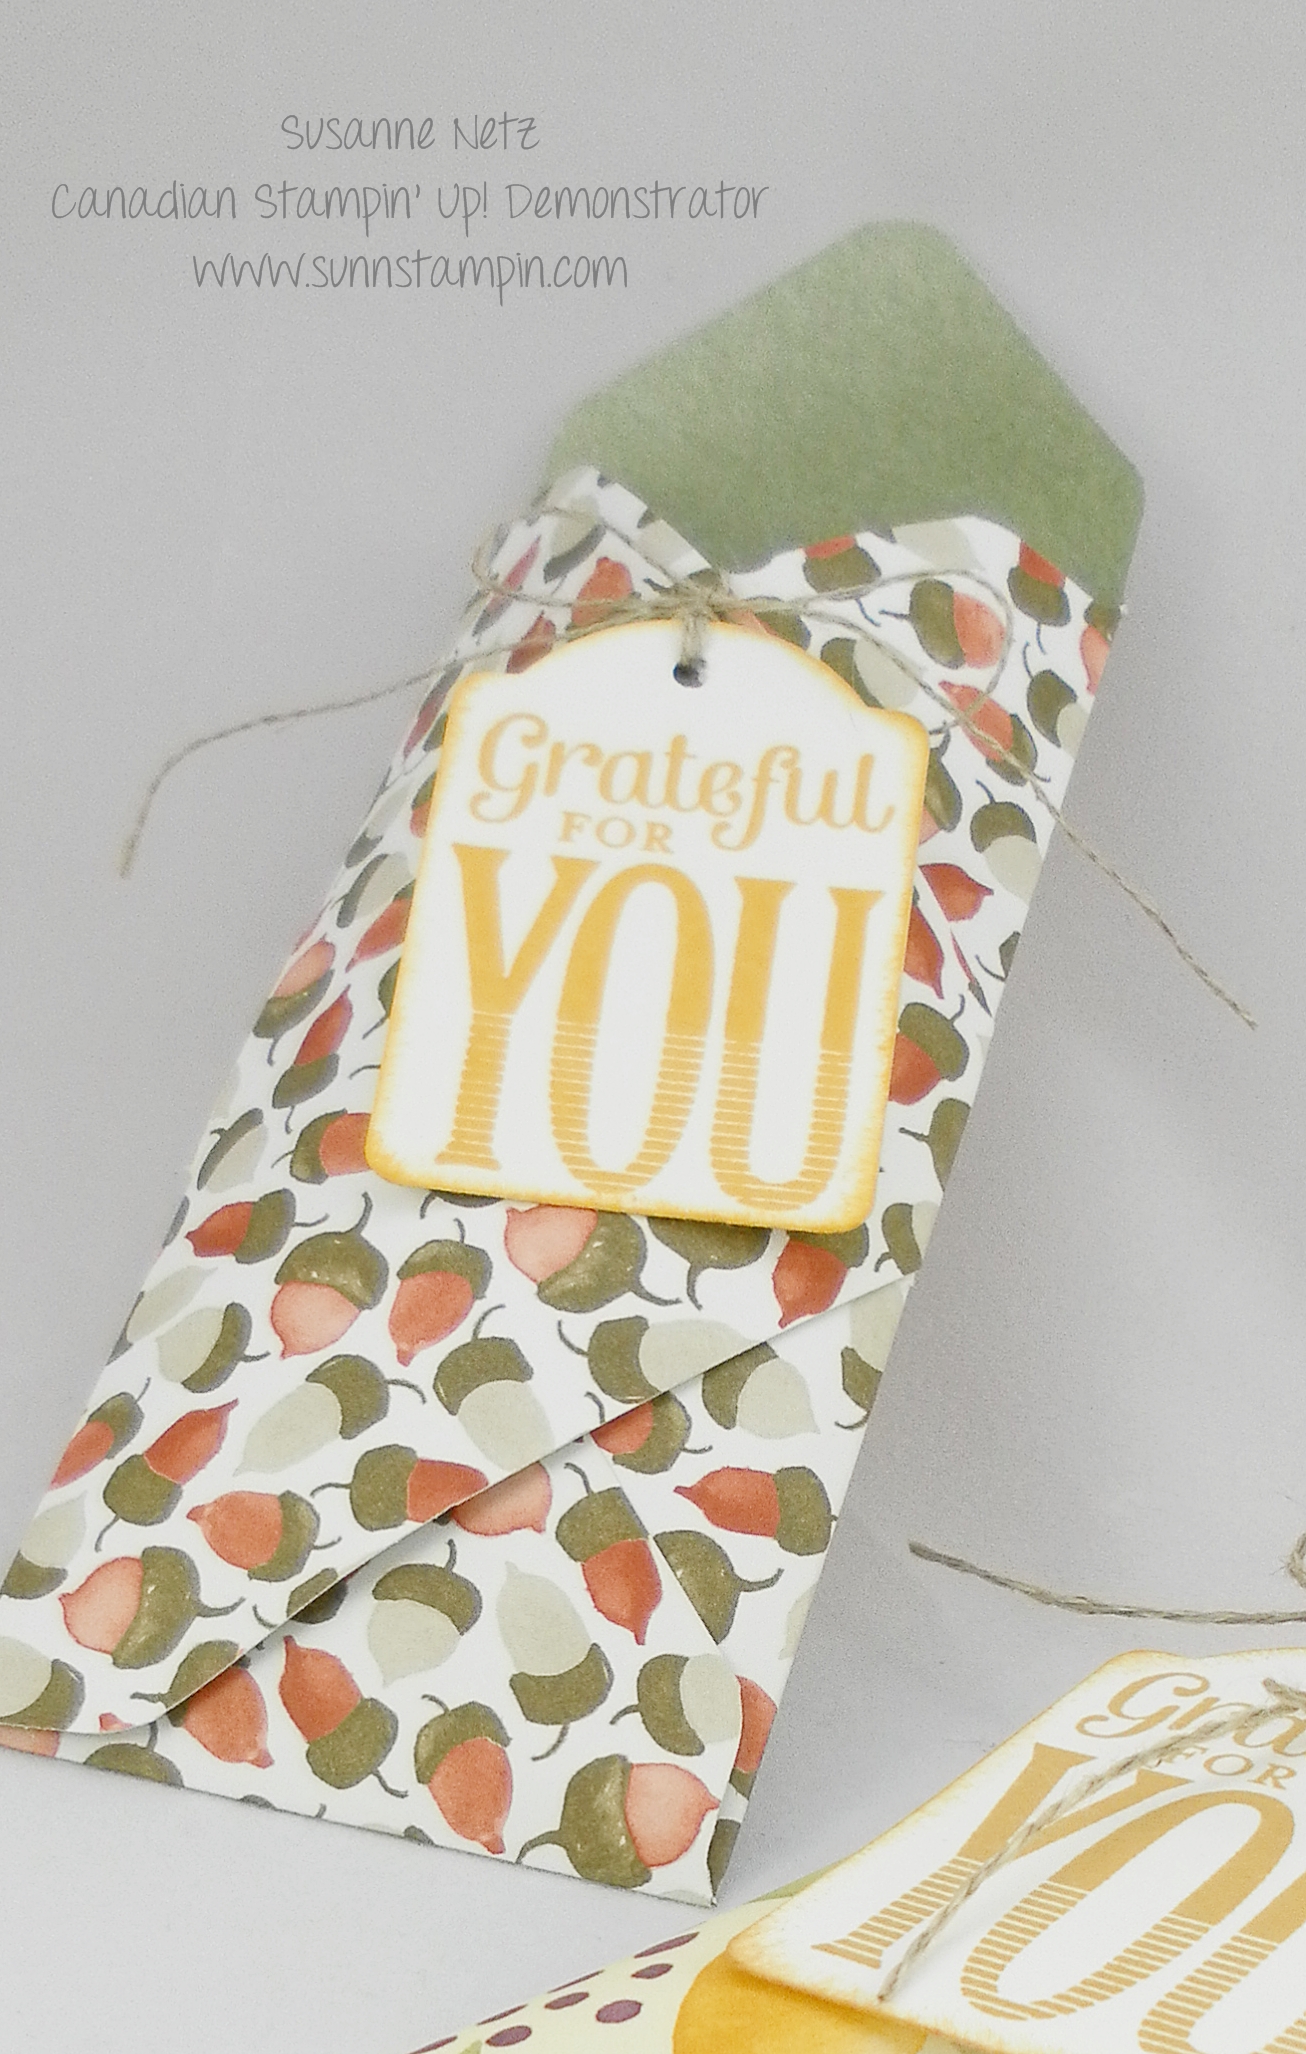


![Perfect Pennants [english, clear]](https://i0.wp.com/www.stampinup.com/images/EC/133230s.jpg "Perfect Pennants [english, clear]")